!
Biodex Medical Systems, Inc. © 2016 41
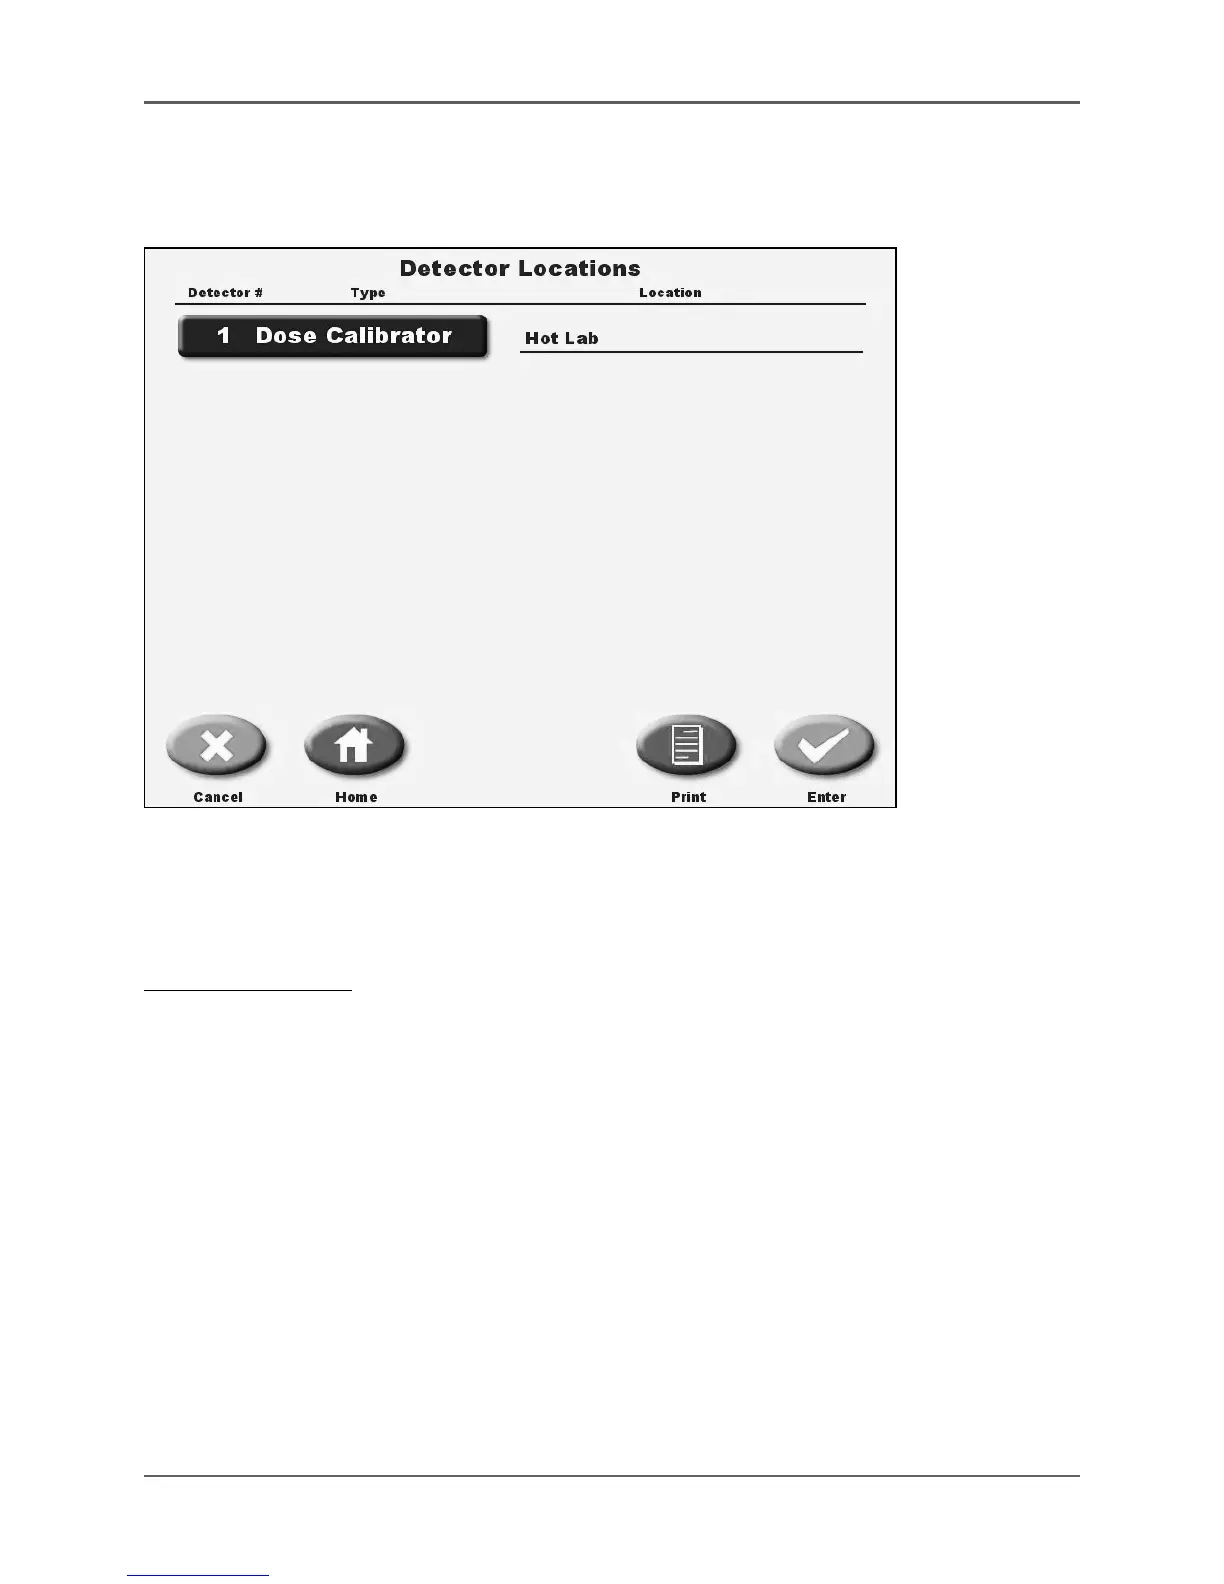
Detector Locations
(See Figure 4.3.)
Figure 4.3. The detector locations screen.
The Atomlab 500 display automatically senses every detector connected and can tell what type it
is. Detectors are listed numerically with detector # 1 being the lowest ID number. <Detector
Locations> allows the user to specifically label the location of any connected detector.
To Label A Detector:
1. Touch <Detector Locations> on the System Configuration screen. The Enter Password screen
is now displayed.
2. Enter your password and touch <Enter>. The Detector Locations List is displayed.
3. Touch the detector to label. The Enter Location screen is displayed.
4. Key in the detector location and touch <Enter> to return to the detector locations screen. If
desired, repeat the process for any other detector. Touching <More Detectors> will advance
You to the next page of listed detectors if there are more detectors connected than listed on
The screen. The <More Detectors> prompt will not show unless enough detectors are connected.
Note: each detector connected to a display must have a different ID number. ID number can be
changed, see "Detector Management".
• Touch <Print> to generate a printout of the detector location.
• Touch <Enter> to record the detector location and return to the System Configuration screen.
• Touch <Cancel> to return to the System Configuration screen without recording a new
detector location.