!
Biodex Medical Systems, Inc. © 2016 79
To Change I.D.
1. Touch to highlight the detector for which to change I.D.
2. Touch <Change I.D.>.
3. The current detector ID is listed as “From”. Use <▲> or <▲> to scroll to the appropriate new
ID besides the “To” prompt.
4. Touch <Enter>. The system will prompt “are you sure?” Touch <Yes> to confirm or <No> to
return to the change hardware detector ID screen without making changes.
5. If you have elected to change the detector ID, the system will automatically reset at this point
and run a new power on self-test. Touch <Home> to return to the System Home page.
NOTE: Each detector connected must have a different ID number. You cannot have two
detectors with the same ID. ID numbers available are 2, 4, 6, 8, 10, 12 and 14. Biodex uses I.D.
#14 for a wipe detector.
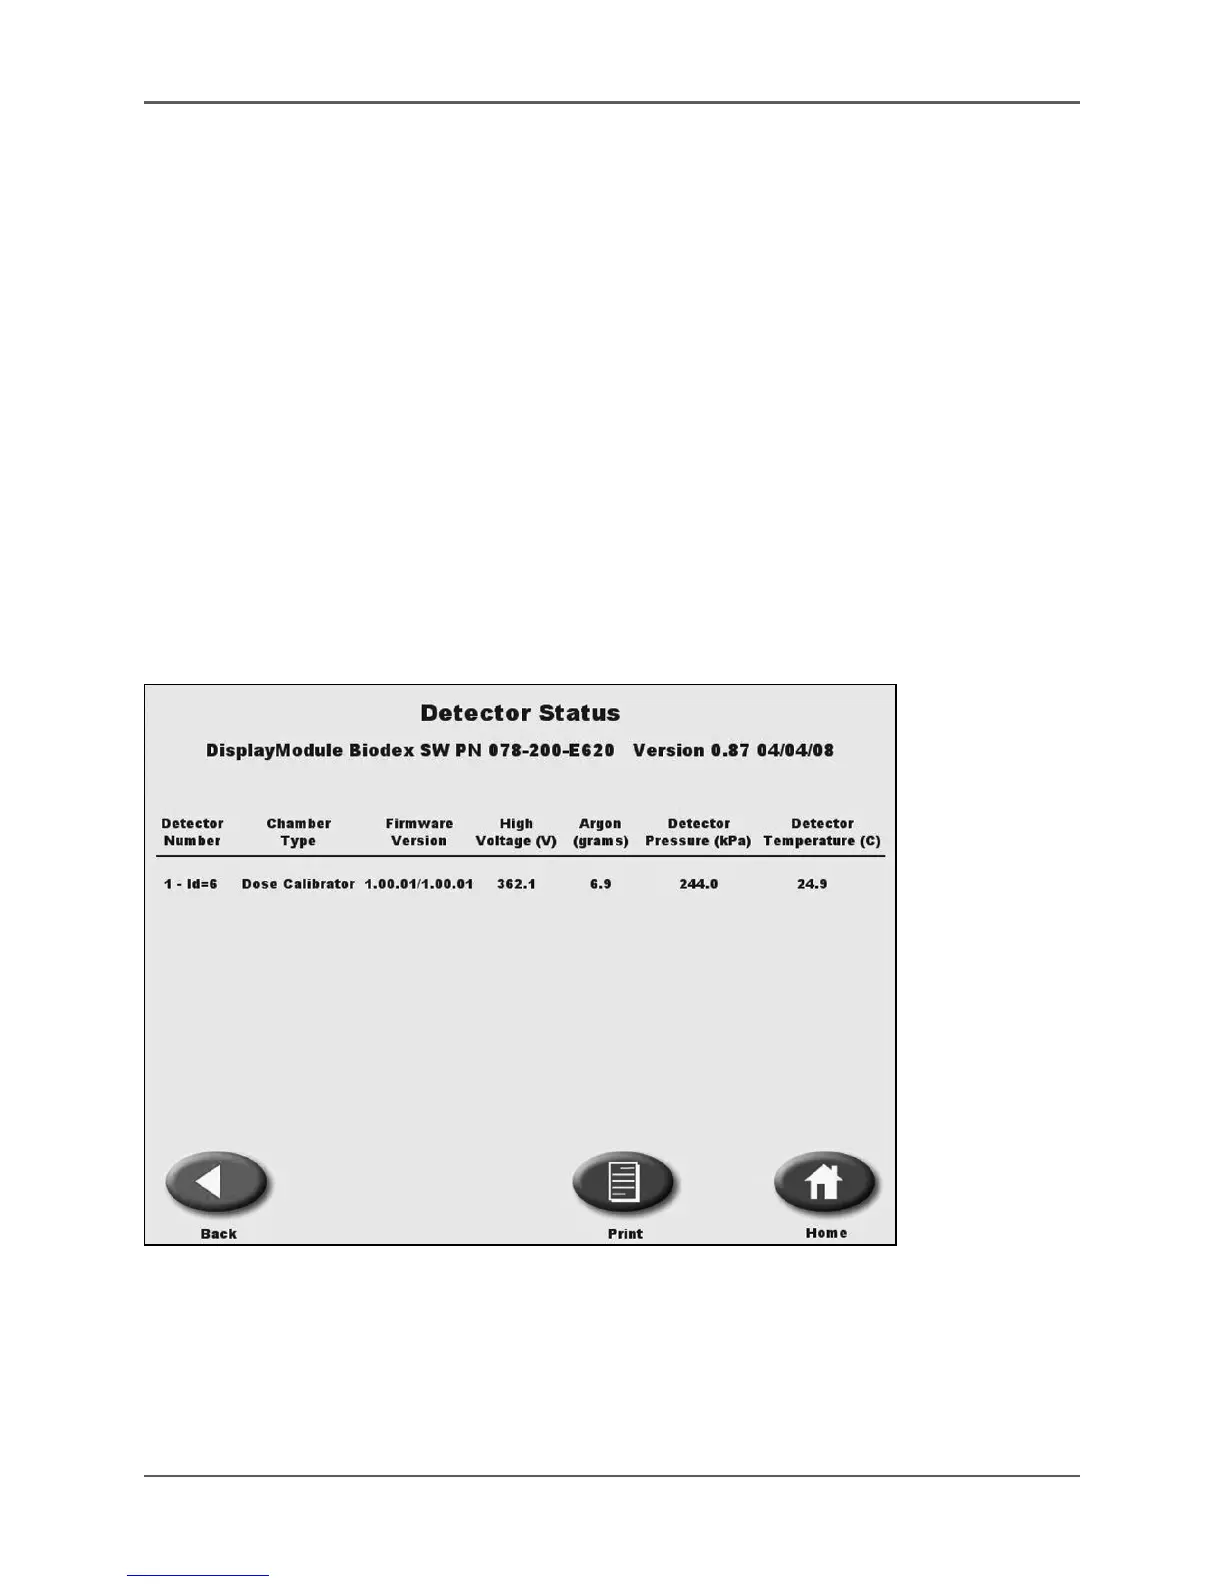
Detector Status
(See Figure 4.38.)
Figure 4.38. The Detector Status screen.
The Detector Status screen lists all the detectors present by number and id, type, firmware
versions on the detector pc board, the high voltage reading (V) and on dose calibrator
detectors: Argon (grams), detector pressure (kPa,) and detector temperature (C-degrees) are
also noted.