!
54 ATOMLAB 500 DOSE CALIBRATOR
Setup Button Isotopes
(See Figure 4.14.)
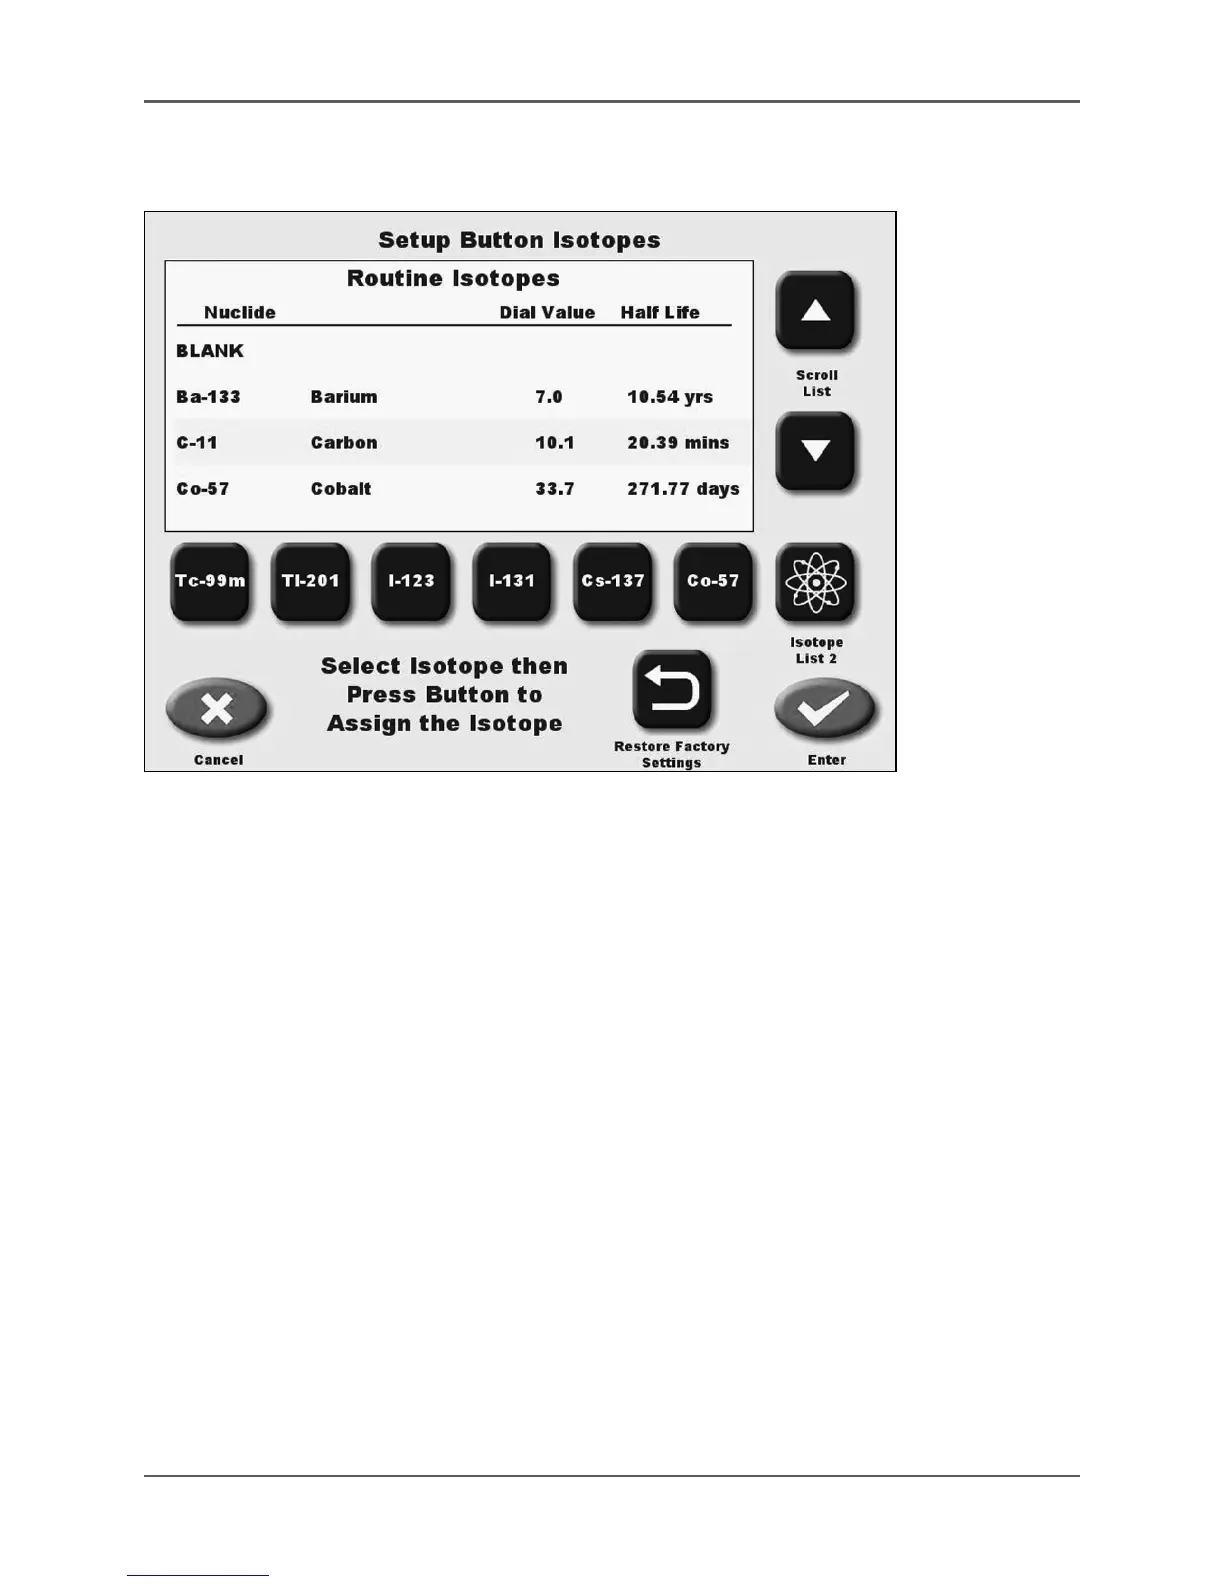
Figure 4.14. The Setup Button Isotopes screen.
Setup Button Isotopes allows the user to assign any selected isotope to the buttons on Isotope
List 1 or List 2, displayed on the Measure screen.
1. From the Isotope List screen, touch <Setup Button Isotopes>. The Setup Button Isotopes
screen is displayed.
2. Use the <▲> or <▼> keys to scroll through the Isotope Lists until the isotope you want to
assign to a button is shown (toggle to List 2 to display the List 2 buttons.) touch to highlight
the isotope.
3. Touch the button to which the isotope should be assigned. The isotope currently assigned to
the button is removed and the new isotope is now displayed on the button.
NOTE: If you make changes and press <Cancel>, a “Modifications have been made, are you
sure you want to lose the changes?” prompt is displayed. Press <No> to keep the changes,
followed by <Enter> on the Setup Button Isotope screen. Press <Yes> if you do not want to make
the changes and the system returns to the Isotope List screen.
4. Touch <Enter> to save the updated Isotope Buttons, or <Cancel> to return to the Setup
Routine Isotopes screen without making changes.
5. If desired, touch <Restore Factory Settings> and touch <Yes> to revert to the factory defaults,
or <No> to return to the Setup Button Isotopes screen without making changes.