!
Biodex Medical Systems, Inc. © 2016 71
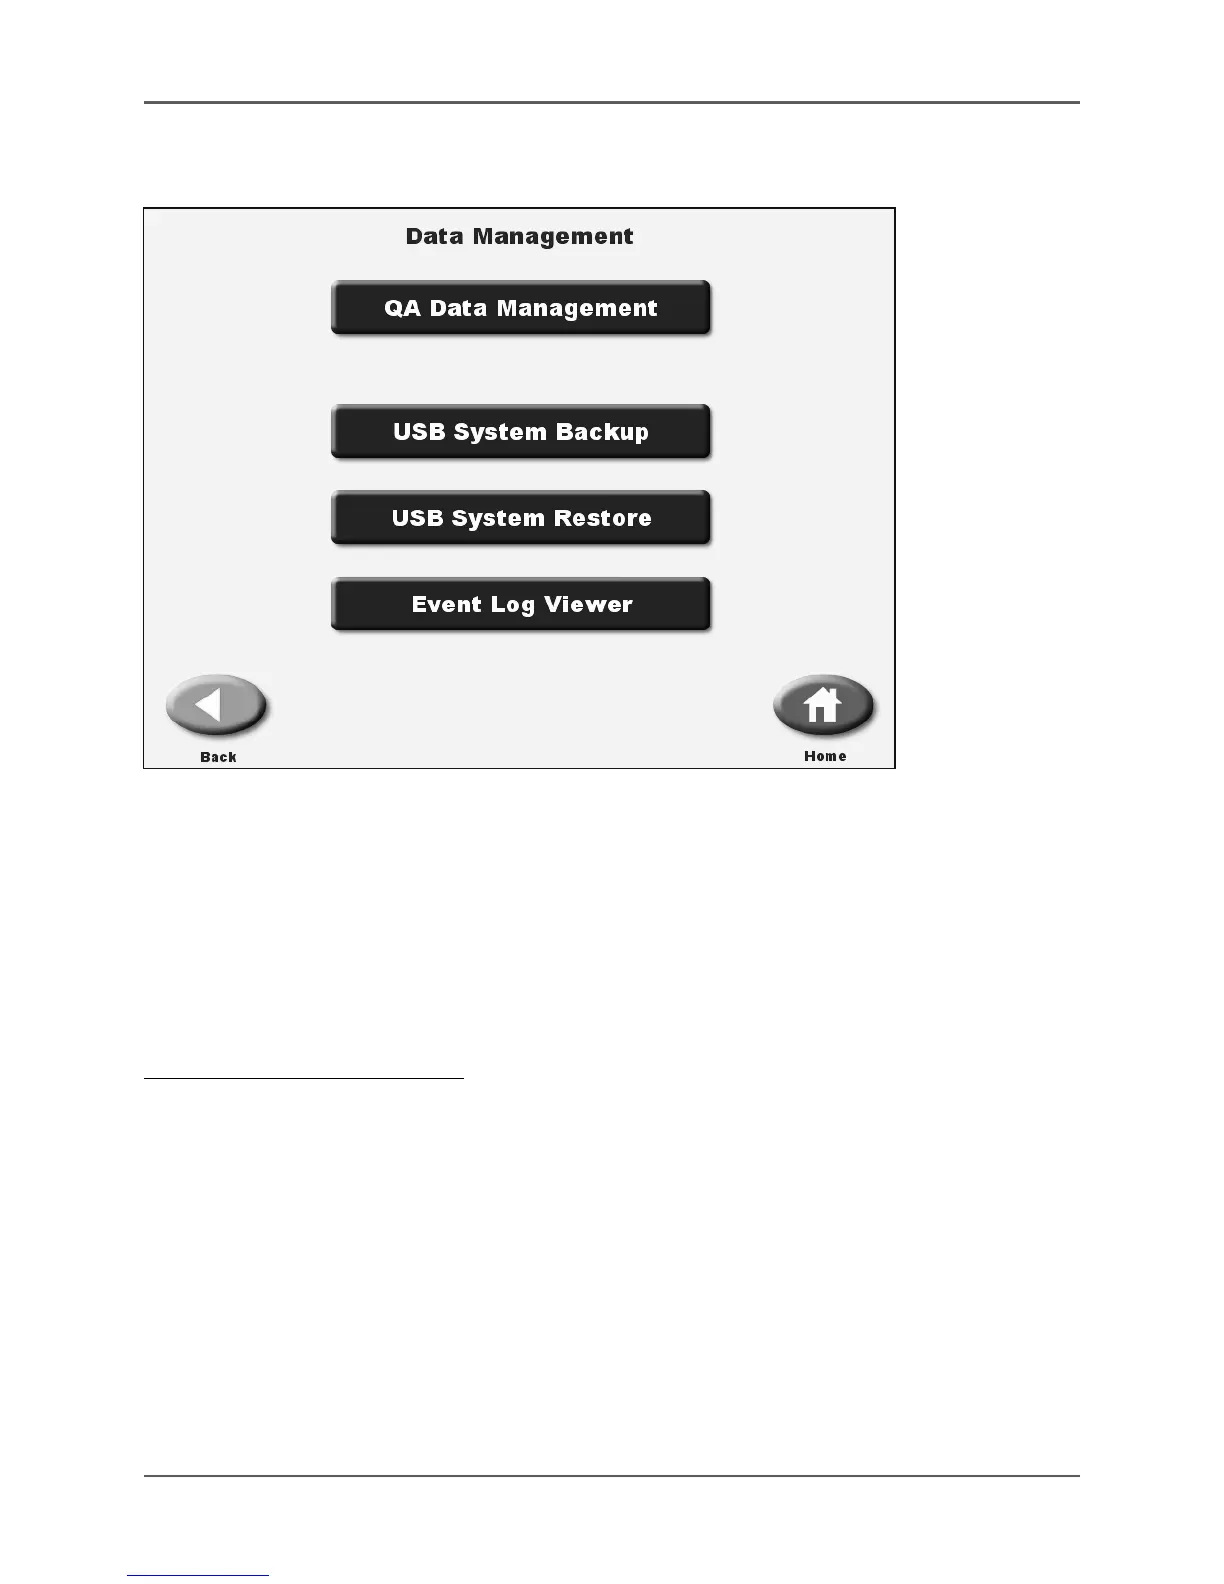
Data Management
(See Figures 4.29. - 4.30.)
Figure 4.29. The summary View of All Stored QA Data.
QA Data Management allows the user to view, delete, export and import the results of QA tests to
a thumb drive for a selected detector or all detectors. The user can select from all tests,
tests prior to or after a specified date, or within a specific date range. To choose data for a
specific detector, toggle the <Select Detector> button at the bottom of the screen until the
desired information is displayed.
NOTE: Be sure to install the thumb drive in one of the USB ports, located on the back of the
display panel, before attempting to export, import or back up QA and system data.
To Export QA Data Management:
1. On the System Maintenance screen, touch <Data Management>.
2. Enter your password and touch <Enter>.
3. Select <QA Data Management>. The summary view of Stored QA Data screen is displayed
with results for all tests on all detectors listed (or results for a specific detector, if selected.)
4. Touch <Export>. The QA Data Export screen is displayed.
5. Touch <Option> to select the date range for the data to export. Choose from All, Prior To,
From/To, From or Only New by continuing to touch <Option> to advance through the choices.
6. For all choices other than All and Only New, touch the date to change it.
7. Touch the date segment to change and use <▲> or <▼> to scroll to the date desired.
8. Touch <Enter> to confirm the new date and return to the QA Data Export screen.