info@biopac.com
support@biopac.com
www.biopac.com
BIOPAC Hardware | GASSYS2 | Page 4 - 4 Updated: 8.7.2013
5) Remove the chamber stand (gently pull back the chamber stand from the electronics base).
6) Clean the flow chamber with one of two methods:
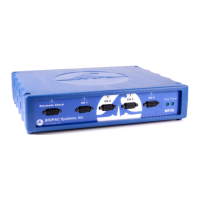
a. Use a soft cloth and Cidex Plus Sterilizing and Disinfecting Solution
cleanser. Spray a light mist of Cidex cleanser on the parts of the device
to be cleaned, and wipe the pieces with a
dry rag. It is important never to
get Cidex near the sensors of the device.
Other cleansers should not be substituted for Cidex – non-Cidex
cleansers might damage or abrade the flow chamber pieces.
b. Heating the components in an autoclave sterilizing oven.
7) After cleaning reattach the platformed-standing rod to the electronics base.
a. Align the exhaust tube at the bottom of the rod stand with the
exhaust port on the electronics base and insert securely.
b. Gently ease the rod stand back into its appropriate position on the
electronics base. The senso
rs are very delicate—slowly lower the
plastic base of the standing rod to the electronics base to make sure
that the openings in the standing rod base correspond with the
appropriate sensors.
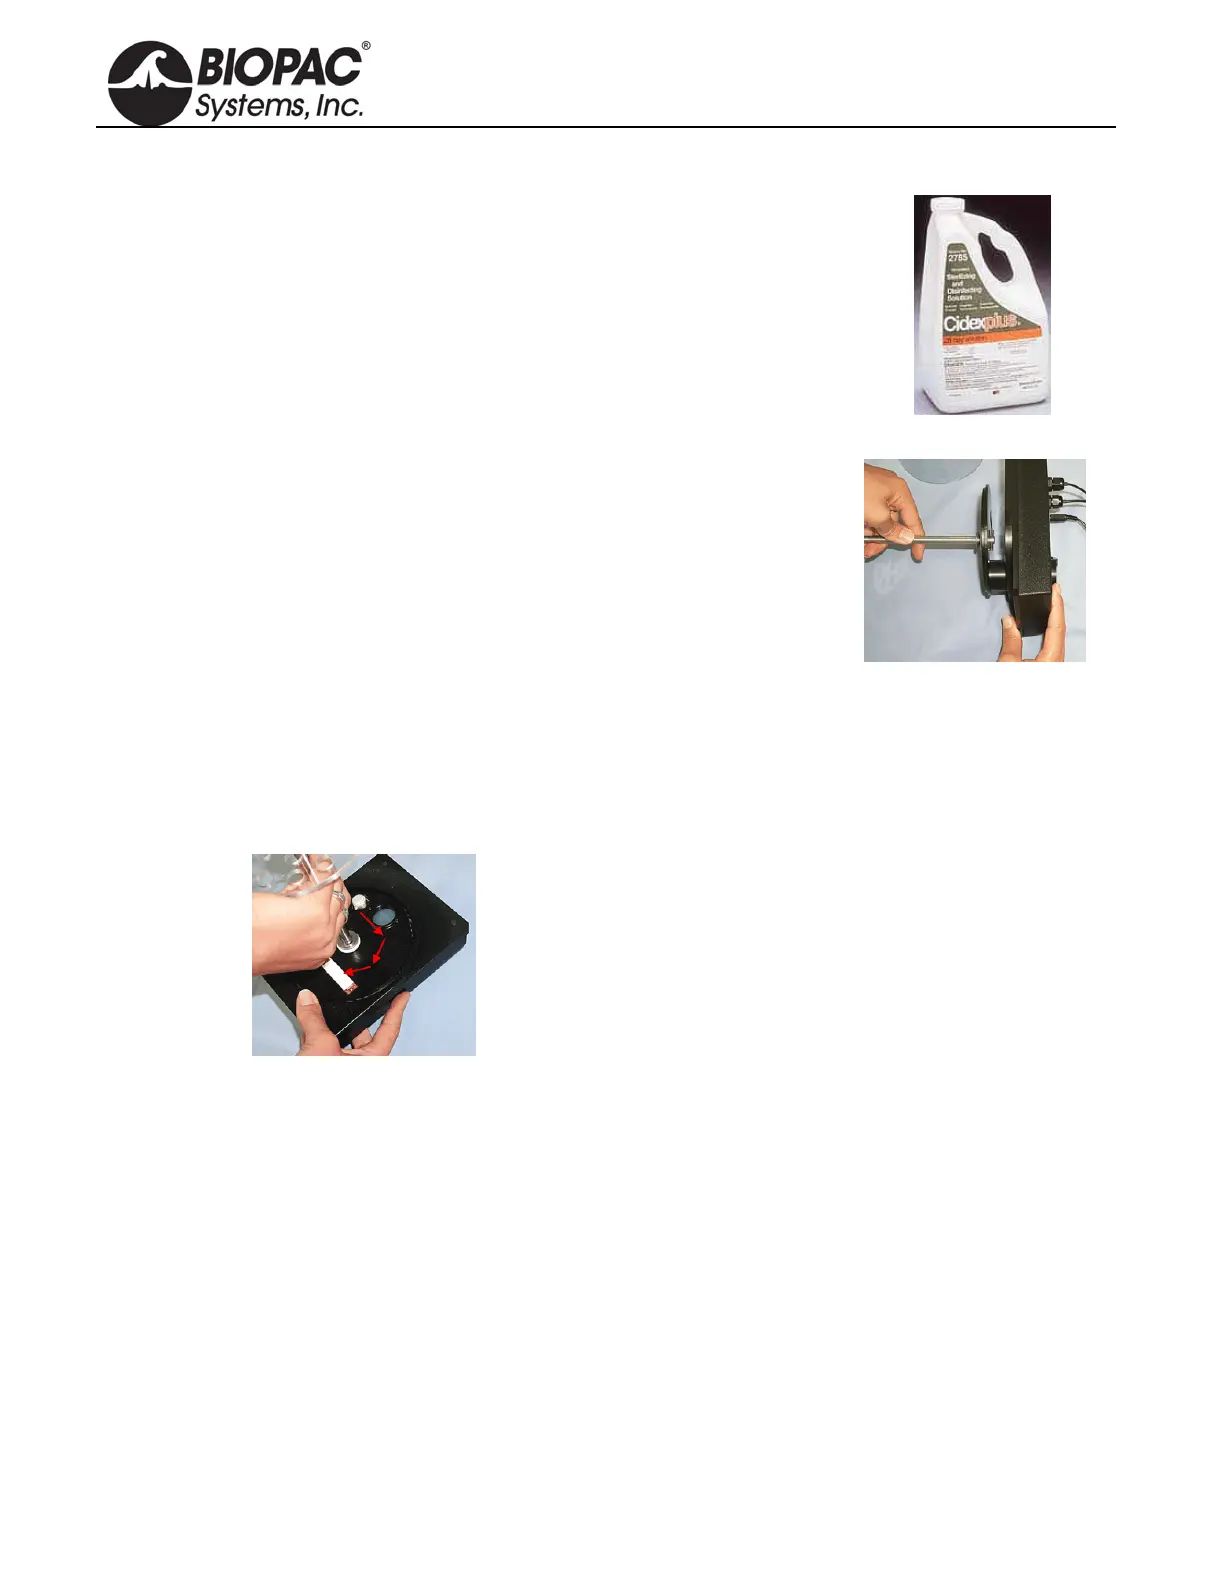
8) Locate the latch opening for the security screw and align it with the screw, and then press the base of the
standing rod to the sensor base.
a. Revolve the rod until the lower screw drops into its opening. When the screw meets its opening, it
should drop into the hole.
b. Depress the rod by applying pressure on the lower third of the piece and rotate it in a clockwise
motion until it locks into position.
9) Ease the clear cylinder back onto the device and lay its lower edge in the track on the electronics base.
10) Re-attach the plastic top to the clear cylinder.
11) Lock the plastic top into place by screwing in the security knob.