4-23
Recording
After you punch record, choosing Undo both discards any new material
you recorded and restores the original material that had been deleted.
You can also combine loop and punch recording to record several takes of
a punch. Say you are working on that perfect take of a guitar solo and
you need to hear a couple of bars of the song as Òpre-rollÓ before you
punch in. By combining looping with punch, you can have each take
begin before you start to play and still have the solo cut in at the
appropriate instant.
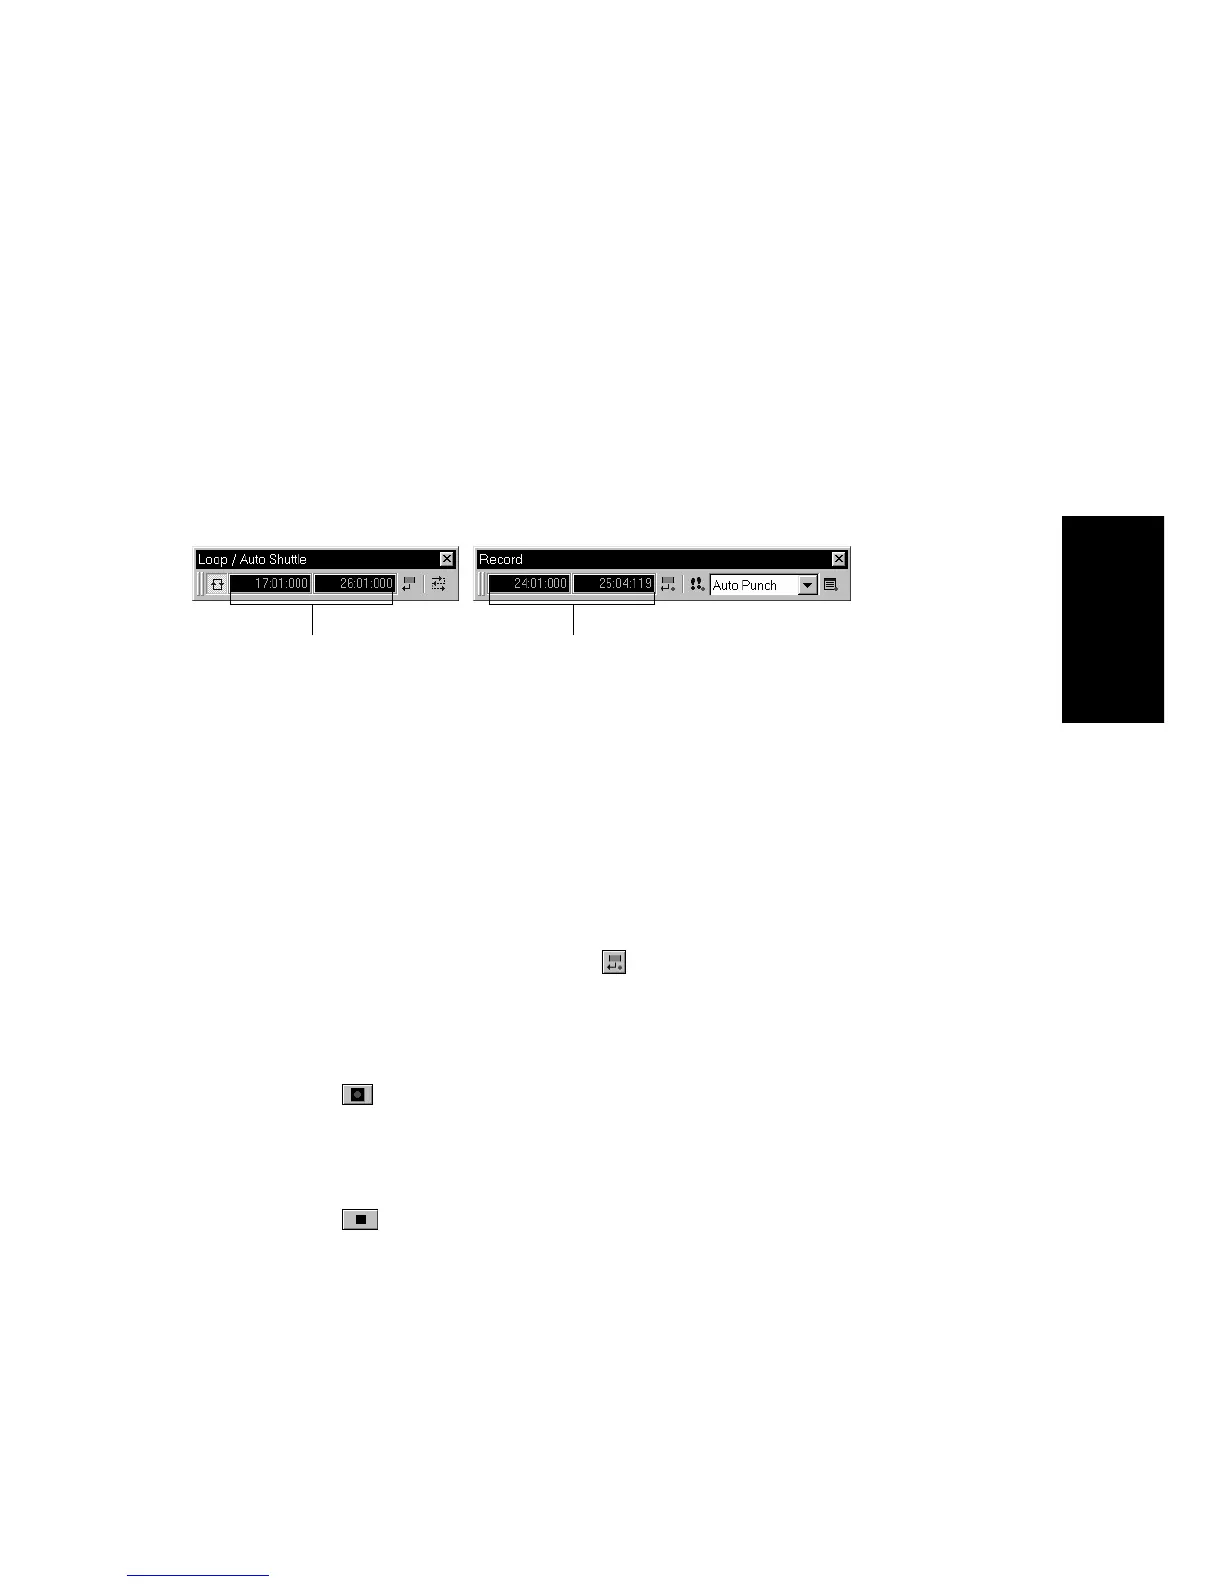
In the example mentioned previously, you could loop from bar 17 to bar
26 but record only bars 24 and 25. HereÕs what this looks like:
To Punch Record…
1. Choose the source for the track(s) you want to record, and arm
the track(s) for recording.
2. Select Auto Punch from the Record Mode drop-down list in the
Record toolbar.
3. Set the start and end times in one of the following ways:
• Enter the times directly on the toolbar
• Select a range of time and click on the Record toolbar
• Select a range of time, then right-click in the time ruler and
choose
Set Punch Points
4. Set the Now time to a point where you want to start playback.
5. Click , press R, or choose
Realtime-Record
. If your
metronome count-in is turned on, it will play the count-in
measures.
6. Play or perform the material you want to record.
7. Click , press the space bar, or choose
Realtime-Stop
to stop
recording.
The material you play during the punch time is recorded in the chosen
track, replacing any existing material.
The punch starts
and ends here
The loop starts and
ends here