2.
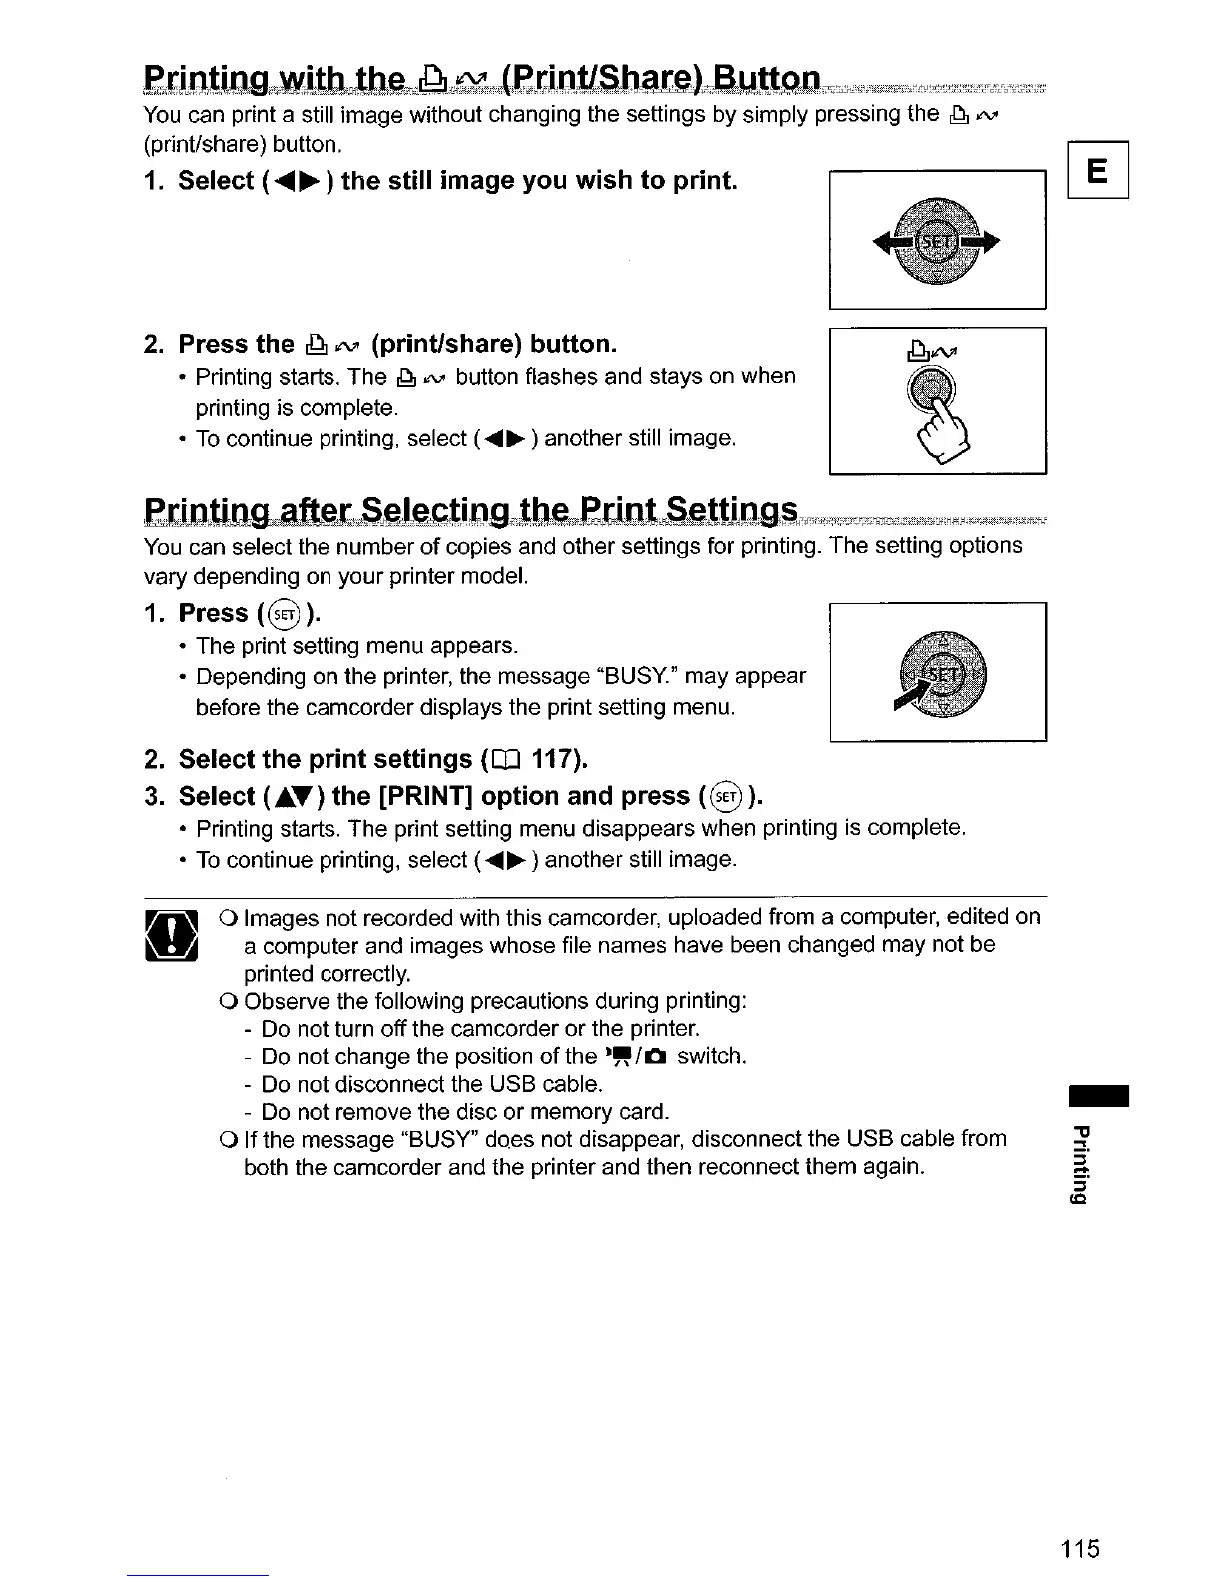
Press the
~
JNI
(print/share) button.
~lN"
• Printing starts. The
.Q.
IN'
button flashes and stays on when
printing is complete.
•
To
continue printing, select (....... ) another still image.
etUltin~L.,Sgl~~t;~;D&L~mt~etint;$cS§ltlOQ$"'df~df;14~70=~2E'3;C;iSS"',M'jf;''',f,1"
You
can select the number
of
copies and other settings for printing. The setting options
vary depending on your printer model.
1. Press
(0).
• The print setting menu appears.
• Depending on the printer, the message "BUSY" may appear
before the camcorder displays the print setting menu.
2.
Select
the
print
settings
(OJ 117).
3.
Select
(.T)
the
[PRINT]
option
and
press
(0)
).
• Printing starts. The print setting menu disappears when printing is complete.
•
To
continue printing, select (....... ) another still image.
H
a Images not recorded with this camcorder, uploaded from a computer, edited on
a computer and images whose file names have been changed may not be
printed correctly.
a Observe the following precautions during printing:
- Do not turn
off
the camcorder
or
the printer.
- Do not change the position
of
the
."
/0
switch.
- Do not disconnect the USB cable.
- Do not remove the disc
or
memory card.
a If the message "BUSY" does not disappear, disconnect the USB cable from
both the camcorder and the printer and then reconnect them again.
-
115
 Loading...