4.
Select
CA.",
....
~)
one character at a
time
and press
(8)
to
add
it
to
the title.
• Select [BACKSPACE] and press
(8)
to delete the last character in the title.,
•
You
can set a title up to 20 characters long.
5.
Once you
finish
editing
the title, select [SET] and press
(e
).
6.
Select [YES] and
press
(§
)
to
save the title.
o'
Select [NO] and press
(e)
to cancel the operation and return to the menu.
7.
Press the MENU
button
to
close the menu.
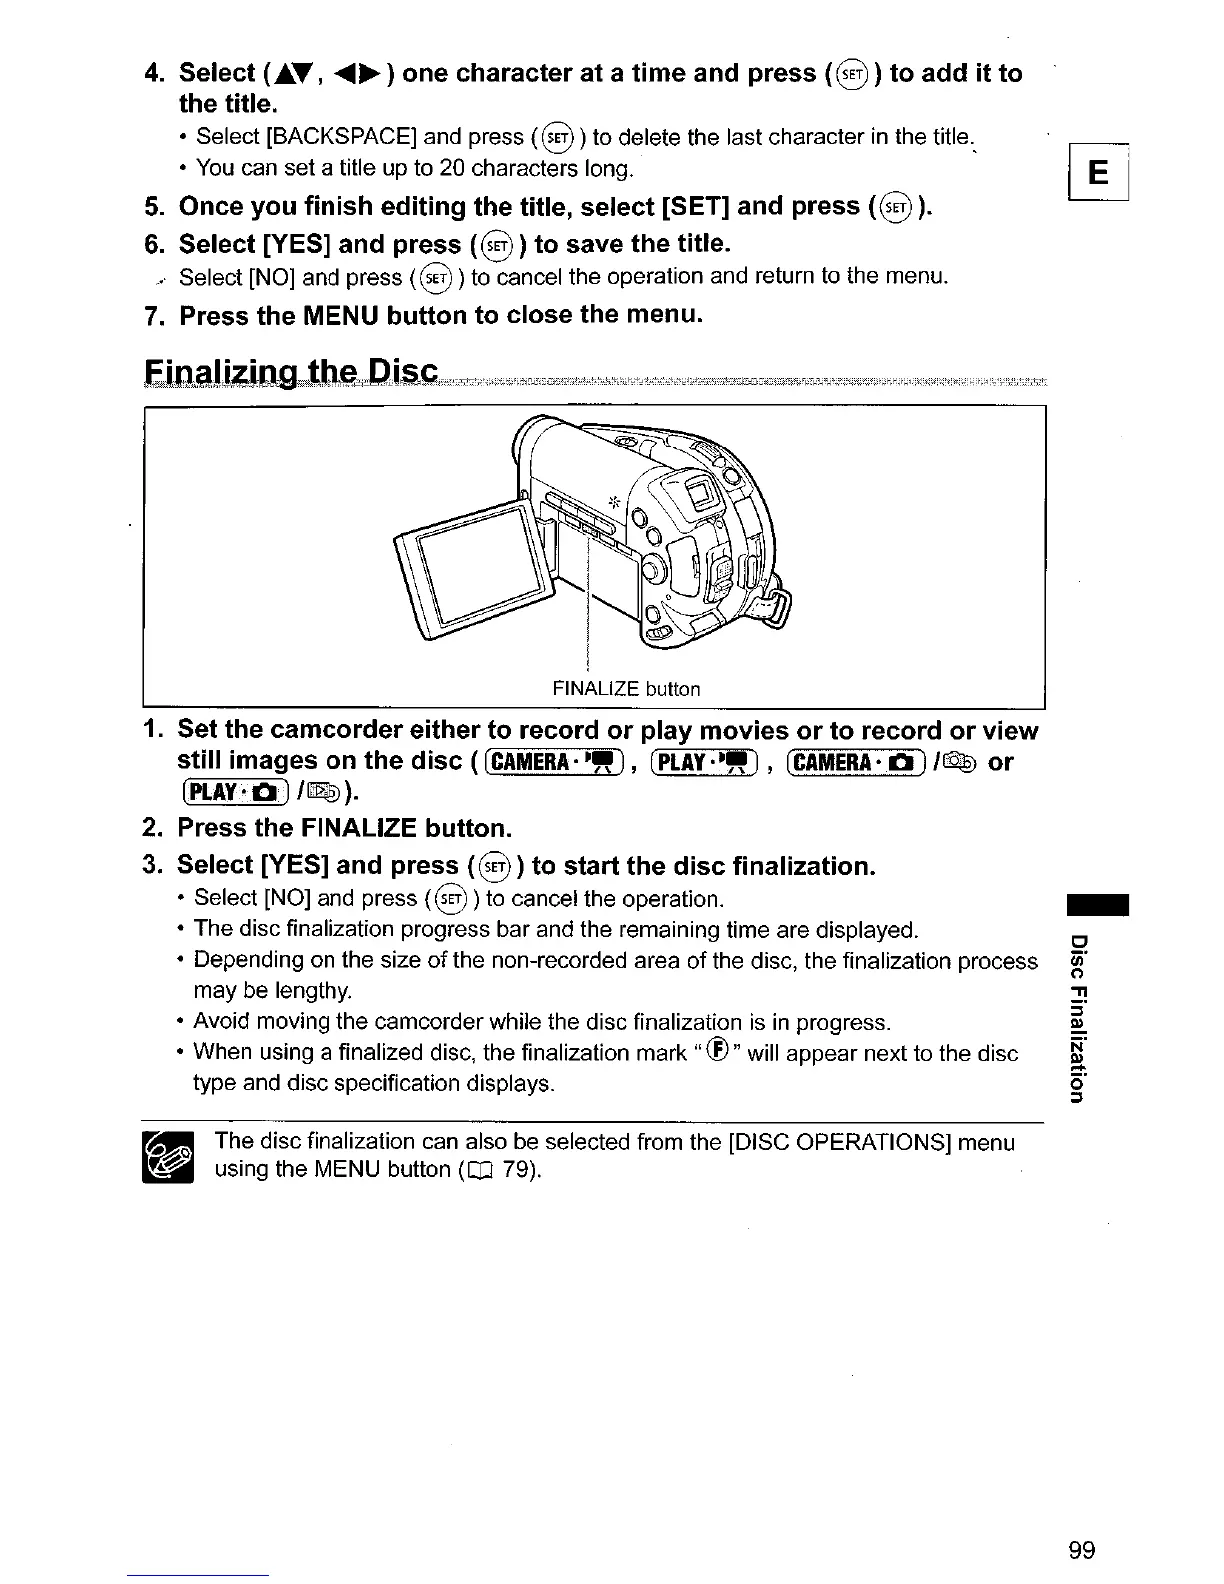
FINALIZE button
1.
Set the
camcorder
either
to
record
or
play movies
or
to
record
or
view
still images on the
disc
([CAMERA'·"),
[PLAY'·"),
(CAMERA'
0)
I~
or
[PLAY'O)
IQl
).
2.
Press the FINALIZE button.
3.
Select [YES] and press
(§
)
to
start the
disc
finalization.
• Select [NO] and press
(§
)to cancel the operation.
• The disc finalization progress bar and the remaining time are displayed.
• Depending on the size
of
the non-recorded area
of
the disc, the finalization process
may be lengthy.
• Avoid moving the camcorder while the disc finalization is
in
progress.
• When using a finalized disc, the finalization
mark"
®"
will appear next to the disc
type and disc specification displays.
rat! The disc finalization can also be selected from the [DISC OPERATIONS] menu
~
using the MENU button ([IJ 79).
-
99