FaroArm® Quantum
August 2017
92
Chapter 4: Probes
1. Set up your Quantum and install the 6 mm or 3 mm ball probe.
2. Loosen the handle locking ring by turning it counterclockwise.
3. Remove the protective cover.
4. Insert the front edge of the probe into the slot.
5. Push the probe handle in so that the connectors connect.
6. Tighten the locking ring by turning it clockwise. Do not over-tighten the
ring.
NOTE: Remove the FARO Laser Line Probe from the Quantum before
packing.
See “Packing the Quantum” on page 29.
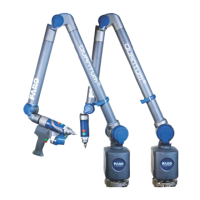
Figure 4-7 Attaching the 7-Axis Handle
Figure 4-8 Attaching the 7-Axis Handle
08m80e00_FaroArm_Quantum.book Page 92 Tuesday, August 22, 2017 11:03 AM