FaroArm® Quantum
August 2017
96
Chapter 4: Probes
Range Finder Dialog Box
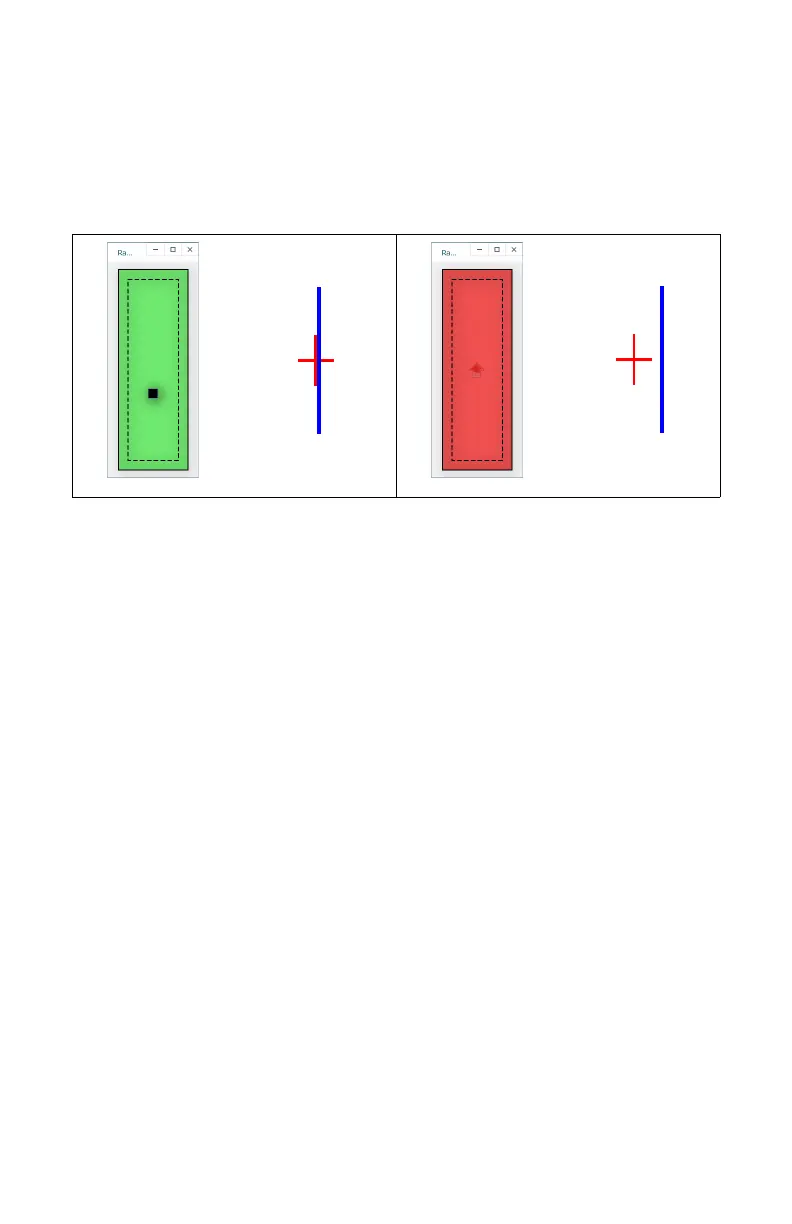
The FARO Laser Line Probe software has a RANGE FINDER dialog box. This
dialog box graphically displays the probe-to-part distance and the area of the
laser line that the camera is processing.
When the FARO Laser Line Probe is within the operating range, the center of the
target displays as a small box in the R
ANGE FINDER dialog box, see Figure 4-10.
The box moves as the FARO Laser Line Probe moves:
• Up - as you move the Laser Line Probe closer to your part
• Down - as you move the Laser Line Probe farther from your part
• Left - the right side of the line is in range
• Right - the left side of the line is in range
The target box changes color:
• Green - all of the laser is in range
• Orange - some of the laser is in range
• Red - none of the laser is in range
When the FARO Laser Line Probe is outside of the operating range, the target
box moves to a side of the R
ANGE FINDER dialog box and an arrow in the center
of the dialog box points to the target box, see
Figure 4-11.
If the FARO Laser Line Probe is set to an Automatic exposure algorithm, there is
an additional symbol in the upper left corner of the R
ANGE FINDER dialog box.
The symbol changes describes the exposure:
• Red Minus Sign (-) - low exposure
• Green Circle (O) - good exposure
• Red Plus Sign (+) - high exposure
For more information, see “FARO Laser Line Probe Settings” on page 104.
Figure 4-10 Laser Line Probe in range Figure 4-11 Laser Line Probe not in range
08m80e00_FaroArm_Quantum.book Page 96 Tuesday, August 22, 2017 11:03 AM