Revision 1 145 9/10/2019
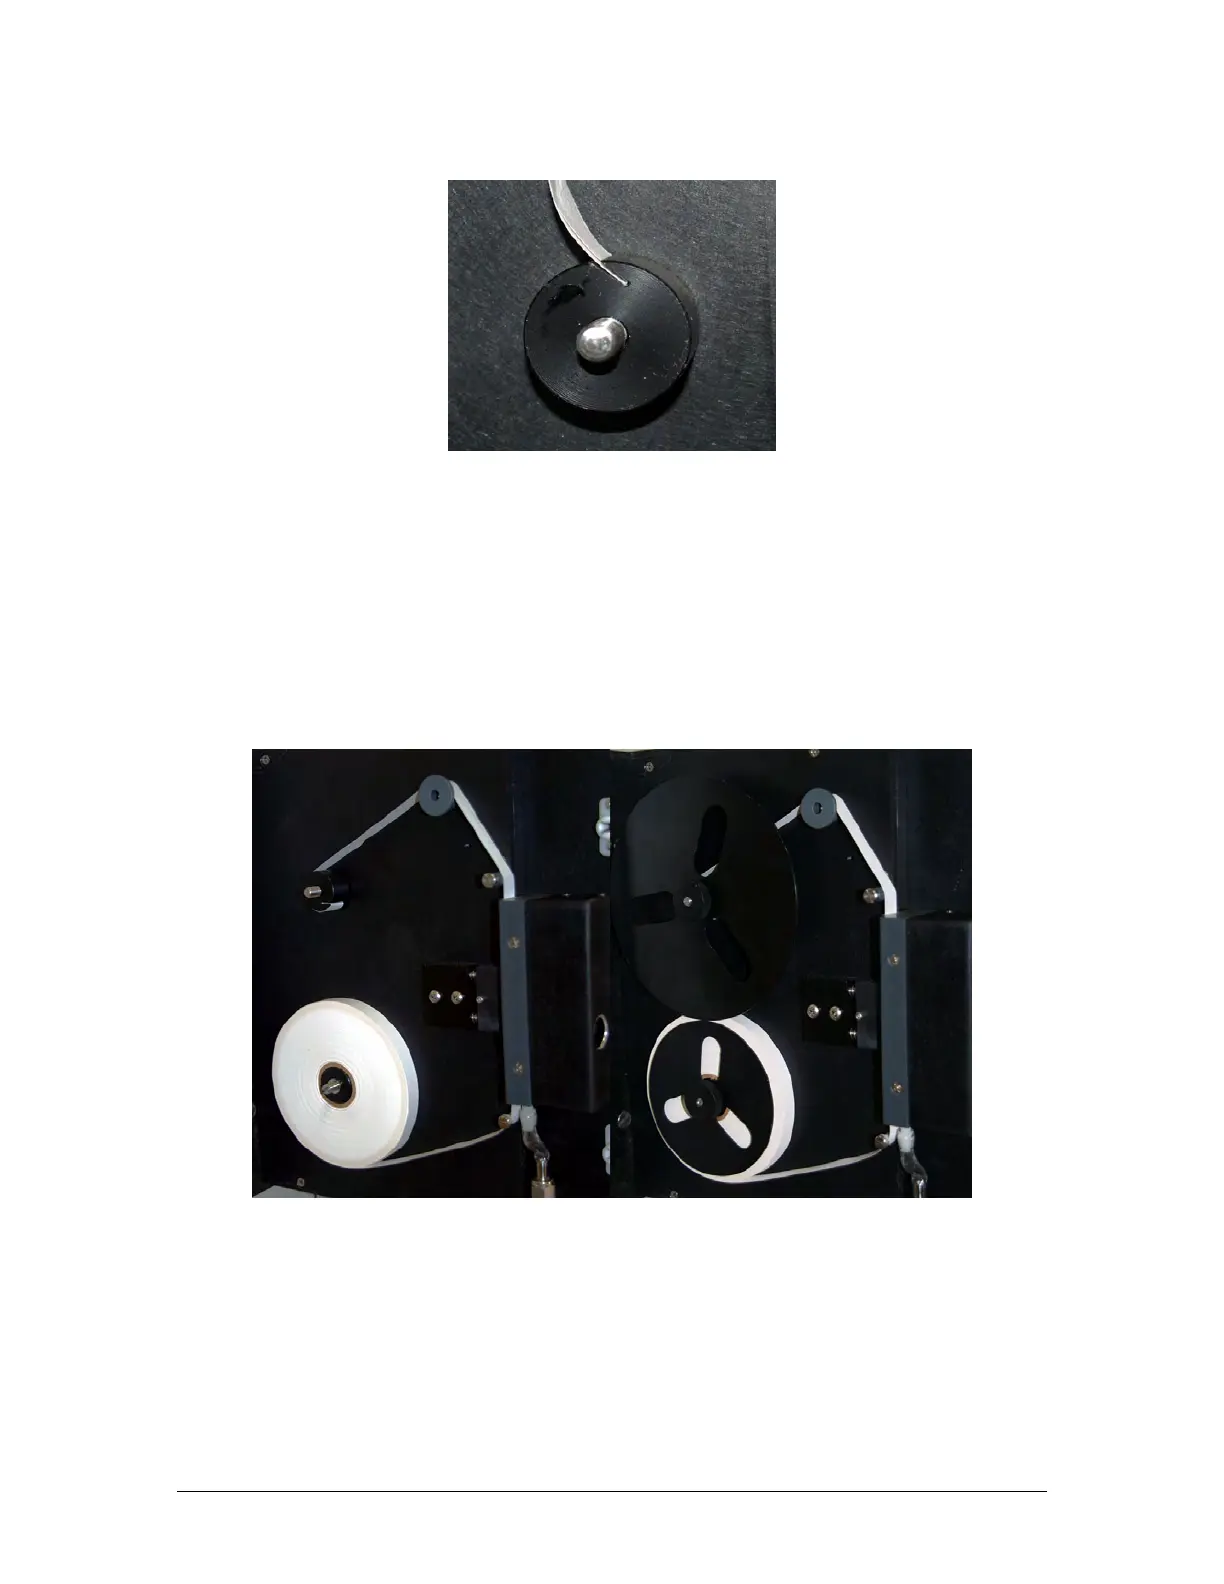
Figure 7-3: Insertion of Tape End into Take-up Reel
k) Replace the screw-on disks onto the supply and take-up reel. The larger disk goes on the
take-up reel.
l) Take up any slack in the tape by rotating the tape reel on the supply reel clockwise until
the tape is tight.
The correct installation of tape on the analyzer is shown in Figure 7-4. The image on the
left shows the completed tape installation without the anti-coning disks and the one on
the right shows the tape installation with the disks.
Figure 7-4: Installation of Sensing Tape
m) Advance tape a few inches with the TAPE ADV key.
n) Check the tape for proper take-up.