126
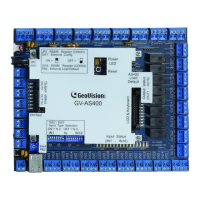
You can install GV-AS1010 / 1110 / 210 / 2110 / 2120 / 410 / 4110 / 810 / 8110 and GV-
EV48 on a network and set up general settings, doors/gates/elevators, readers, and
input/output devices through its Web interface. Through the network connection, you can
also connect GV-AS / GV-EV Controller to GV-ASManager for more comprehensive
management.
The GV-AS / GV-EV Controller must first be assigned an IP address to make it accessible
on the network.
1. Connect the network cable to the Ethernet port on GV-AS / GV-EV Controller.
2. Use a computer on the same LAN with the controller to assign an IP address.
The default address is https://192.168.0.100
The default Username and Password for login are admin
Note the computer used to set the IP address must be on the same network or subnet
sequence assigned to the controller.
3. GV-AS / GV-EV Controller is able to support two network environments: Fixed IP for a
static IP address and DHCP for a dynamic IP address assigned by an ISP or DHCP
server. Based on your network environment, refer to the next two sections for setup.
Note:
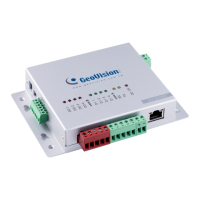
1. To access the Web interface of GV-AS100 / 110 / 120 and allow communication with
GV-ASManager over the network, a GV-ASBox or GV-ASNet is required. Refer to
Chapter 9 Optional Devices for more details.
2. The Web interface varies for different GV-AS Controller models.
 Loading...