Operating the 200 Cameras for Digital Imaging and Film Photography 209
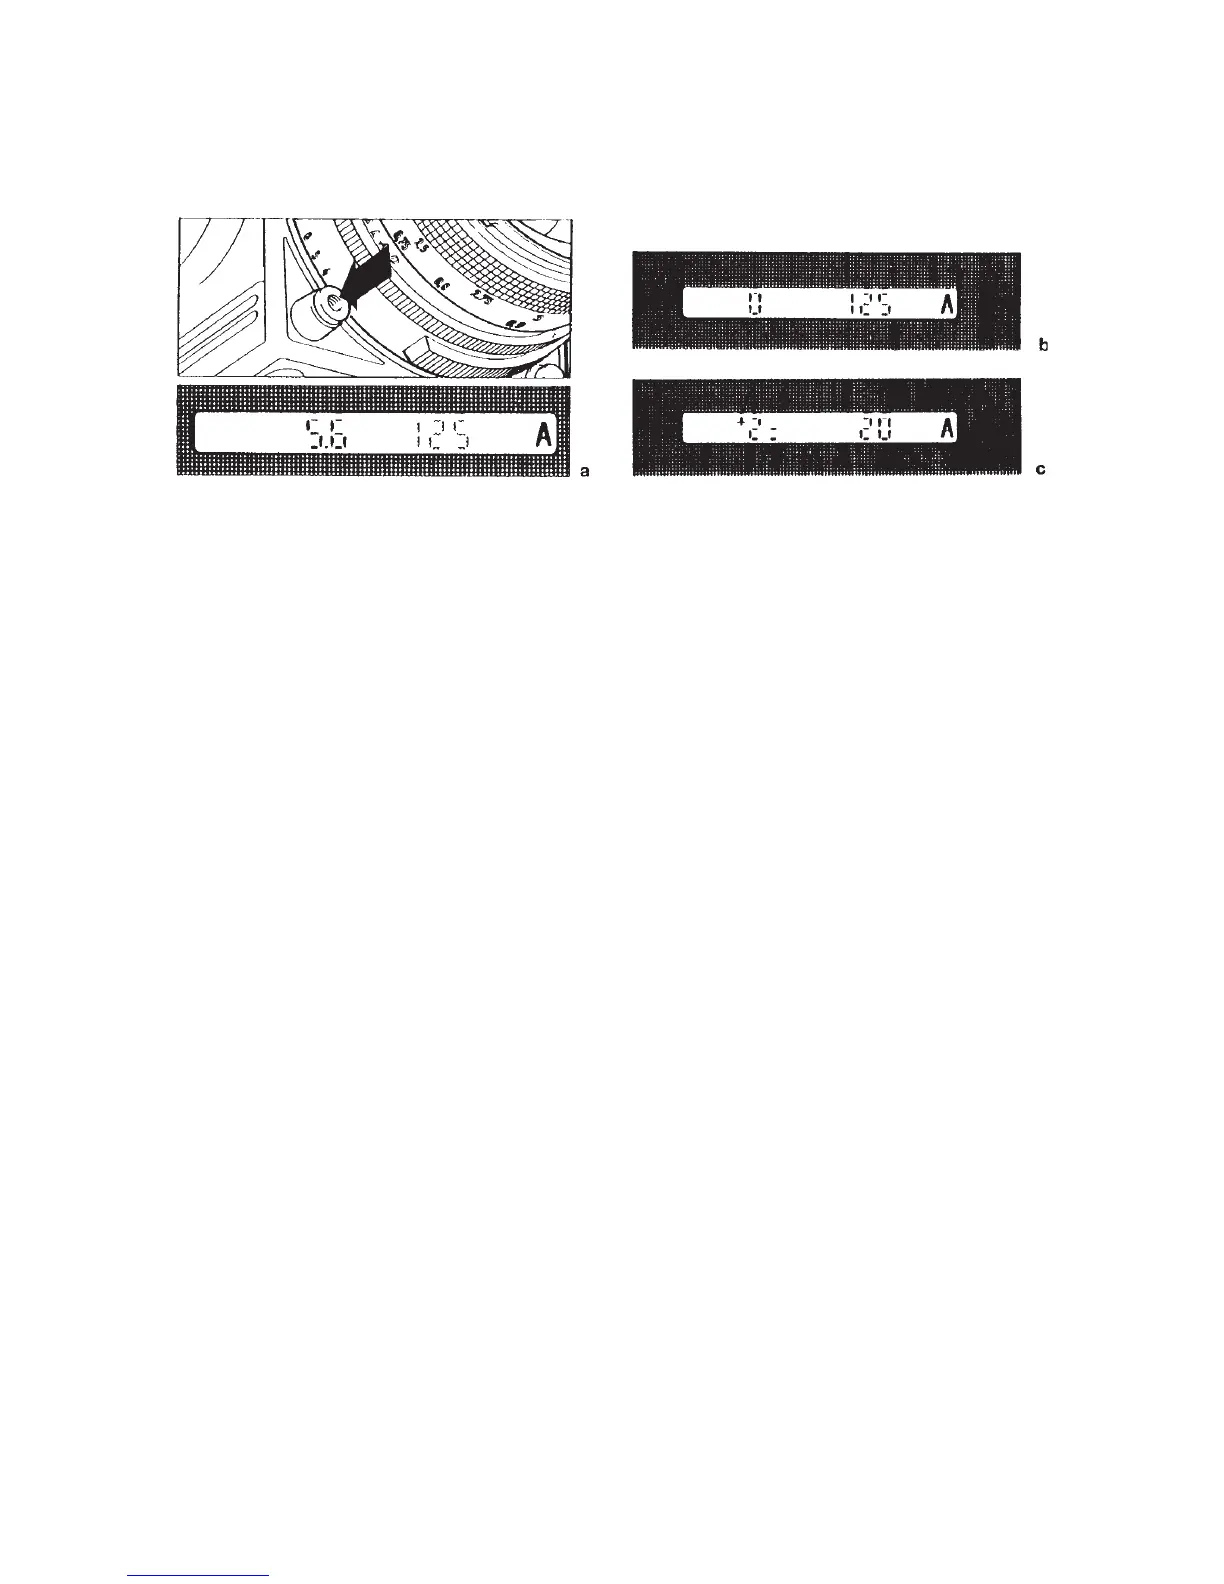
Figure 12-13 Display of shutter speed and aperture. In the A, D, and Z modes, the display shows
the selected mode, the shutter speed, and a 0 (zero) indicating the correct exposure for that
area (b). The aperture is visible when you press the release halfway (a). When you change
shutter speed by pressing an adjustment button the display shows the new shutter speed and
the deviation (c), or the new zone.
you the point-and-shoot approach when there is no time for more careful meter readings.
It works well with 203 cameras where the built-in meter measures a rather large center area.
I do not suggest the automatic mode on the 205 camera because the small spot metering area
may point at a subject area that gives wrong readings. Although the shutter speed is set auto-
matically, I suggest having a quick look at the shutter speed indicated in the viewfi nder to
ascertain that it is usable for your photographic approach. You can lock the set value by press-
ing the AE lock. This is automatically done in the D and Z modes, which is the main advantage
for considering these two modes for all photography.
Automatic Bracketing Mode
With the motor winder attached and the 203 or 205 FCC camera set to PR, program the
desired bracketing value —
1
/
3
f stops on the 203 and ¼ f stops on the 205 — into the camera
with the adjustment buttons (see Figure 12-14). The numeral 0 changes to horizontal fraction
lines, and the maximum value is 1 stop. Set the mode control to AB. If you want only three
images, remove your fi nger from the release after the third take.
Differential and Zone Modes
The differential D mode and the zone Z mode work the same way but the viewfi nder display
is different. You see 0 on the right in the D mode, and zone 5 at Z with the shutter speed
displayed on the right in both modes. Figure 12-15 shows the fi nder display in the D mode;
Figure 12-16 does the same for the Z setting. With the lens aperture preset, point the metering
area at a desired part of the subject and turn on the metering system using the AE lock. The
shutter speed sets itself and also locks itself instantly.
This automatic locking is the real benefi t of working in the Z or D mode. These are the
modes that I recommend for most subjects and applications, except perhaps fl ash. They
offer a wonderful, logical, fast, and convenient method of taking accurate meter readings no