174 Powermax30 AIR Service Manual 808850
6 – Power Supply Component Replacement
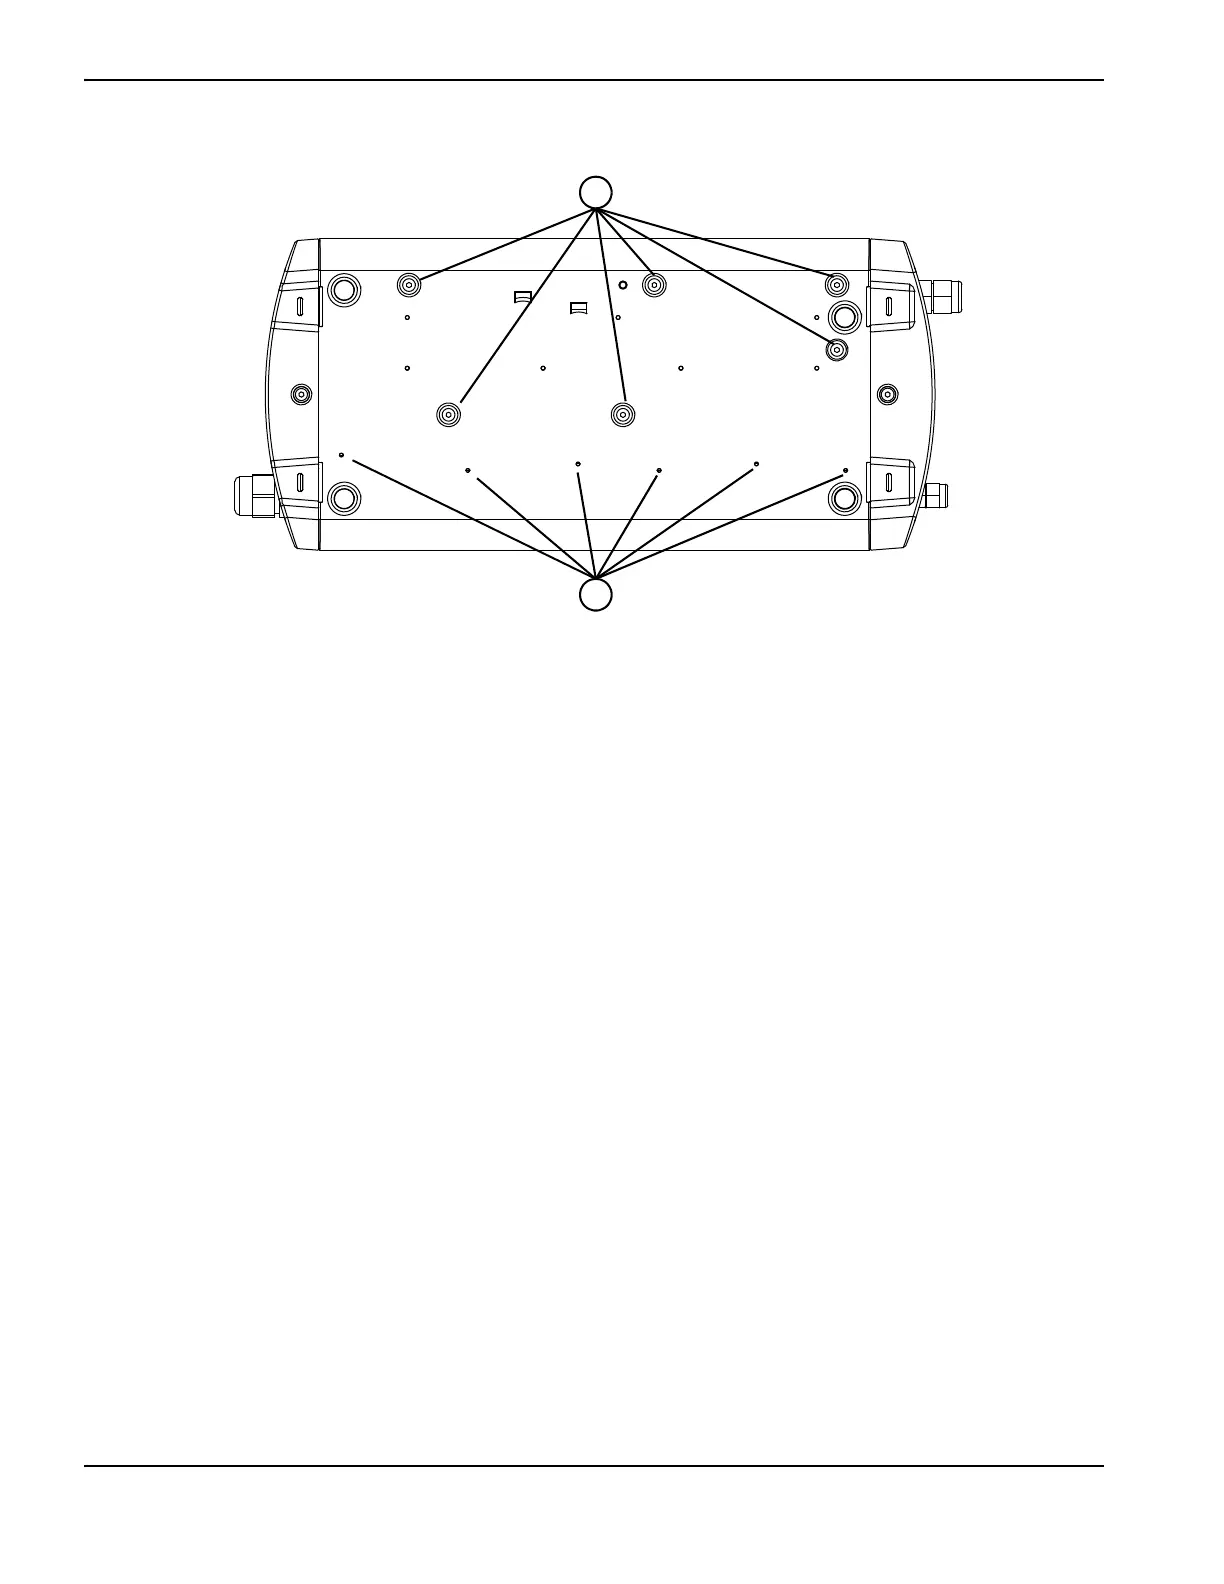
Figure 85
Install the base
1. Position the new base over the metal plate on the bottom of the power supply so that the screw holes align with the
holes in the metal base plate for the bottom components.
2. Align the wires from the magnetics assembly with the notches at the bottom of the center panel so that the wires do
not get pinched.
3. Press the plastic base into the power supply until it snaps into place.
4. Attach the plastic base to the bottom components using the 6 screws.
5. Complete the following procedures:
a. See Install the internal compressor on page 163.
b. See Install the heat exchange coil on page 158.
c. See Install the fan on page 156.
d. See Reattach the rear panel on page 106.
e. See Reattach the front panel on page 103.
f. See Install the component barrier on page 101.
g. See Install the power supply cover on page 99.
h. Reconnect the power cord, and set the power switch to ON (I).
 Loading...


