Plasma Power Supply
XPR300 Field Service Bulletin 809970 21
Replace the heat-exchanger assembly
See Fans on page 121 for location and part number.
Remove the heat-exchanger assembly
1. Complete the following procedures:
a. Remove the power from the cutting system.
b. See Remove the right-side (liquid-cooling-side) panel on page 60.
c. See Remove the top panel on page 63.
Keep all nuts and screws that you remove.
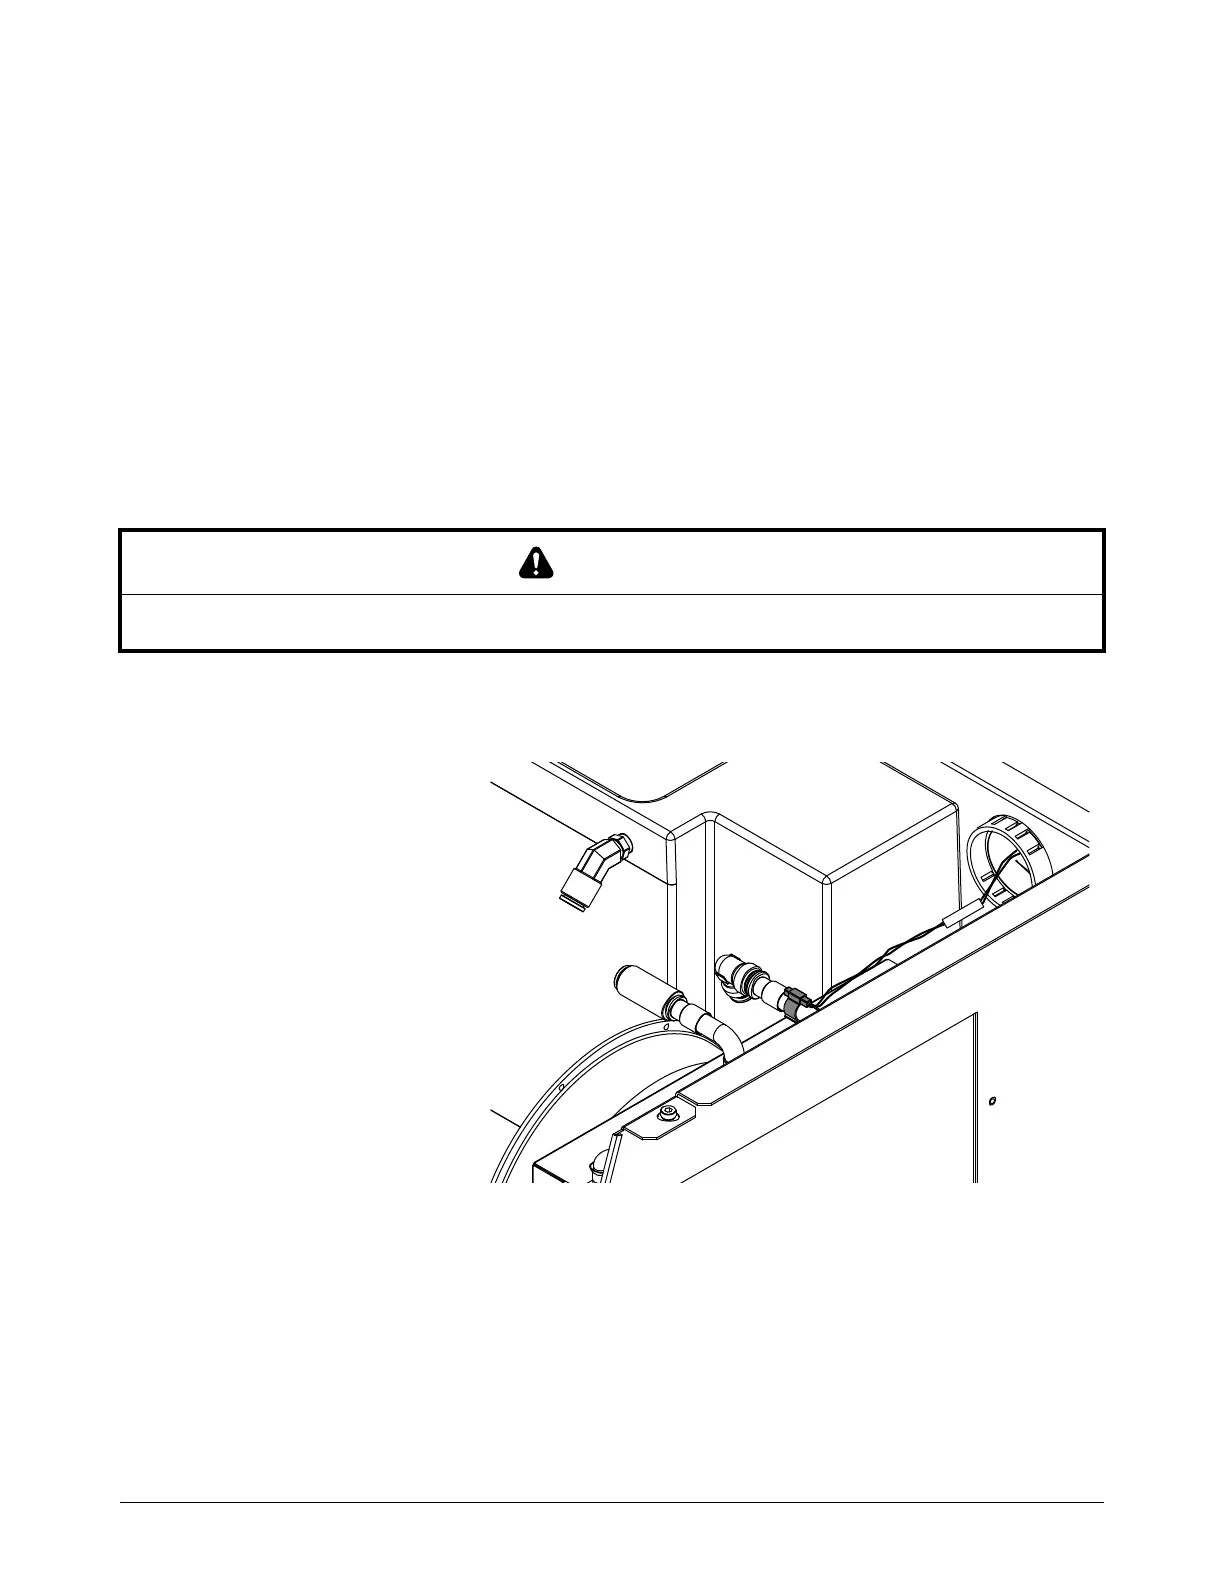
2. Remove the push-to-connect fittings from the inlet and the outlet of the heat-exchanger
assembly, and immediately put the ends of the hoses in a container.
3. Carefully remove the
copper clip and thermistor
from the pipe.
Do not deform the
copper clip.
CAUTION
Sharp cooling fins can cause cuts. Use caution when you work near the cooling fins.

 Loading...


