Plasma Power Supply
24 809970 Field Service Bulletin XPR300
Replace the coolant thermistor
See Coolant system on page 122 for location and part number.
1. Complete the following procedures:
a. Remove the power from the cutting system.
b. See Remove the right-side (liquid-cooling-side) panel on page 60.
c. To make removing the thermistor easier, you can remove the top panel. See Remove the top
panel on page 63.
Keep all nuts and screws that you remove.
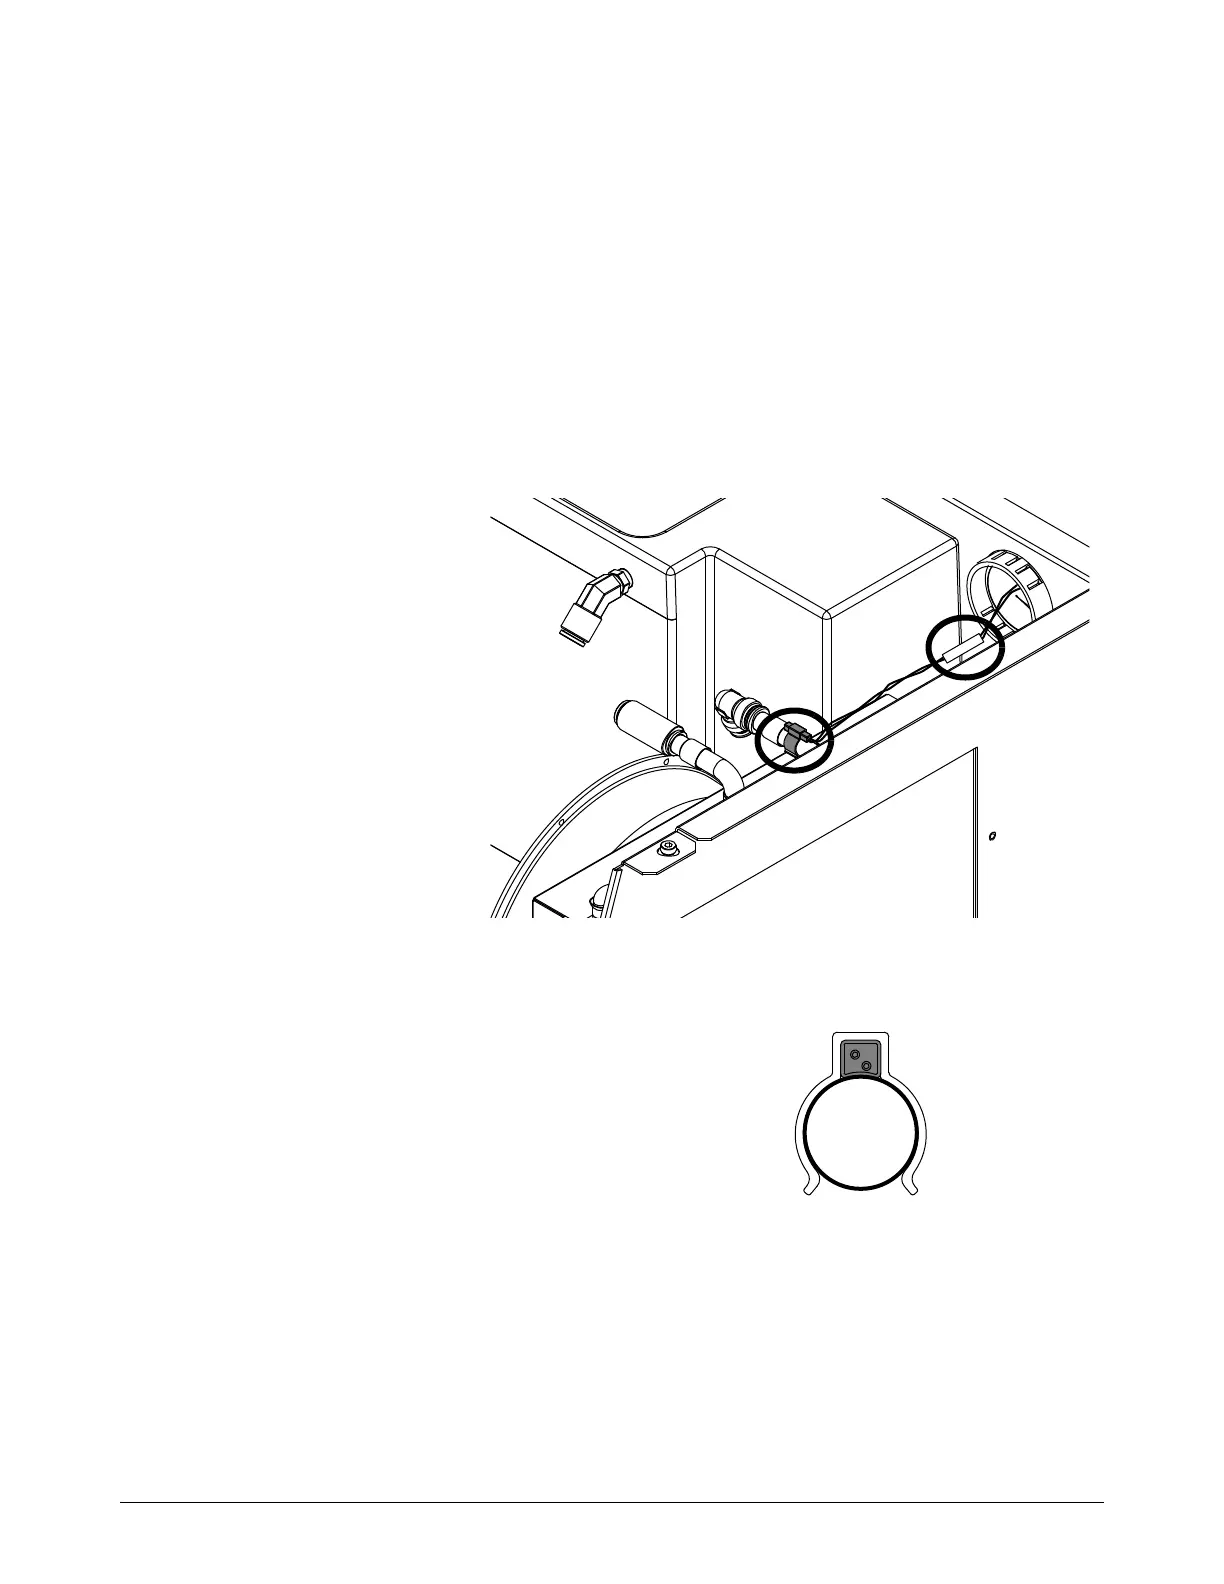
2. Disconnect the thermistor
wire connector (J5).
3. Remove the wires from the
wire clip.
4. Carefully remove the
copper clip from the pipe.
5. Use the new copper clip to
install the coolant
thermistor onto the straight
part of the pipe with the
wires going toward the
heat-exchanger panel.
Make sure that
the copper clip
fits tightly around the pipe.
Make sure that the concave side of the coolant
thermistor is toward the pipe.
Do not put the coolant thermistor on the fittings of the
heat-exchanger assembly.
6. Connect the thermistor wire connector (J5).
7. Install the liquid-cooling side panel.
8. Use the XPR web interface to make sure that there are no coolant temperature errors.
For more information on the XPR web interface, see the Connect for
Communication in the XPR300 Instruction Manual (809480).