Gas Connect Consoles
86 809970 Field Service Bulletin XPR300
6. Choose TEST PREFLOW.
7. Adjust the regulator until the Line B inlet sensor (P1) reads 6.9 bar (100 psi) on the XPR web
interface.
Set the Ar regulator
1. Load one of the following sets of consumables:
300 A O
2
/Air
170 A O
2
/Air
2. Use the XPR web interface to load one of the following processes:
1205 for the 300 A consumables
1157 for the 170 A consumables
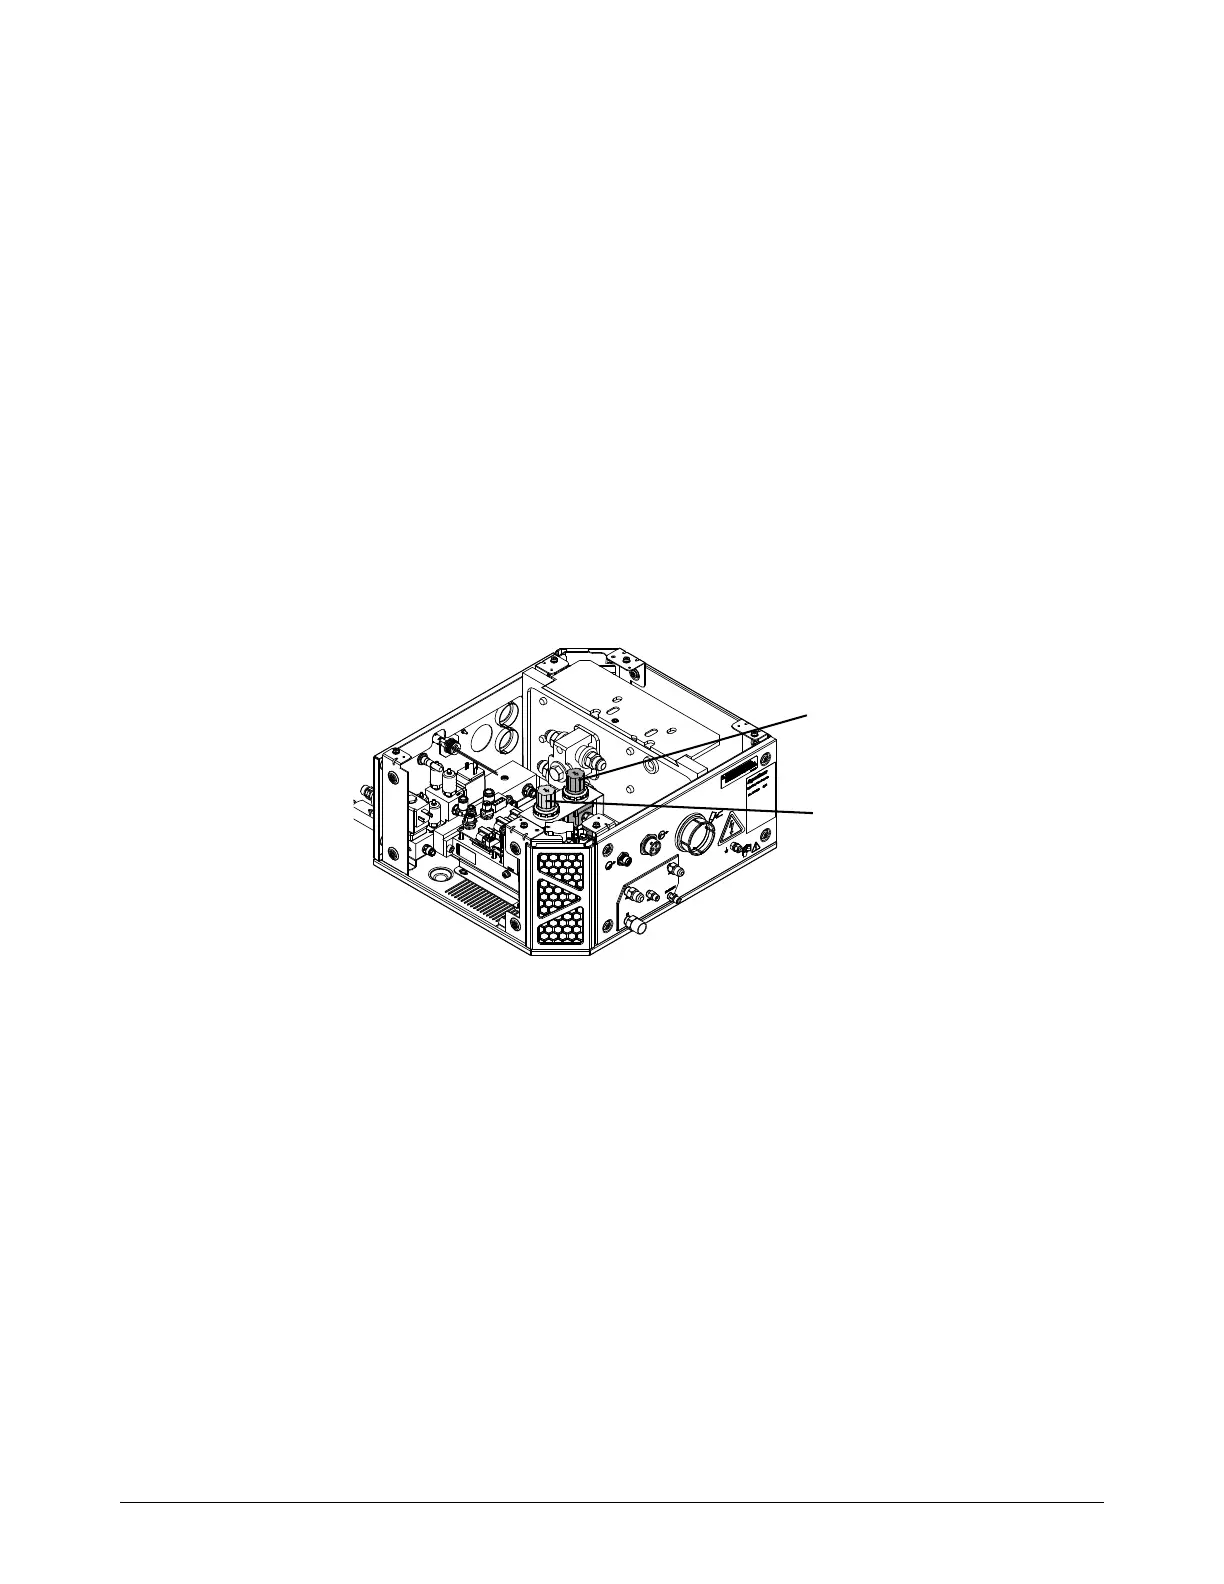
3. Remove the cover for OptiMix gas connect console.
4. Pop the Ar regulator knob up so the orange indicator is visible.
5. Go to Gas System in the XPR web interface.
6. Choose TEST PIERCEFLOW.
7. Adjust the regulator until the shield inlet sensor (P4) reads 6.9 bar (100 psi) on the web
interface.