Gas Connect Consoles
74 809970 Field Service Bulletin XPR300
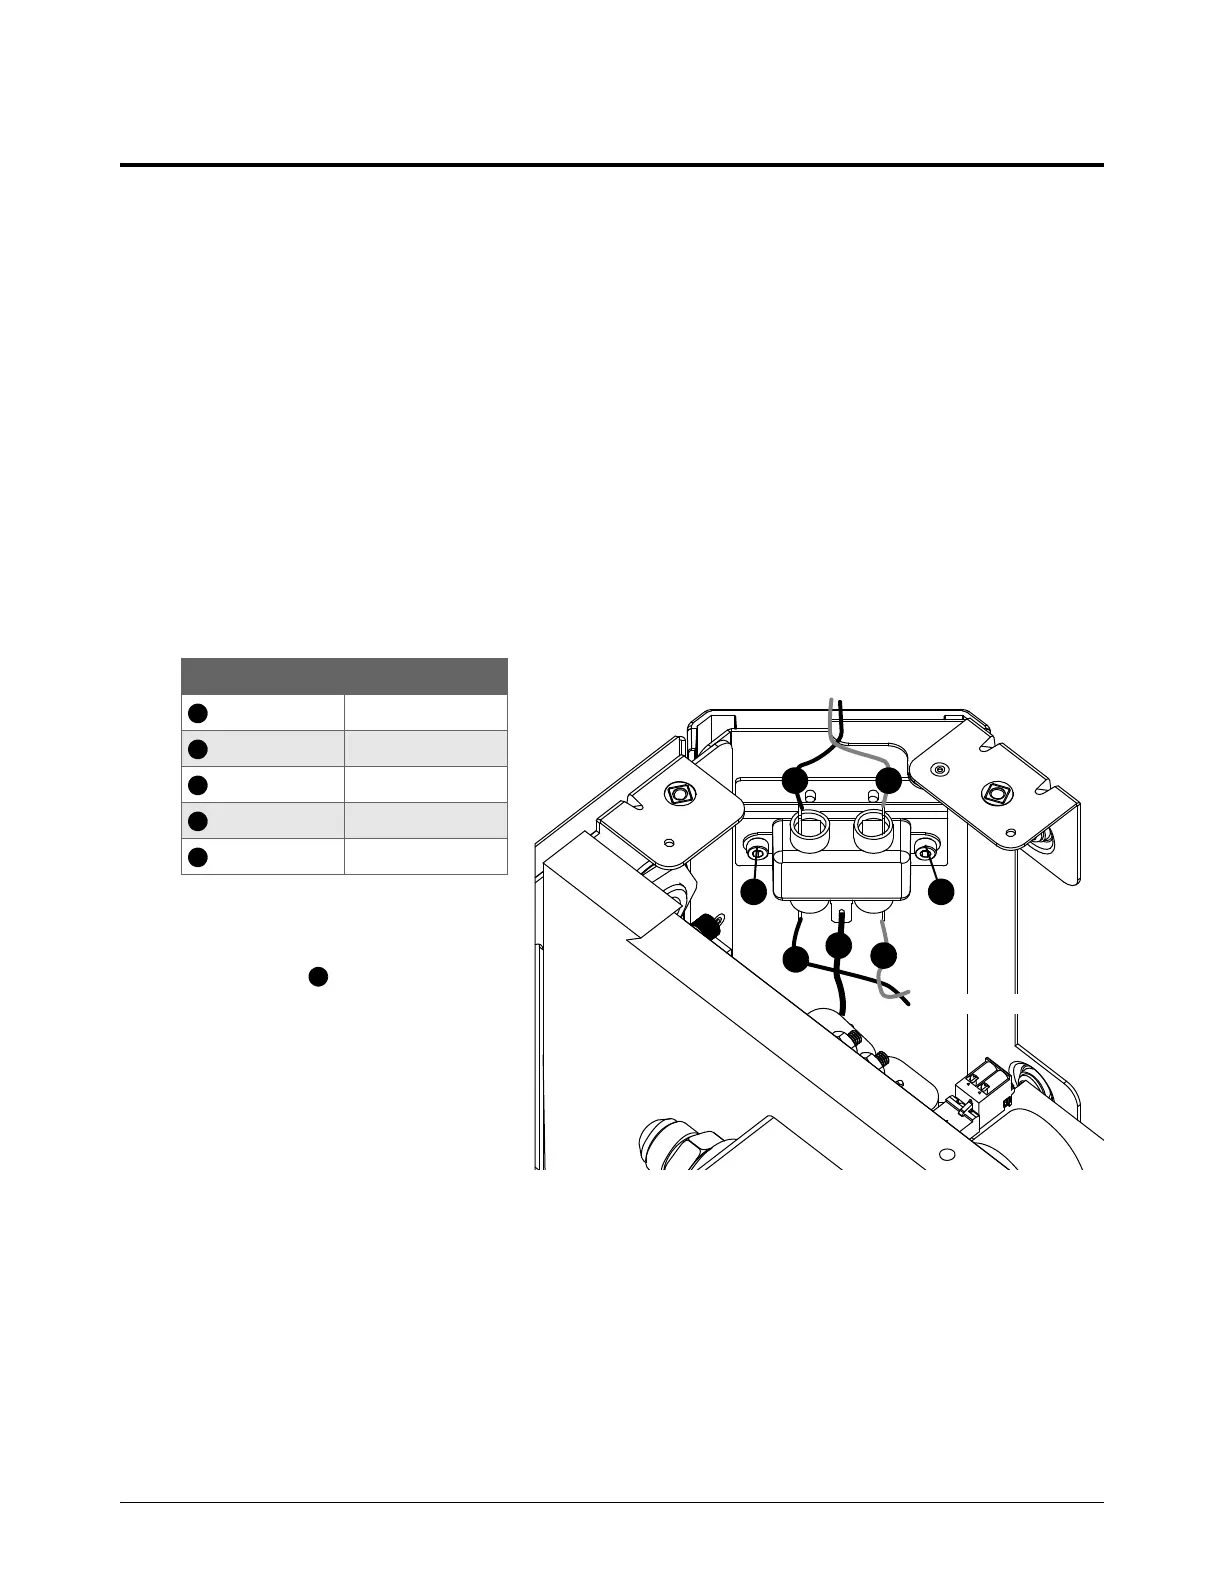
Replace the EMI filter
See Gas connect console high-voltage side parts on page 130 for
location and part number.
1. Complete the following procedures:
a. Remove the power from the cutting system.
b. Remove the top panel.
c. Remove the insulator.
d. Remove the high-voltage-side panel.
See Gas connect console panels on page 87.
Keep all nuts and screws that you remove.
2. Remove the wires.
3. Use a 3 mm, hexagonal-key
wrench to remove the
2 screws .
4. Use the 2 screws to install the
EMI filter.
5. Install the wires as shown.
6. Install the high-voltage-side
panel.
7. Install the insulator panel.
8. Install the top panel.
Wire number Wire color
red/black
red
red/black
green/yellow
red