Plasma Power Supply
22 809970 Field Service Bulletin XPR300
4. Use a 10 mm, hexagonal-socket wrench
to remove the 7 nuts that attach the
heat-exchanger panel.
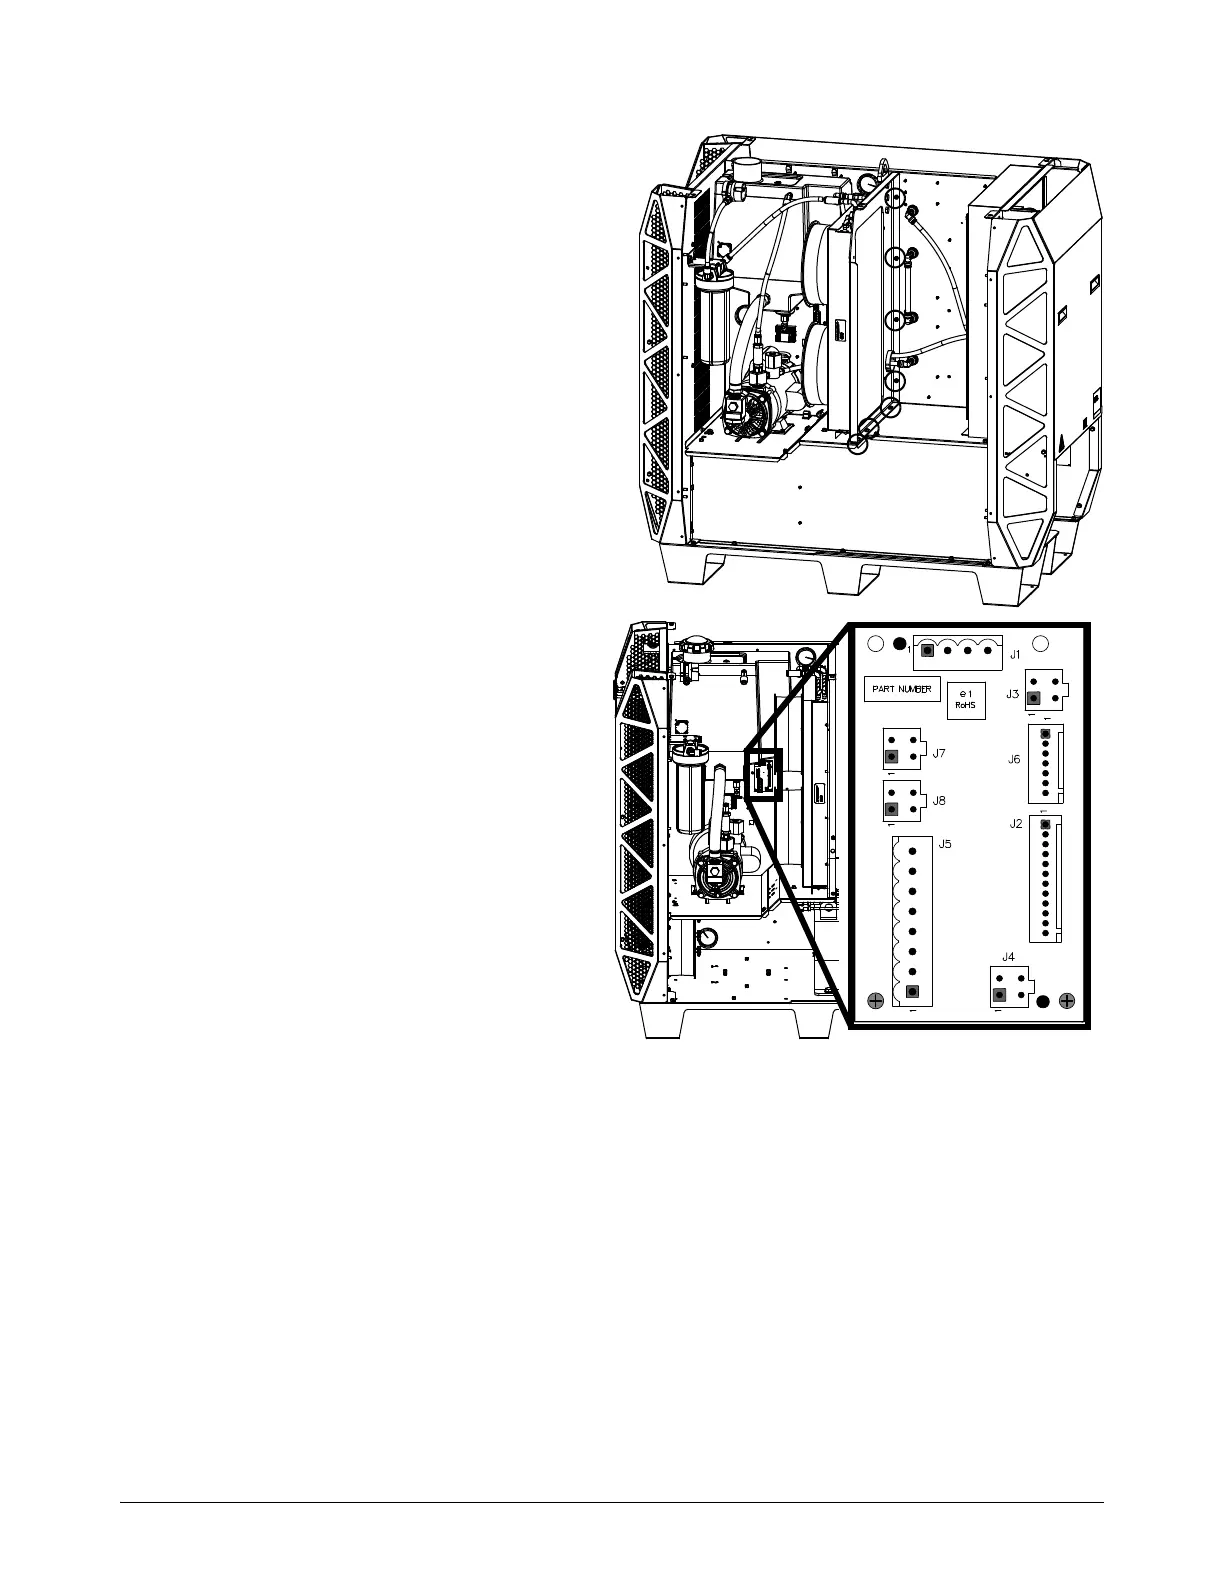
5. Disconnect the connectors for the fan
wires from the fan power distribution
PCB:
J3 for the top fan
J4 for the bottom fan
6. Pull the heat-exchanger panel away from
the center panel.
7. Use a 10 mm, hexagonal-socket wrench
to remove the nuts that connect the
heat-exchanger assembly to the
heat-exchanger panel.
8. Remove the heat-exchanger assembly
and fans from the plasma power supply.
9. Remove the 4 screws from each fan to remove the fans from the heat-exchanger assembly.
Install the heat-exchanger assembly
1. Use tape to attach protective material, such as cardboard, onto the rear of the new
heat-exchanger assembly to protect the cooling fins.
2. Use 4 screws to install each fan onto the new heat-exchanger assembly.
3. Use the nuts to install the new heat-exchanger assembly onto the heat-exchanger panel in the
plasma power supply.
4. Push the heat-exchanger panel back into position.