Torch Connect Console
XPR300 Field Service Bulletin 809970 91
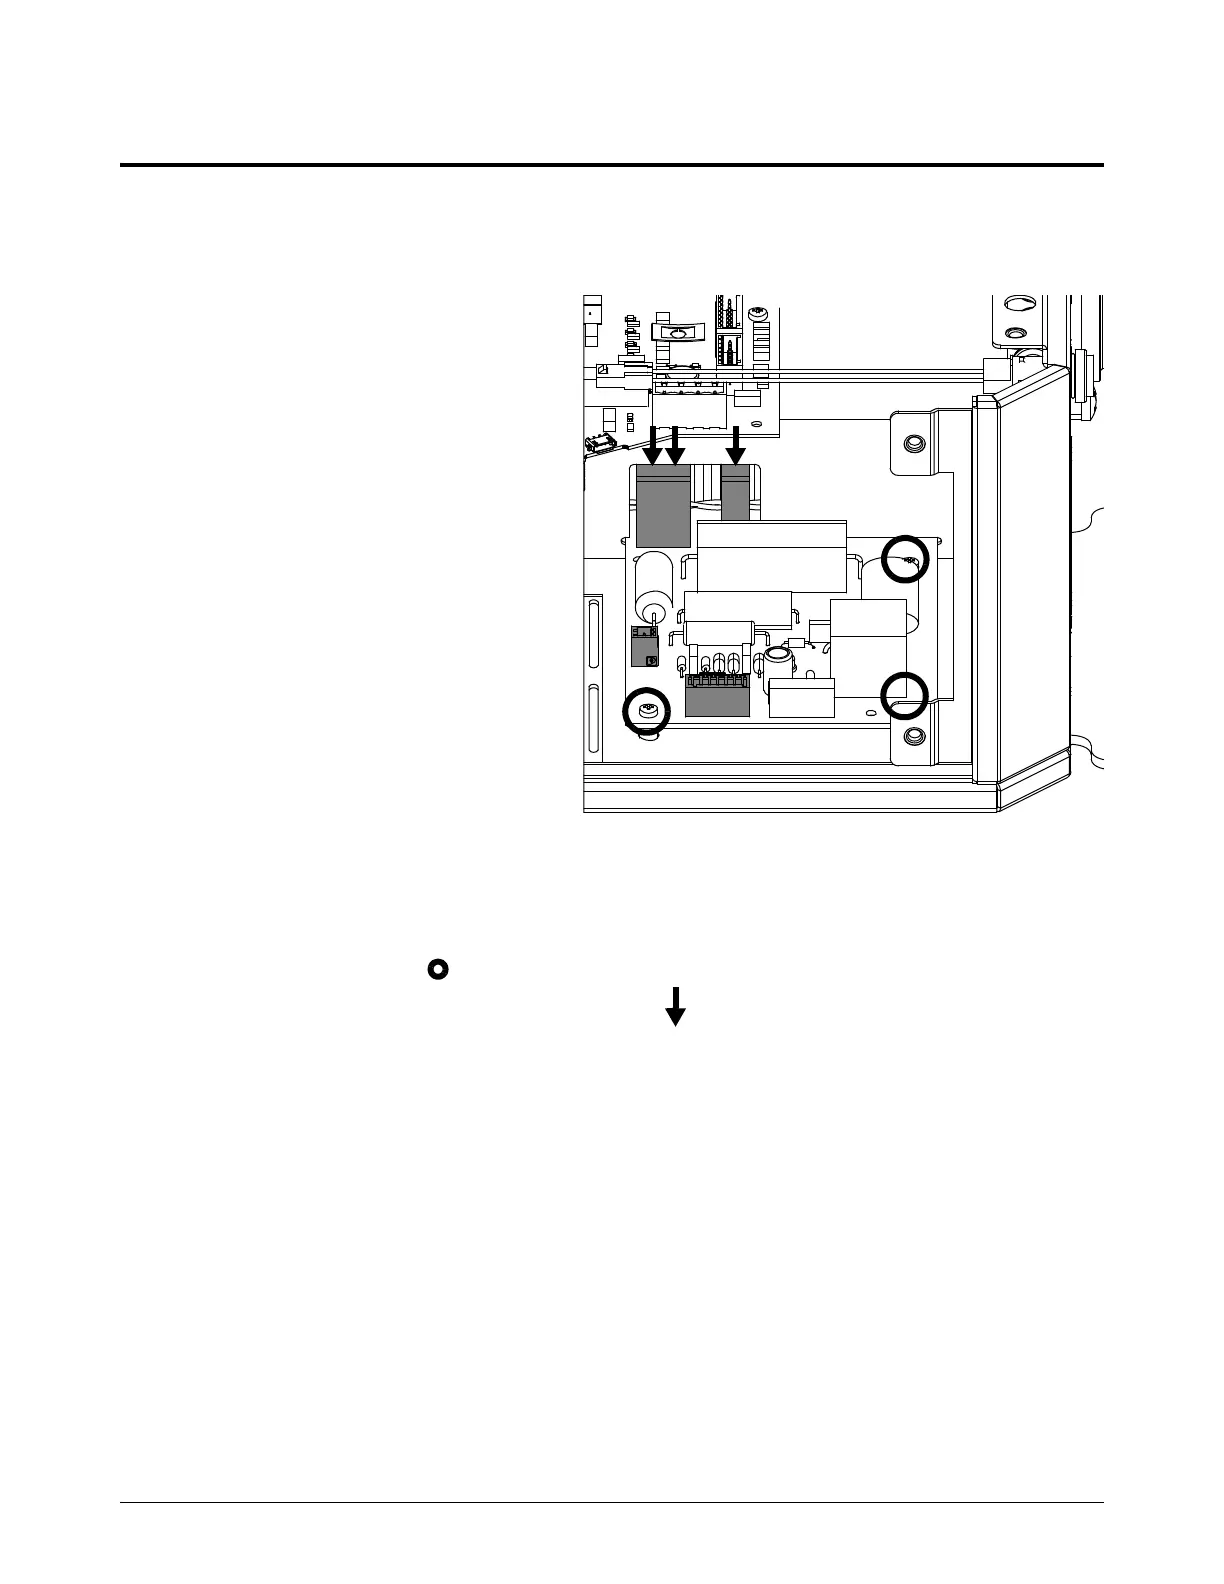
Replace the ohmic PCB
See Torch connect console Easy Connect side on page 140 for location
and part number.
1. Complete the following procedures:
a. Remove the power from the
cutting system.
b. Remove the top panel.
c. Remove both side panels.
See Torch connect console
top panel and side panels on
page 114.
Keep all nuts and screws that
you remove.
2. Remove the wire connectors from
the PCB.
3. Remove the ohmic wire from the
PCB.
Note where the wire was
installed.
4. Disconnect the yellow plasma hose.
5. Remove the 3 screws .
6. Make sure that the tabs for J3 and J4 are down .
7. Tilt the PCB up and slide the PCB through the center panel to remove the PCB.
8. Slide the new PCB through the center panel.
9. Use the 3 screws to install the PCB. Tighten to 6.9 kg∙cm (6 in∙lb).
10. Connect the wires J1, J2, J3, and J4.
Make sure that you connect the ohmic wires to where you removed them.
The location of the ohmic wires varies by system setup.