EasyManuals Logo
Home>Hypertherm>Welding System>XPR300

Hypertherm XPR300 Replacement Part Procedures

Hypertherm XPR300
162 pages
To Next Page IconTo Next Page
To Previous Page IconTo Previous Page
Page #58 background imageLoading...
Page #58 background image
Plasma Power Supply
1
58 809970 Field Service Bulletin XPR300
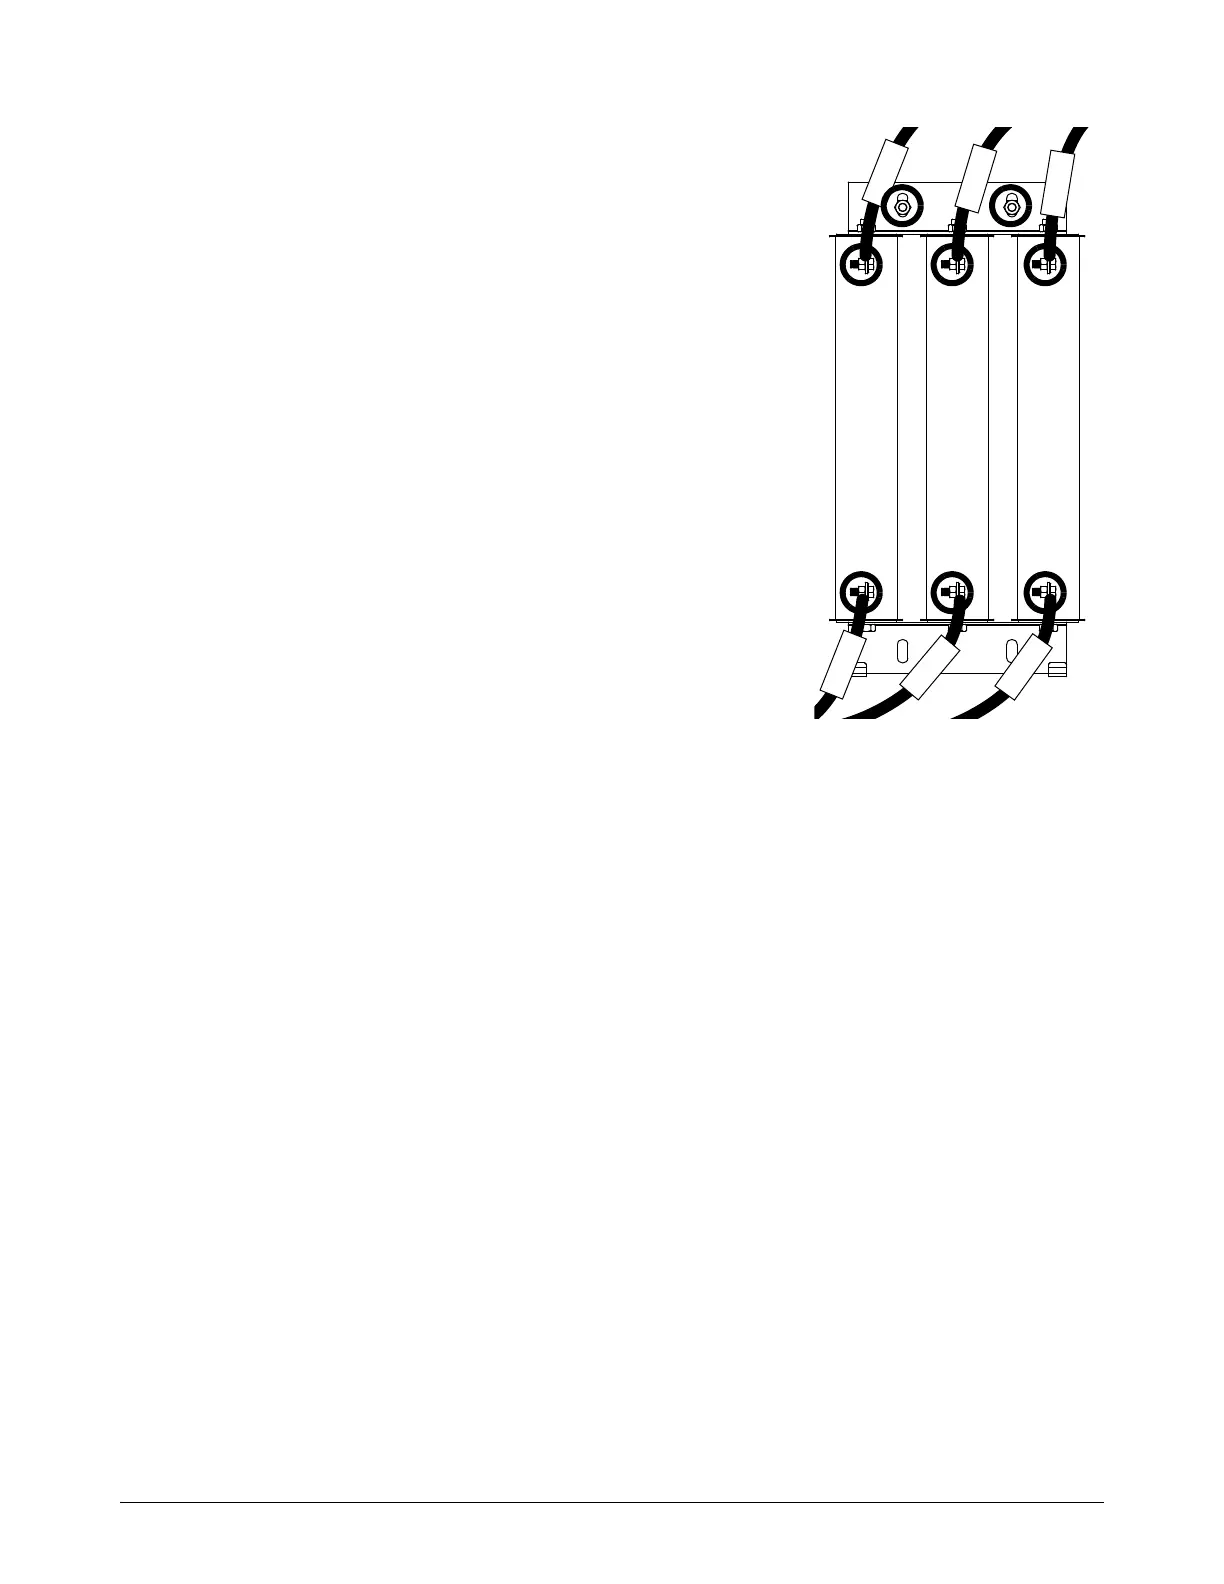
5. Use 2 wrenches to remove the L1, L2, and
L3 wires.
6. Remove the 2 nuts to remove the assembly
from the sheet metal.
7. Use the 2 nuts to install the inrush resistor.
Tighten to 3 N∙m (25 in∙lb).
8. Use 2 wrenches to install the wires. Tighten
to 3 N∙m (25 in∙lb).
9. Align the sheet metal panel with the studs.
10. Use the 2 nuts to install the sheet metal.
11 . Install the rear and control-side panel.
L2
L1
L3
L2
L1
L3
To main contactor
To inrush contactor

Table of Contents

Other manuals for Hypertherm XPR300

Questions and Answers:

Question and Answer IconNeed help?

Do you have a question about the Hypertherm XPR300 and is the answer not in the manual?

Hypertherm XPR300 Specifications

General IconGeneral
BrandHypertherm
ModelXPR300
CategoryWelding System
LanguageEnglish

Related product manuals