Note: The right side screw can be accessed through the cable slot in the fan mounting bracket, or by
using an offset screwdriver.
c. Remove the 2 wire ties.
Note: The printer mechanical assembly will not come straight up. Pivot it to the front, disengaging the
rubber grommets, and then lift it out.
Replacement
Follow the removal steps in reverse order.
Attention: Do not pinch the cables during installation.
Ground
Ground
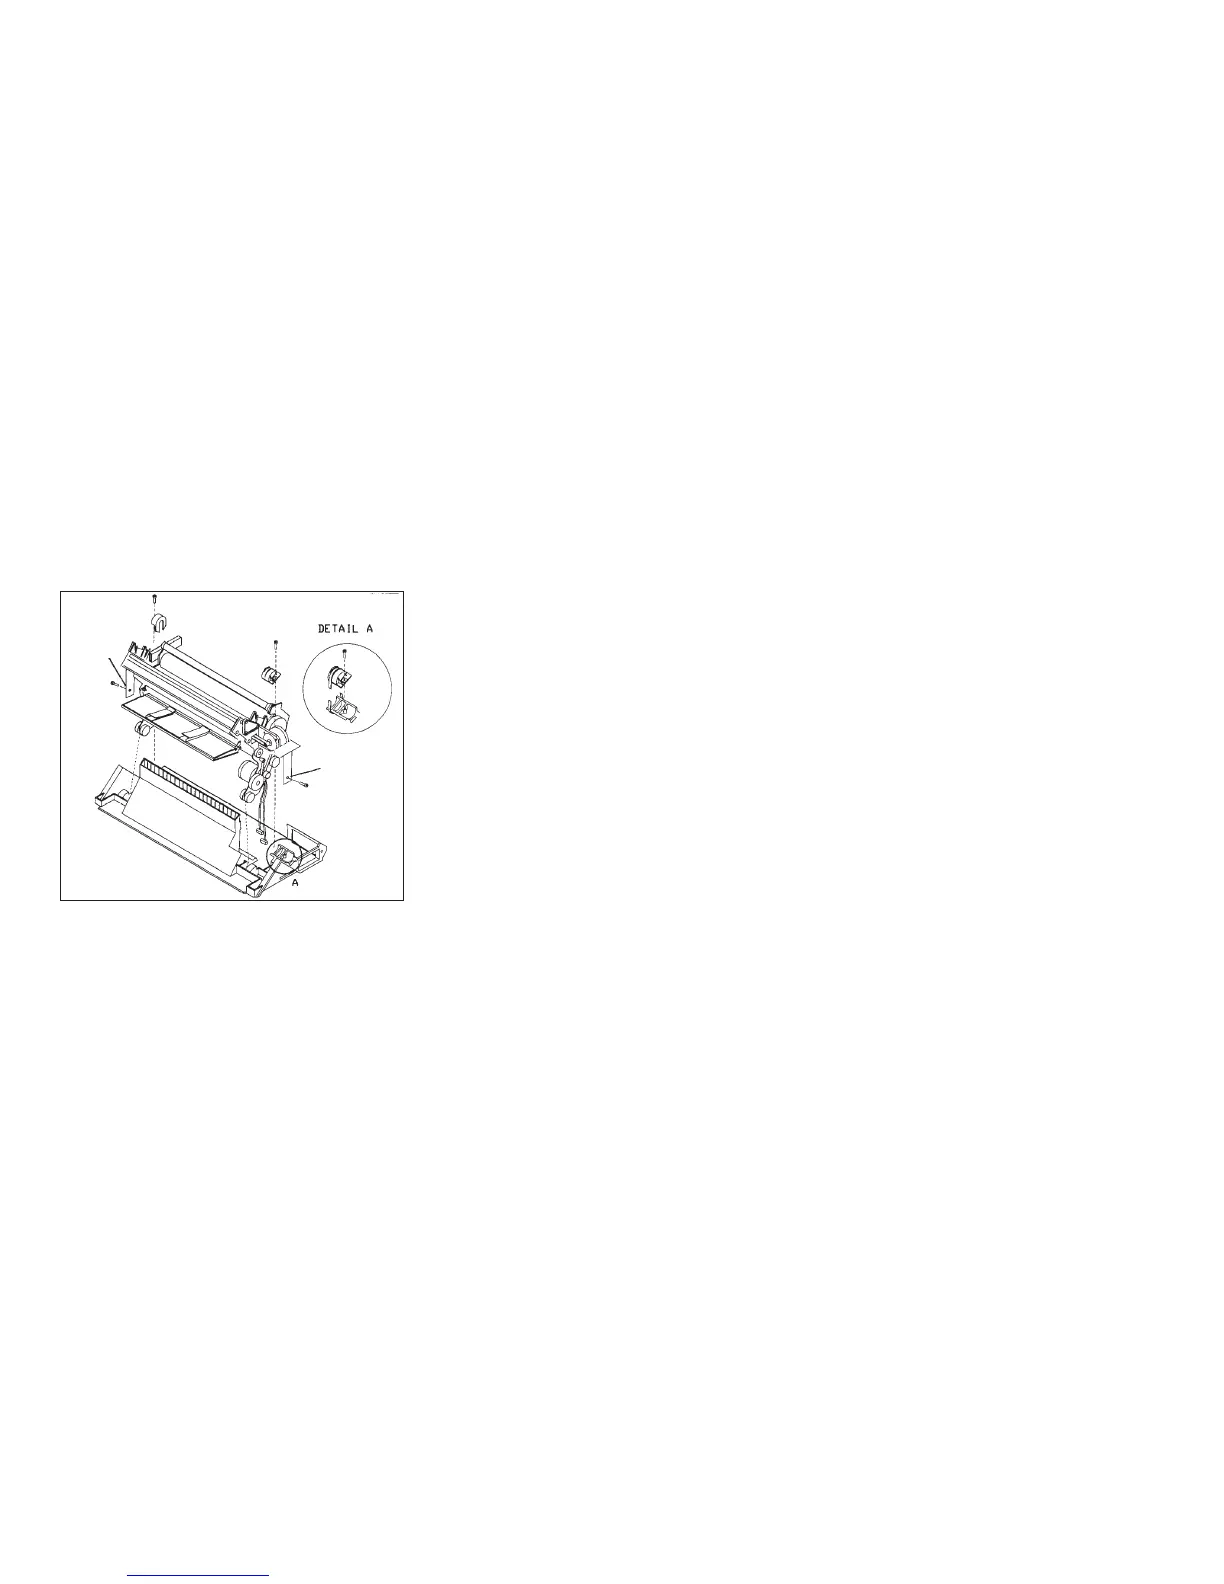
Figure 181. Printer Mechanical Assembly
Chapter 5. Removals and Adjustments 446