Attention: Ensure that the left side carriage shaft retainer is installed as shown. The AFTA adjustment can
not be made if the retainer is installed wrong.
11. Remove the lower plastic shield.
Attention: Do not damage the sensor cable.
Installation - Two Piece Version, after removal of the one piece version
1. Follow the one piece removal steps in reverse order.
2. Ensure that the end of the carriage shaft with the screw hole is on the left side.
3. Perform the carriage drive belt service check. See “Carriage Drive Belt” on page 279.
4. Perform the AFTA adjustment. See “Standard AFTA Service Check and Adjustment” on page 285.
5. Perform the bidirectional adjustment. See “Bidirectional Printing” on page 294.
Removal - Two-Piece Version
1. Remove the left side cover.
2. Open the cover and remove the ribbon carriage. See “Ribbon” on page 353.
3. Remove the screw on each end of the plastic shield assembly.
Move the plastic shield assembly up to disengage it, then move it to the left through the side of the printer
cabinet.
Left Side
Mounting
Screw
Left Side
Carriage Shaft
Retainer
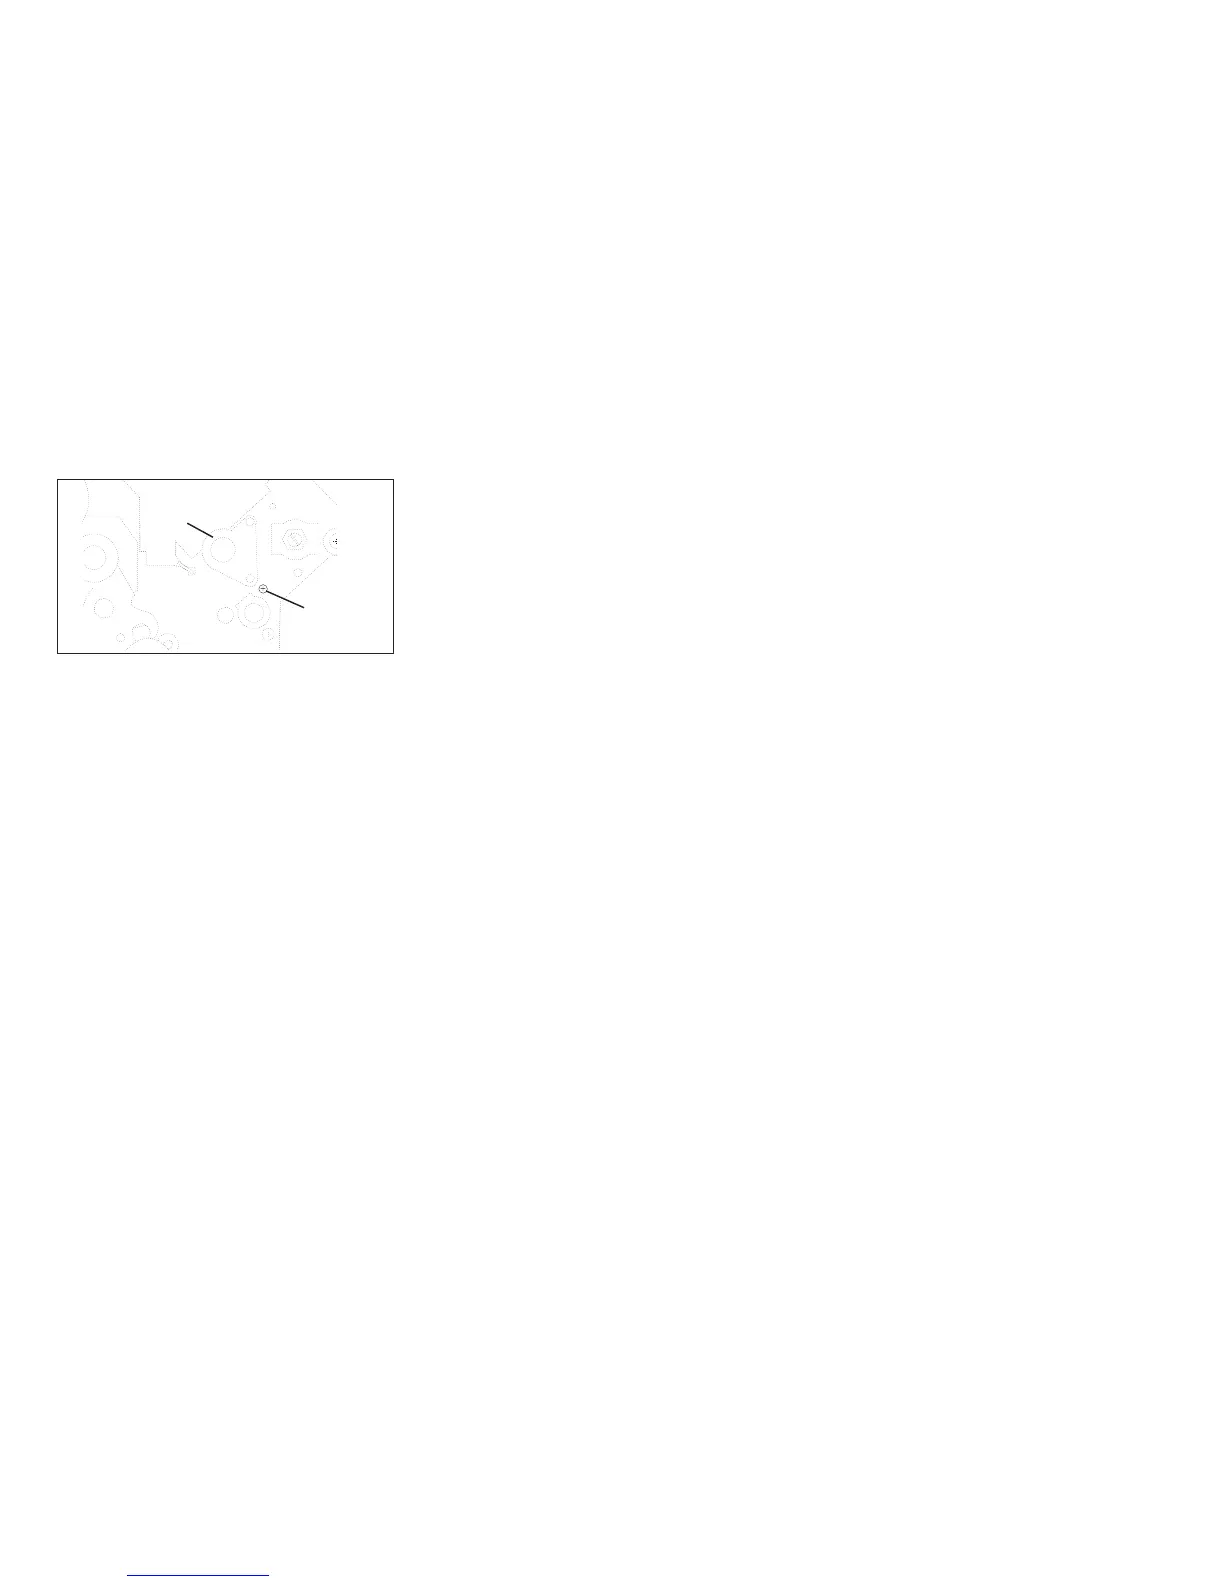
Figure 192. Carriage Shaft Retainer.
(Viewed From Left Side)
Chapter 5. Removals and Adjustments 455