Chapter 10. Administration - Physical Tab 267
Draft Document for Review March 28, 2011 12:24 pm 7914Admin_Physical.fm
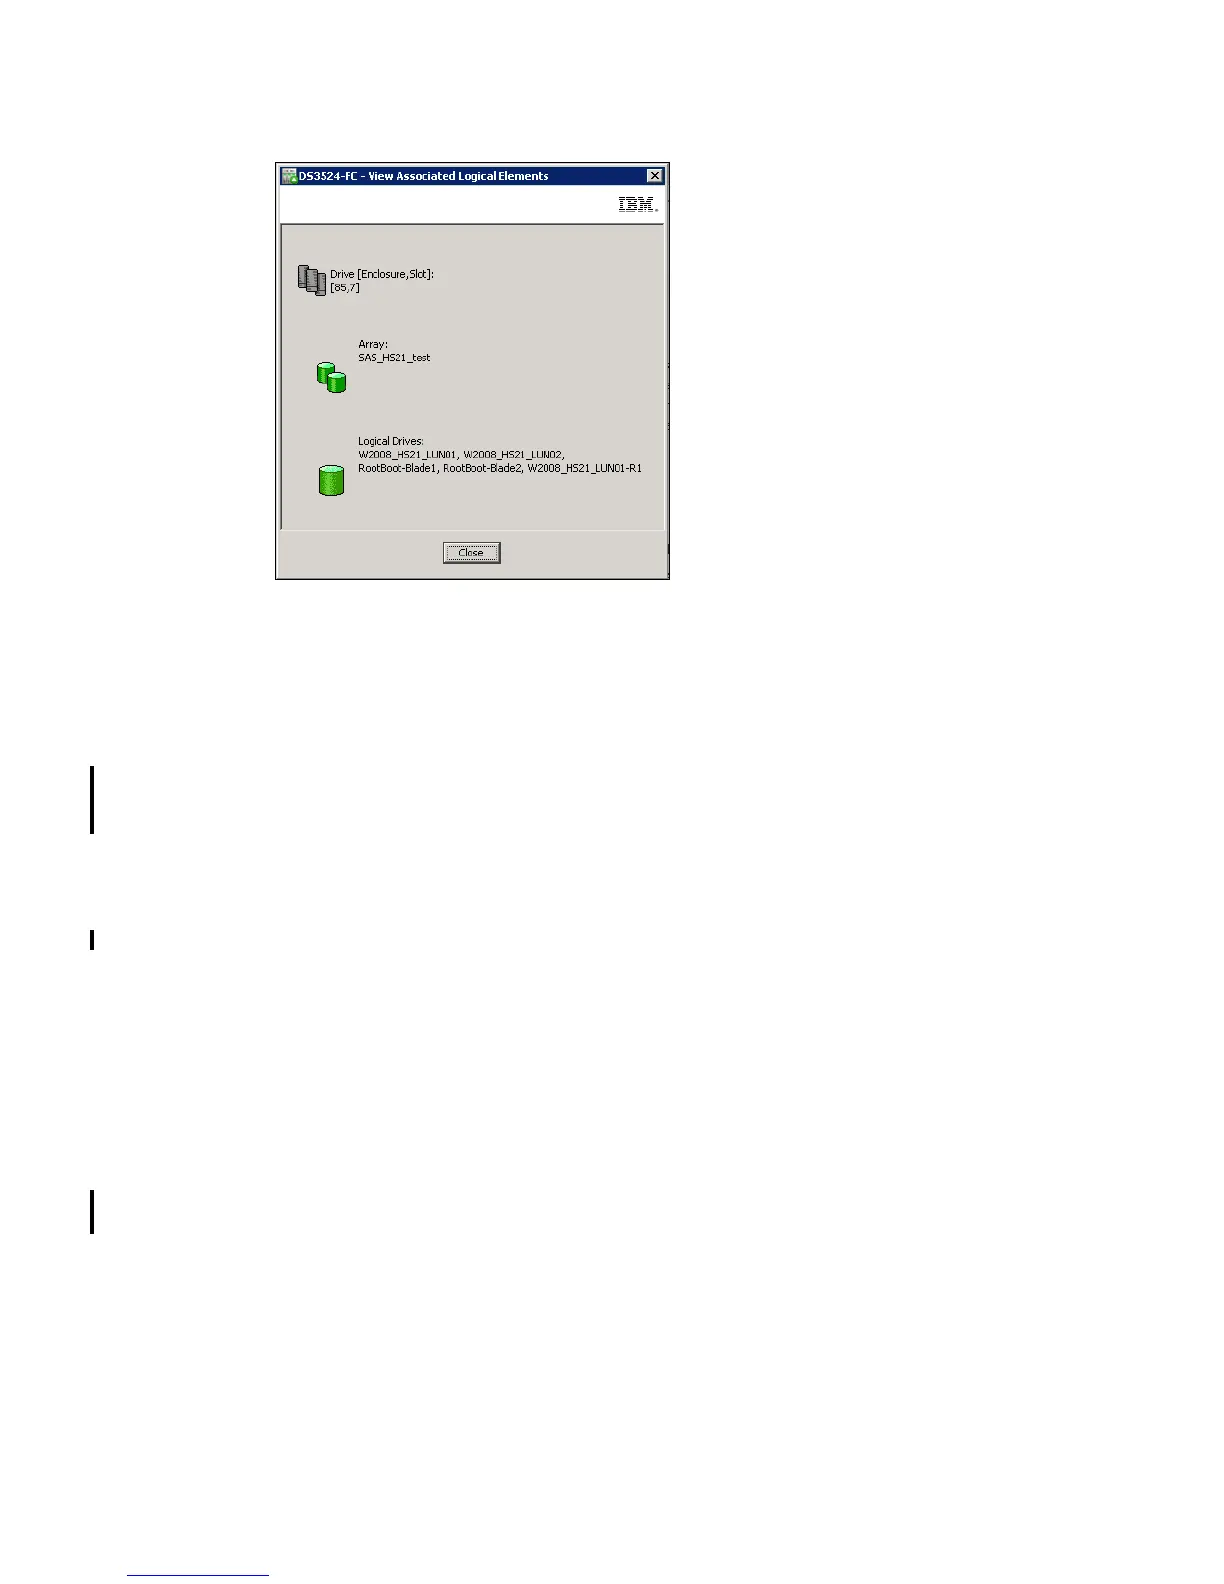
Figure 10-6 Associated Logical Elements
Create Array and Create Logical Drive (manual mode)
These two menu options take you to a screen for creating an Array and/or a Logical Drive in
manual mode. You can further select multiple unconfigured disk drives in Physical pane using
the Ctrl key, before choosing this option for create a new array and/or a logical drive. If you
right click on one of selected disks, and select Create Array menu item, the same initiation
window will open, as in Figure 9-6 on page 230. In this window you can see, manual mode is
preselected. With this manual mode, follow the instructions as described in 9.2.2, “Create
Array” on page 229, and when you reach the window for disk drives selection, you will
recognize, your planned disks are already selected for new Array.
Menu item Create Logical Drive must start with creating an Array. When a new Array is
created as described above, you can define a new Logical Drive by the same procedure, as
we explain in Chapter 9, “Administration - Logical Tab” on page 225.
Locate
This menu item is used to find where the selected disk is placed in your enclosure in the rack.
You also have a choice to locate the enclosure, where the disk is placed.
Secure Erase and Import Security File Key
If the selected disk drive in Physical pane is a SED (Self Encrypted Disk) disk drives, you will
have a choice to securely erase unconfigured SED disk drive, or if you just insert SED disks
from different DS3500 Storage Subsystem, you can import a security key to enable their use
in your subsystem. For more information refer to Chapter 15, “Disk Security with Full Disk
Encryption drives” on page 449.
10.2.4 Controller menu
If you right click on one of two controllers in Physical pane, the menu (Figure 10-7 on
page 268) for other controller configuration options appears.

 Loading...