Affinity
2.0
Additional Information Page 300
3) Tolorance Limits:
Set limits: Press the button to define individually preferred tolerance limit values. By
applying tolerance limits to the recording, it will be possible to easily document whether a
curve is inside tolerances or not. In the tolerance limits screen the upper limits may be
entered as numerical frequency specific values. Note, however, that this is only possible for
the frequencies chosen in the Frequency list see point 2) above. Alternatively, limits may be
entered by clicking with the mouse directly on the dots in the co-ordinate system and
dragging them to the preferred position.
Display Tolerance Limits: Tick the box to activate the tolerances which will then be shown
on the graph in the front screen.
Note: In the General Setup it is possible to set a warning, which will pause the test and prompt the
user if a recording falls outside tolerance limits.
4) Te st Settings:
Battery simulator: Select the correct battery type for the hearing aid to be used under the test.
In general Zinc-air types will give best results, particularly on power hearing aids, as this battery
type is best at providing current. If a Zinc-air battery type is selected, then an estimated battery
lifetime is calculated as part of the Battery Current Drain test. If Standard battery is selected, a
traditional high quality zinc-air battery is simulated. Additional battery types may be custom
designed with specific characteristics by the HIT440. This can provide interesting information on
how a particular hearing aid performs with a good battery and with a poor battery.
If “Not Used” is selected no power is supplied by the battery simulator.
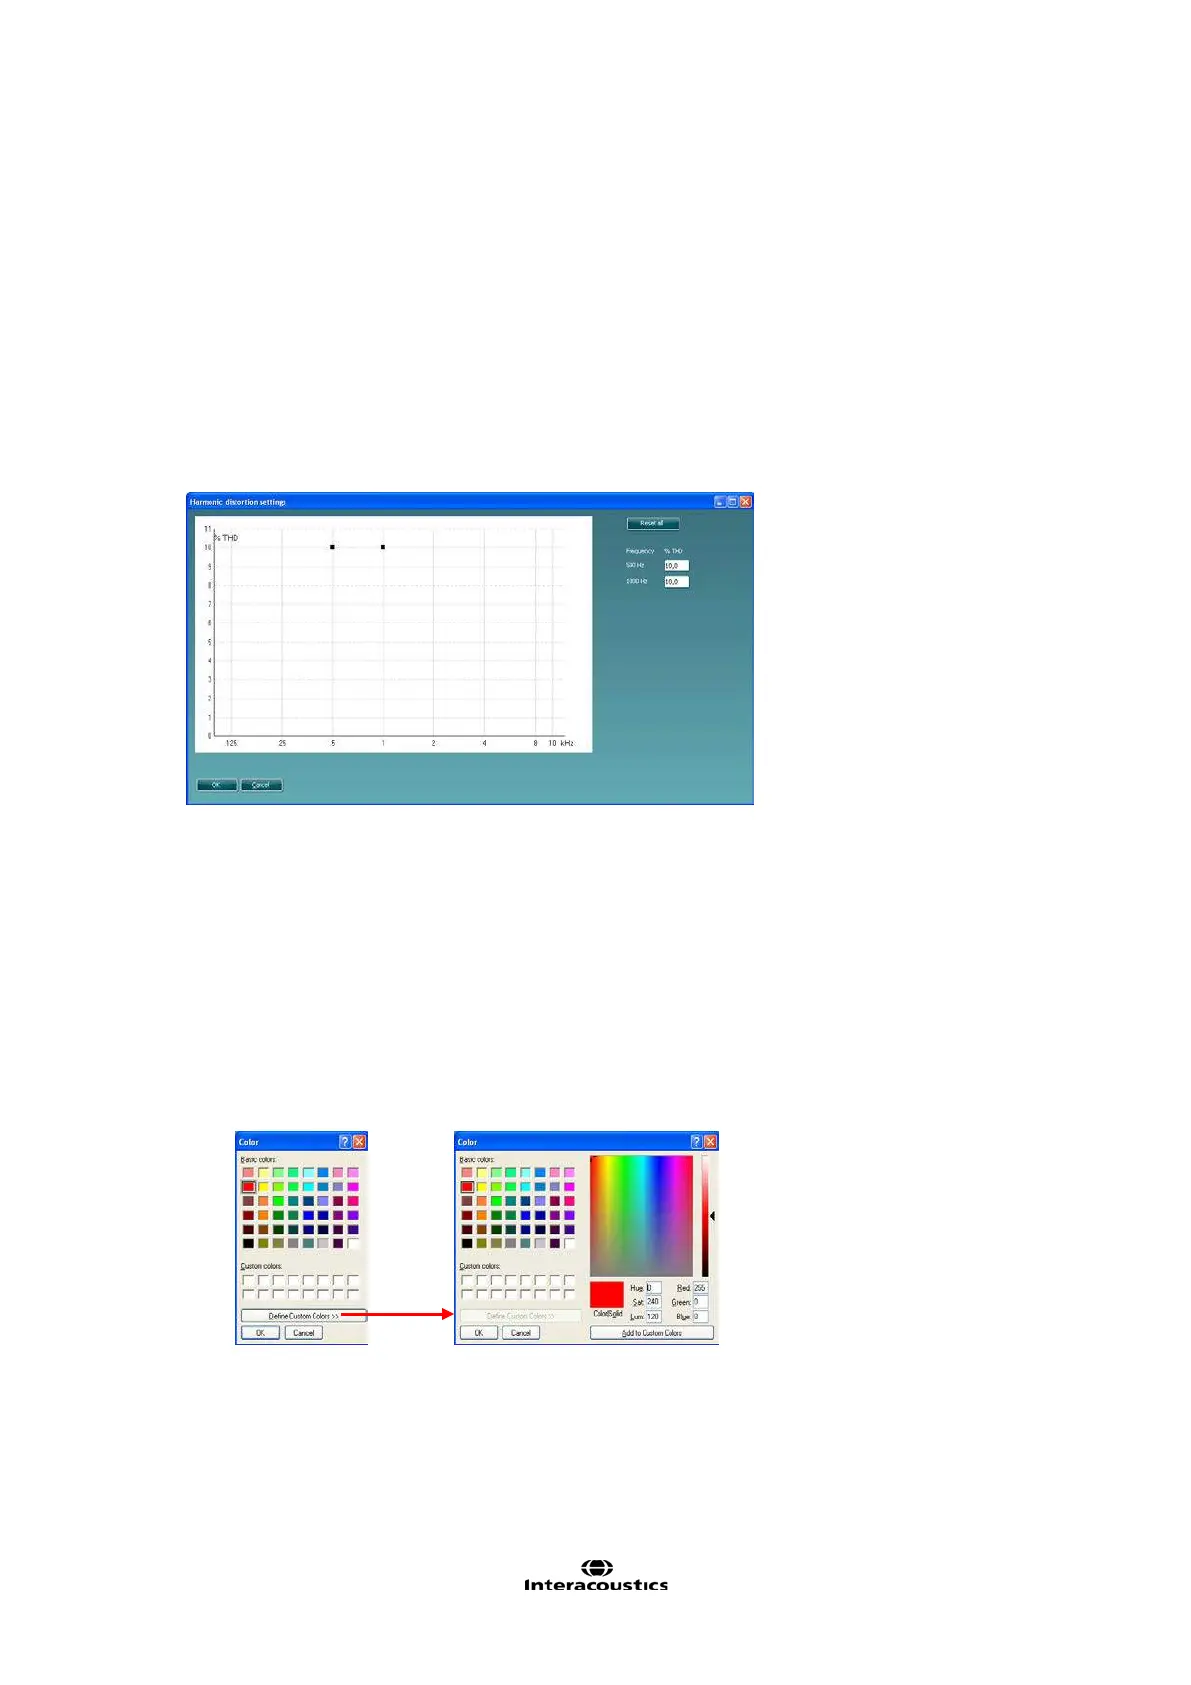
Color: Select a colour for the Right and Left curve.
Press each of the buttons to have the custom colour selection below. Choose the desired colour
by clicking on it and press OK.
Note the option to Define Custom Colours to get a more extensive selection. When having
found the exact colour, press Add to Custom Colours.