3) Set sleeves and garment body to the sewing
machine.
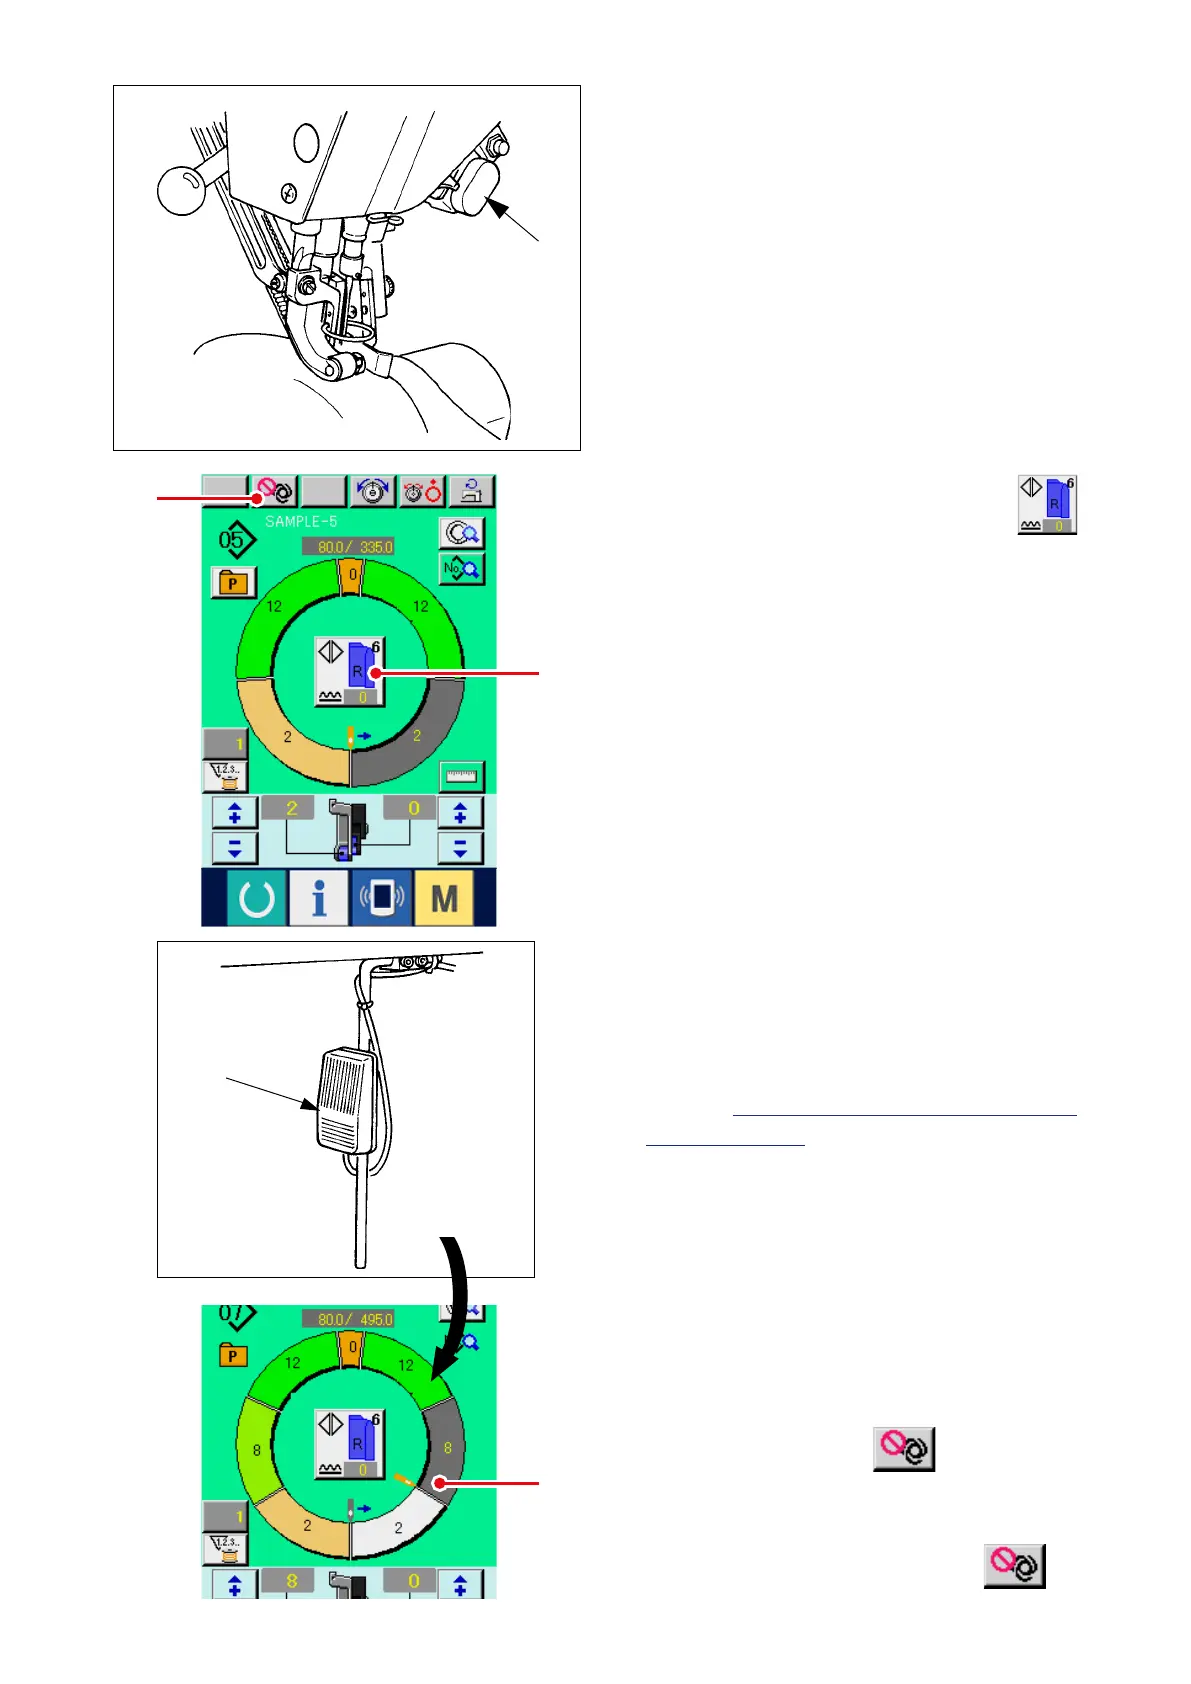
* When temporarily setting the shirring amount to
"0" during sewing, press SHIRRING RELEASE
switch
C
.
When the switch is pressed, LED lights up
and the shirring amount is set to "0". When the
switch is pressed twice, LED goes off and the
shirring amount returns to the shirring amount of
the selected step.
5
A
C
3
4
4) Check LEFT/RIGHT ALTERNATE button
3
whether the set materials and the called
program (for right sleeve/left sleeve) correspond
with each other.
5) Start sewing.
6) When sewing is performed up to the next notch,
the step automatically changes over.
7) When the step is not automatically changed
over, press knee switch
5
once. Step of the
program advances by one (A).
* When the step is not automatically changed
over, perform the register of the length of step.
Refer to
"8-4-(2) Re-registering the length
between steps ".
8) Repeat procedures 5) through 7) until the end of
sewing.
9) When temporarily interrupting the fully-
automatic during sewing, press FULL AUTO
INTERRUPTION button
4
. Measuring
is stopped and the full-auto mode is
interrupted. When starting again, press again
FULL AUTO INTERRUPTION button
4
.