CAUTION: Do not leave the power supply slot empty for a long time while the router is
operational. Either replace the power supply promptly or install a cover panel over the
empty slot.
To remove an AC power supply from an MX10016 router (see Figure 72 on page 174):
1. Attach the electrostatic discharge (ESD) grounding strap to your bare wrist, and connect the strap to
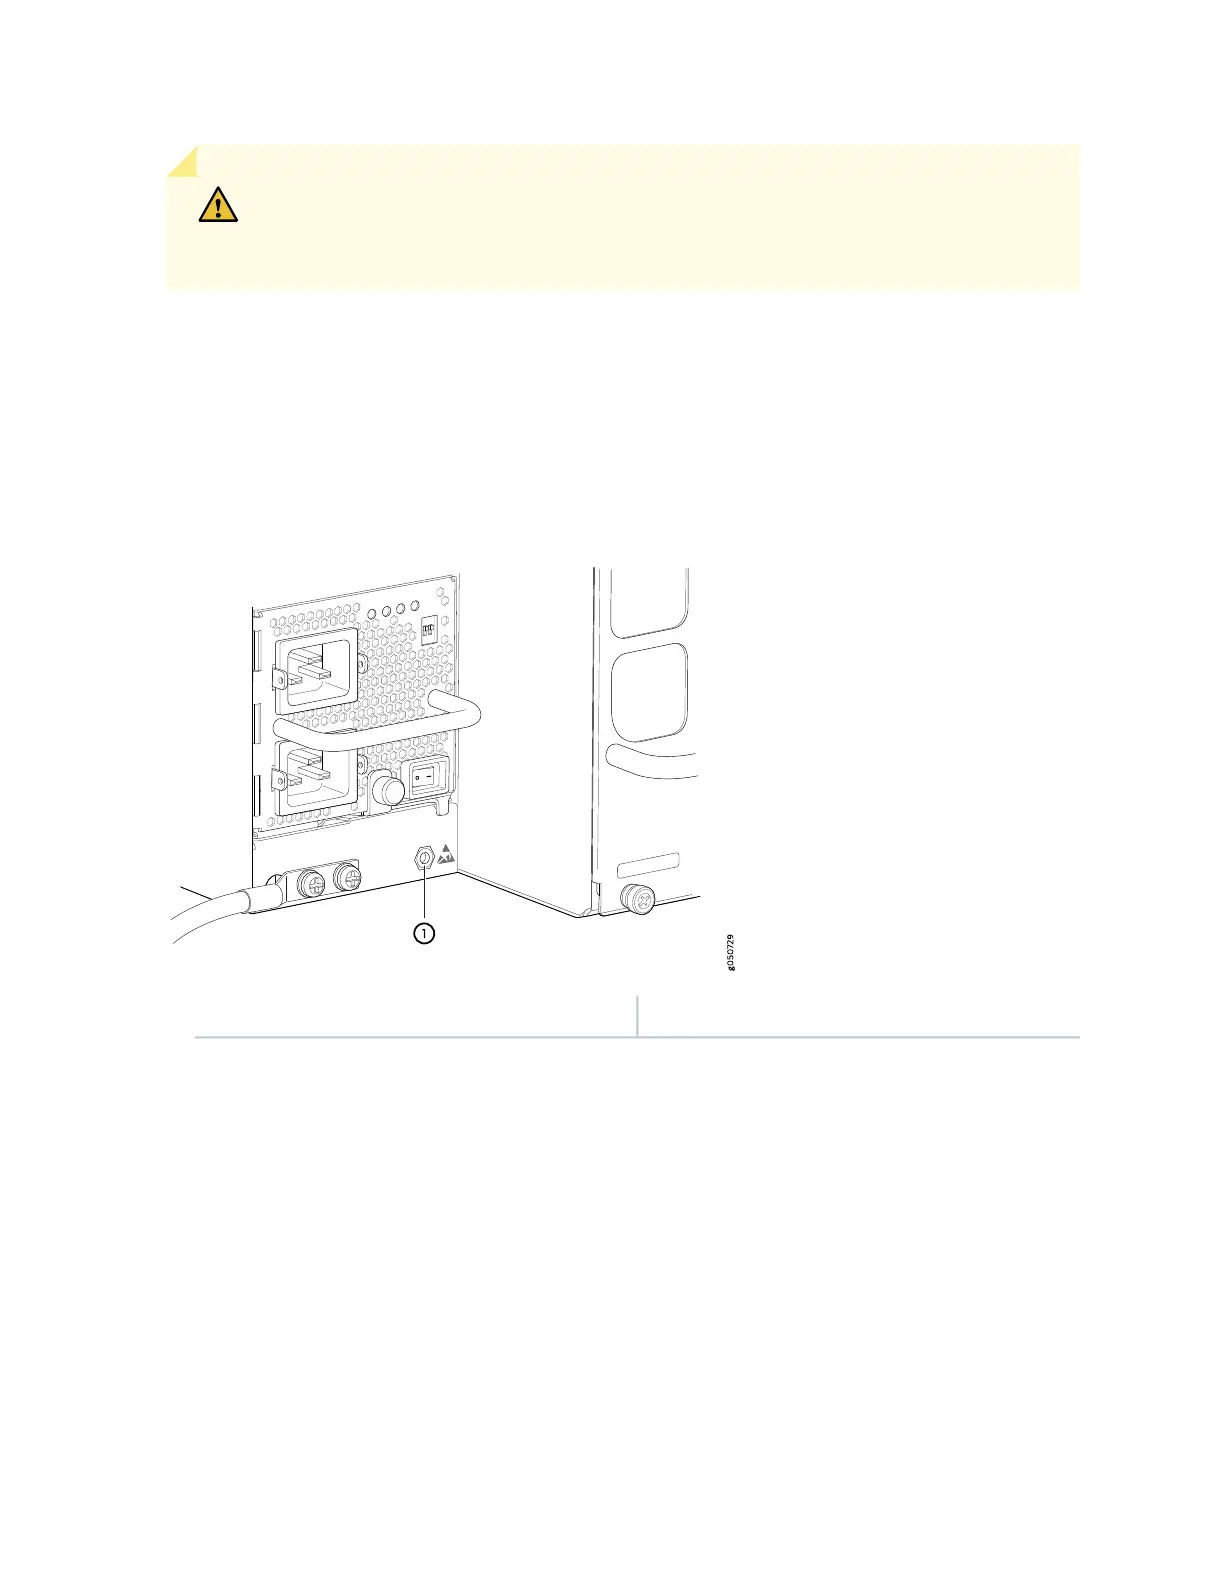
the ESD point on the chassis. There is an ESD point located next to the protective earthing terminal
below PSU 9 on the MX10016 (see Figure 71 on page 173).
Figure 71: ESD Point on the Rear of an MX10016
1—ESD point
2. Set the enable switch next to the appliance inlet on the power supply to the standby position.
3. Disconnect power to the router by performing one of the two following tasks:
•
If the AC power source outlets have a power switch, set the switches to the off (Ο) position.
•
If the AC power source outlets do not have a power switch, gently pull the male end of the power
cords out of the power source outlets.
4. Turn the adjustment nut of the power cord retainers counterclockwise until you can see the power
cord. Pull the power cord out of the slot in the adjustment nut.
5. Remove the power cords from the AC inlet on the AC power supply faceplate.
173