CHAPTER 14
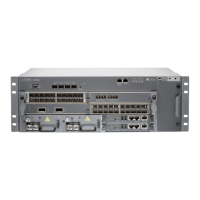
Installing the MX104 Router
•
Installing and Connecting an MX104 Router Overview on page 109
•
Installing the MX104 Router in the Rack on page 110
Installing and Connecting an MX104 Router Overview
To install and connect an MX104 router:
1. Review all safety guidelines and warnings for the router. See:
•
General Safety Warnings for Juniper Networks Devices on page 218
•
General Safety Guidelines for Juniper Networks Devices on page 217
2. Prepare the installation site for the router. See “Preparing the Site for the MX104
Router Overview” on page 71.
3. Unpack the router and verify the parts received. See “Unpacking an MX104 Router”
on page 105.
4. Install the router in a rack. See “Installing the MX104 Router in the Rack” on page 110.
5. Ground the router. See “Connecting the MX104 Router to Earth Ground” on page 113.
6. Connect the router to external devices. See:
•
Connecting the MX104 Router to Management Devices on page 121
•
Connecting the MX104 Router to External Clocking and Timing Devices on page 123
•
Connecting the MX104 Router to an External Alarm-Reporting Device on page 124
7. Connect power to the router:
•
AC-powered models—See “Connecting AC Power Cords to the MX104 Router” on
page 115.
109Copyright © 2017, Juniper Networks, Inc.

 Loading...