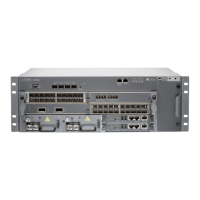
Figure 50: Removing Transceivers
8. Place a rubber safety cap over the transceiver.
9. Place the removed transceiver on an antistatic mat or in an electrostatic bag.
CAUTION: After removing a transceiver from the chassis, wait at least 30
seconds before reinserting it or inserting a transceiver into a different slot.
Installing an MX104 Transceiver
To install a transceiver:
1. Attach an ESD grounding strap to your bare wrist and connect the strap to one of the
ESD points on the chassis.
2. Take each transceiver to be installed out of its electrostatic bag, and identify the slot
on the component where it will be installed.
3. Verify that each transceiver is covered by a rubber safety cap. If it is not, cover the
transceiver with a safety cap.
4. Carefully align the transceiver with the slots in the component. The connectors should
face the component.
5. Slide the transceiver until the connector is seated in the component slot. If you are
unable to fully insert the transceiver, make sure the connector is facing the right way.
6. Close the ejector handle of the transceiver.
167Copyright © 2017, Juniper Networks, Inc.
Chapter 22: Replacing Line Card Components

 Loading...