WARNING: To avoid injury, keep tools and your fingers away from the fans
asyou slide the fan tray out of the chassis.The fans might still be spinning.
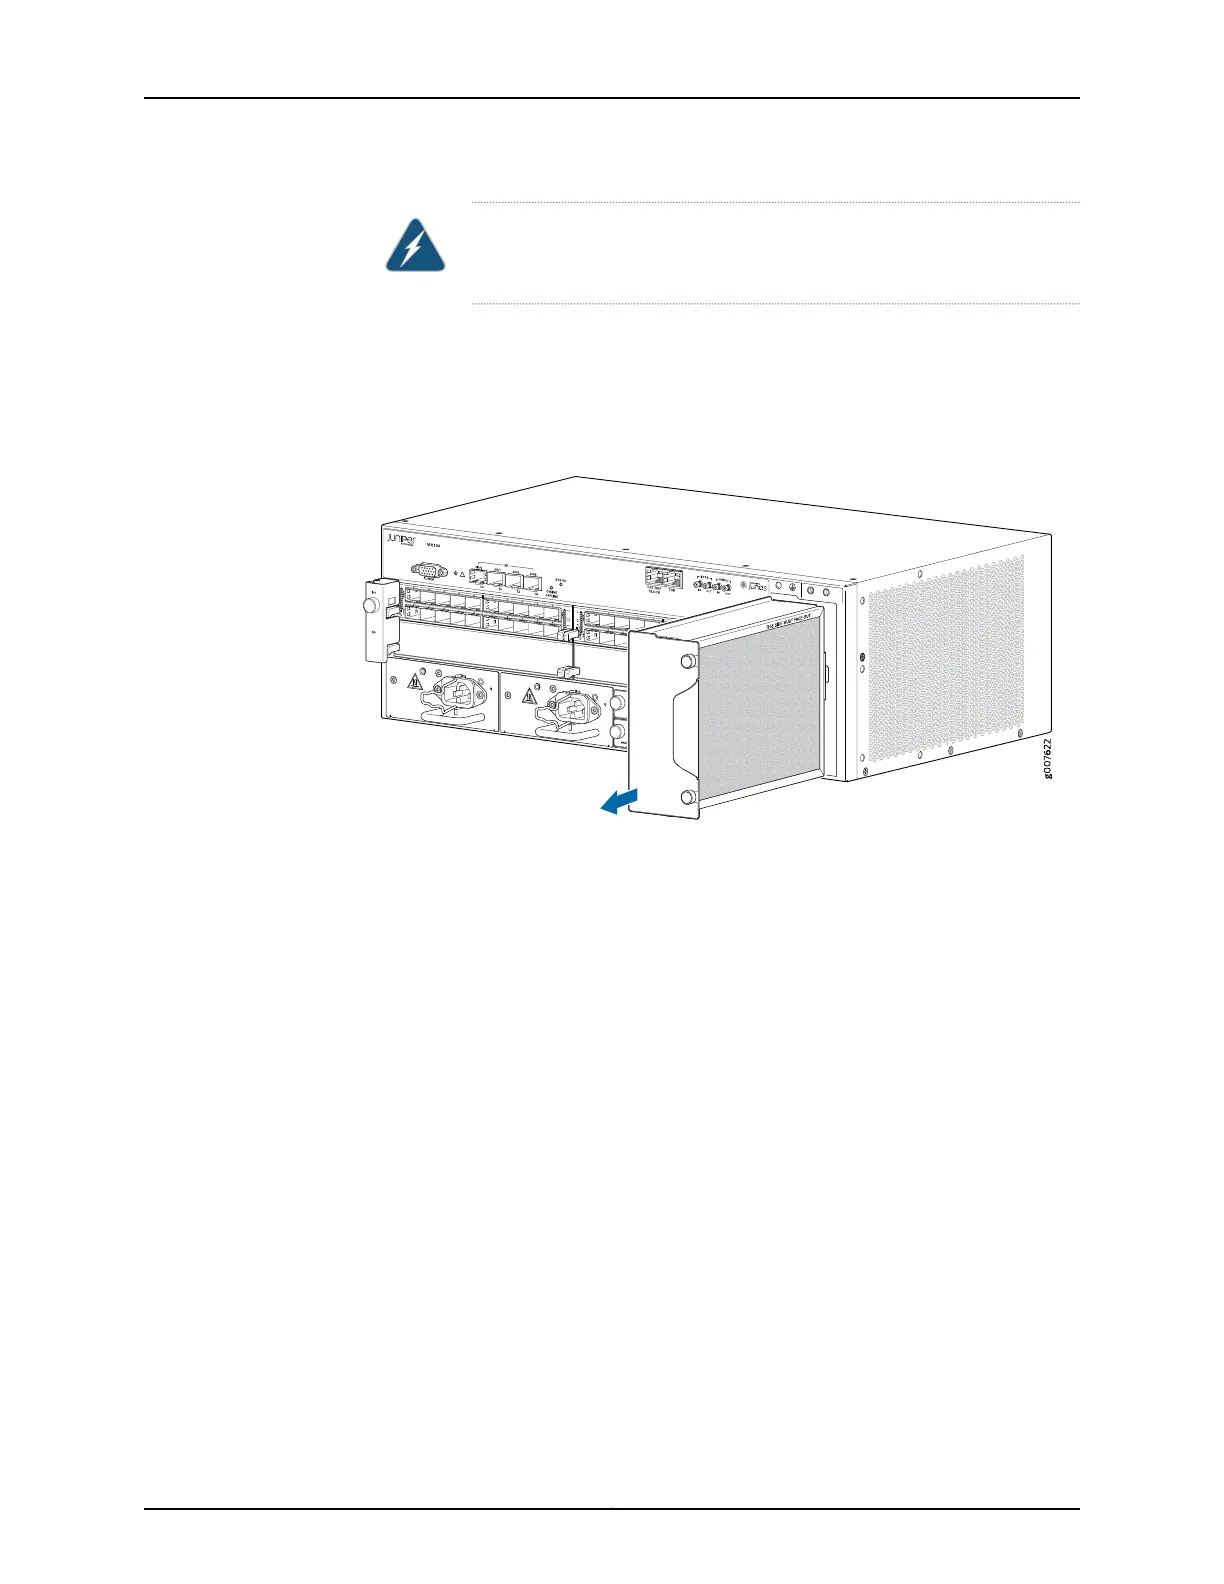
4. Place one hand under the fan tray to support it, and pull the fan tray completely out
of the chassis.
Figure 41: Removing the Fan Tray
Installing an MX104 Fan Tray
To install the fan tray (see Figure 42 on page 148):
1. Attach an ESD grounding strap to your bare wrist and connect the strap to one of the
ESD points on the chassis.
2. Orient the fan tray in the slot so that the arrow is pointing up, and slide the fan tray
straight into the chassis.
3. Verify that the front of the fan tray is firmly seated in the chassis.
4. Tighten the captive screws on the fan tray faceplate to secure it in the chassis.
147Copyright © 2017, Juniper Networks, Inc.
Chapter 20: Replacing Cooling System Component