132 General Maintenance
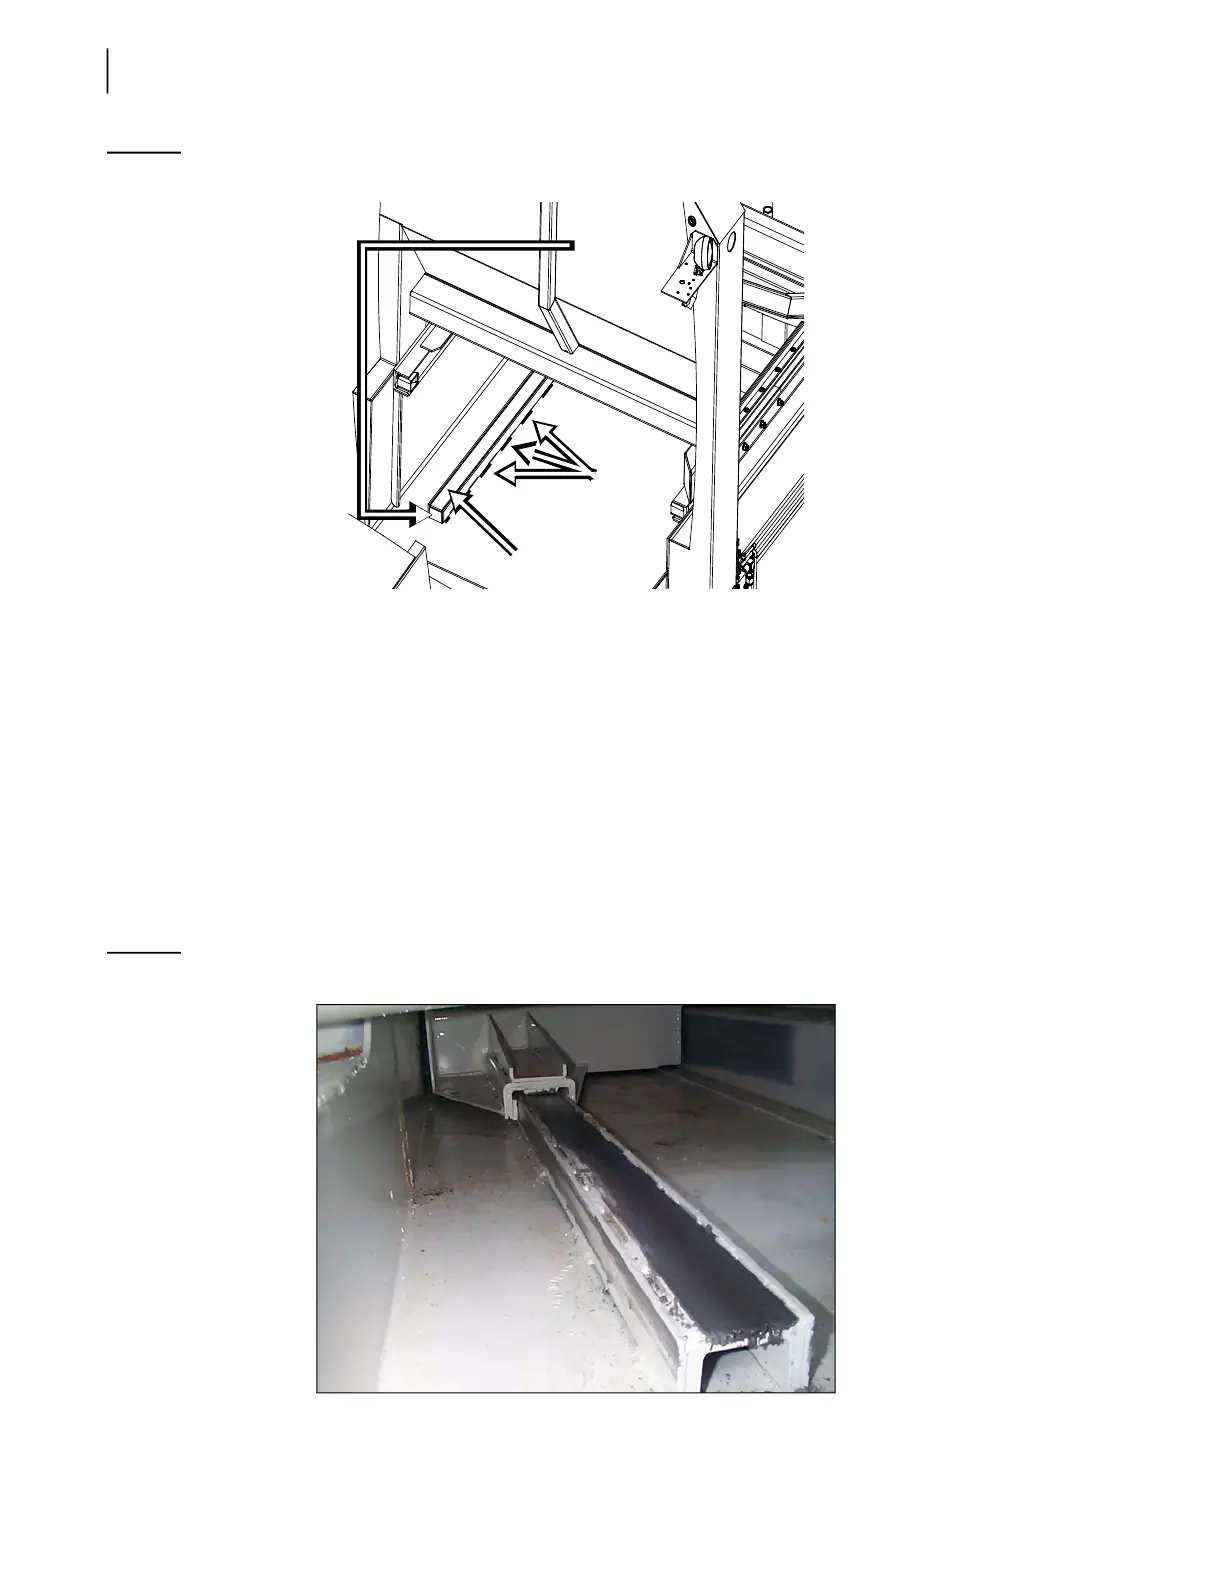
Figure 3-174
Stitch welds
6. Clean the hopper floor and wall surfaces.
7. Install temporary steel tubes on the body side end of both floor guides (see Figure 3-174).
8. Position the new guides on the hopper floor using the marks made in Step 4 (do not tack or weld
yet).
Make sure the floor guides are parallel to the hopper walls.
9. (If packer has been removed) Reinstall the packer on the floor guides with the new sliding shoes on
them.
Reconnect cylinders to the packer. To do so, reverse the procedure entitled Disconnecting Packer
on page 73.
Then go to Step 19.
Figure 3-175
Packer sitting on floor guide
Floor
guide
Stitch
welds
Place
temporary
steel tube
here