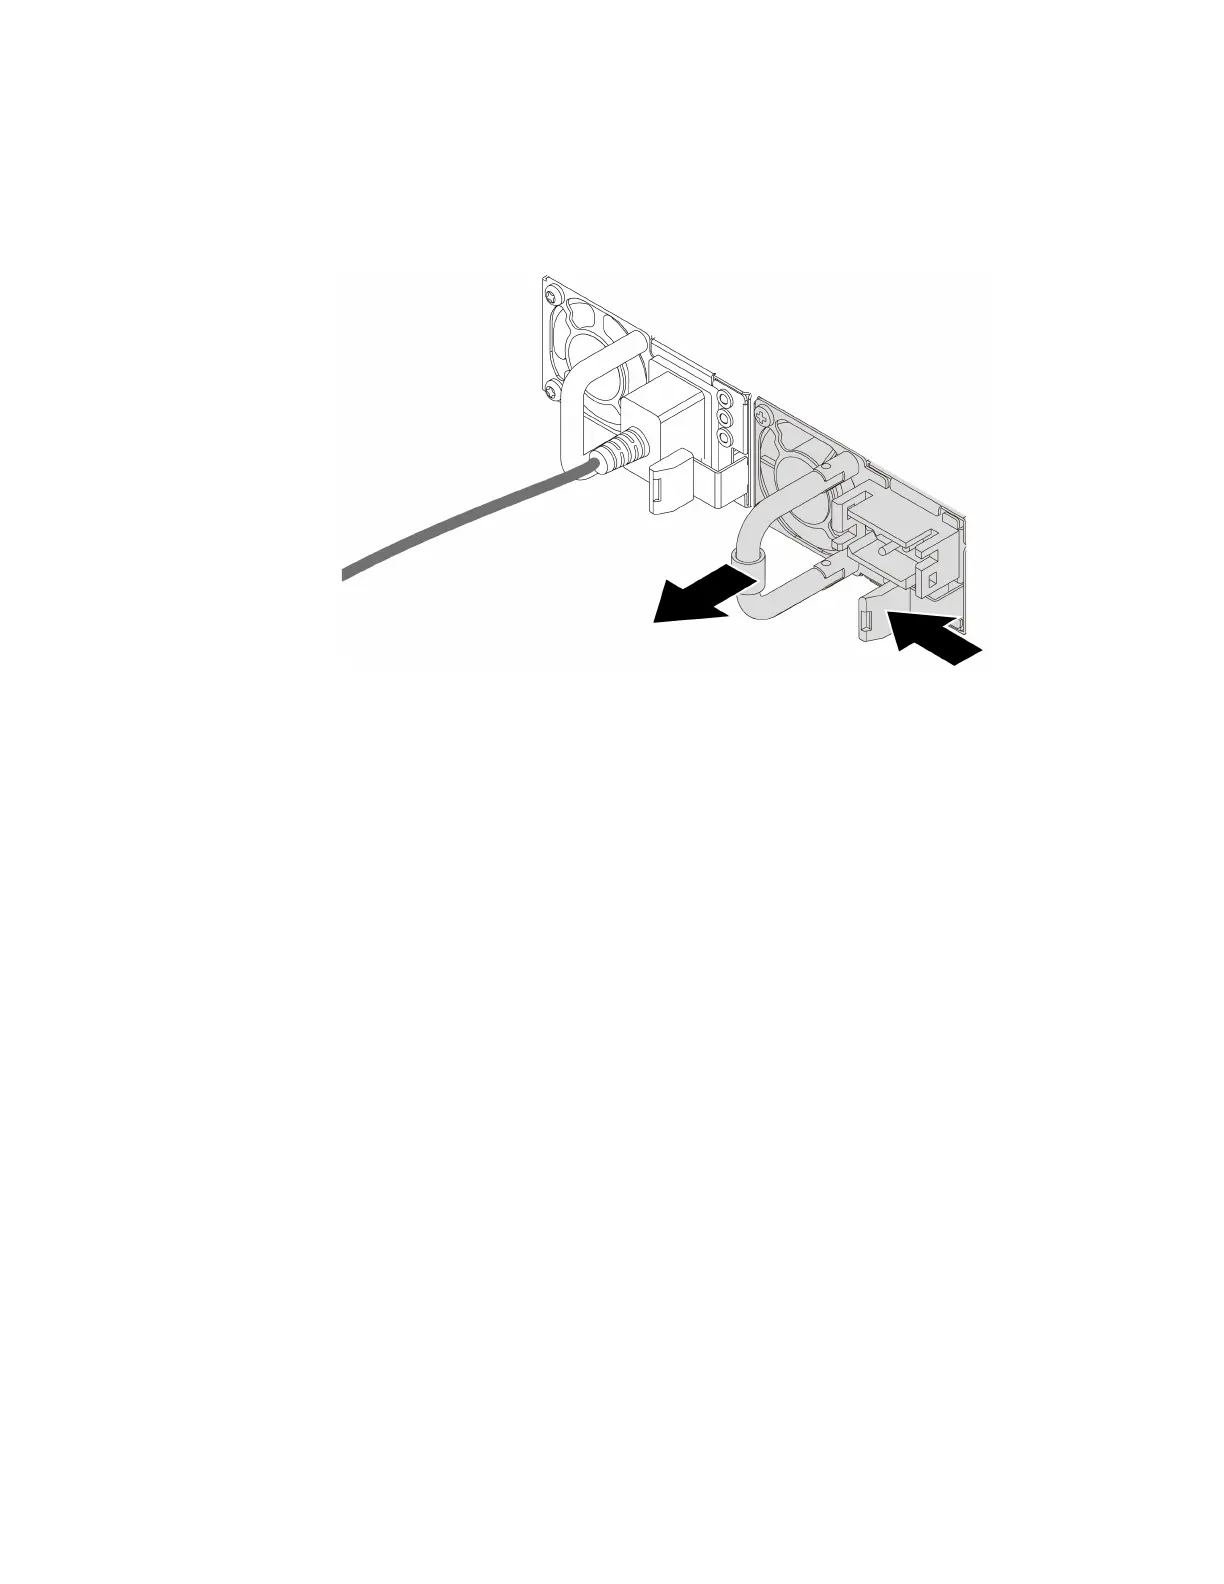
Step 3. Press the release tab toward the handle and carefully pull the handle at the same time to slide the
hot-swap power supply out of the chassis.
Note: If your CMA kit obstructs in the way, slightly pull the power supply upwards when sliding the
power supply out of the chassis.
Figure 217. Hot-swap power supply removal
After you finish
1. Install a new power supply or install the power-supply filler to cover the power supply bay. See “Install a
power supply unit” on page 294.
Important: To ensure proper cooling during normal server operation, both of the power supply bays
must be occupied. This means that each bay must have a power supply installed; or one has a power
supply installed and the other has a power supply filler installed.
2. If you are instructed to return the defective component, follow all packaging instructions and use any
packaging materials that are provided.
Chapter 4. Hardware replacement procedures 293

 Loading...


