Remove a PCIe adapter and riser assembly
Use this information to remove a PCIe adapter and riser assembly.
About this task
Attention:
• Read “Installation Guidelines” on page 185 to ensure that you work safely.
• Power off the server and disconnect all power cords for this task.
• Prevent exposure to static electricity, which might lead to system halt and loss of data, by keeping static-
sensitive components in their static-protective packages until installation, and handling these devices with
an electrostatic-discharge wrist strap or other grounding system.
A video for this task is available at:
• Youtube:
https://www.youtube.com/playlist?list=PLYV5R7hVcs-DqVplE36HIvdM_sq_Auw3U
• Youku: https://list.youku.com/albumlist/show/id_59643657.html
Procedure
Note: The illustration shows removing the riser 1 assemblies. The procedure is the same for removing other
riser assemblies.
Step 1. Remove the top cover. See “Remove the top cover” on page 376.
Step 2. If there is any PCIe adapter installed on the riser card, record the cable connections first. Then,
disconnect all cables from the PCIe adapter.
Step 3. Remove the riser assembly.
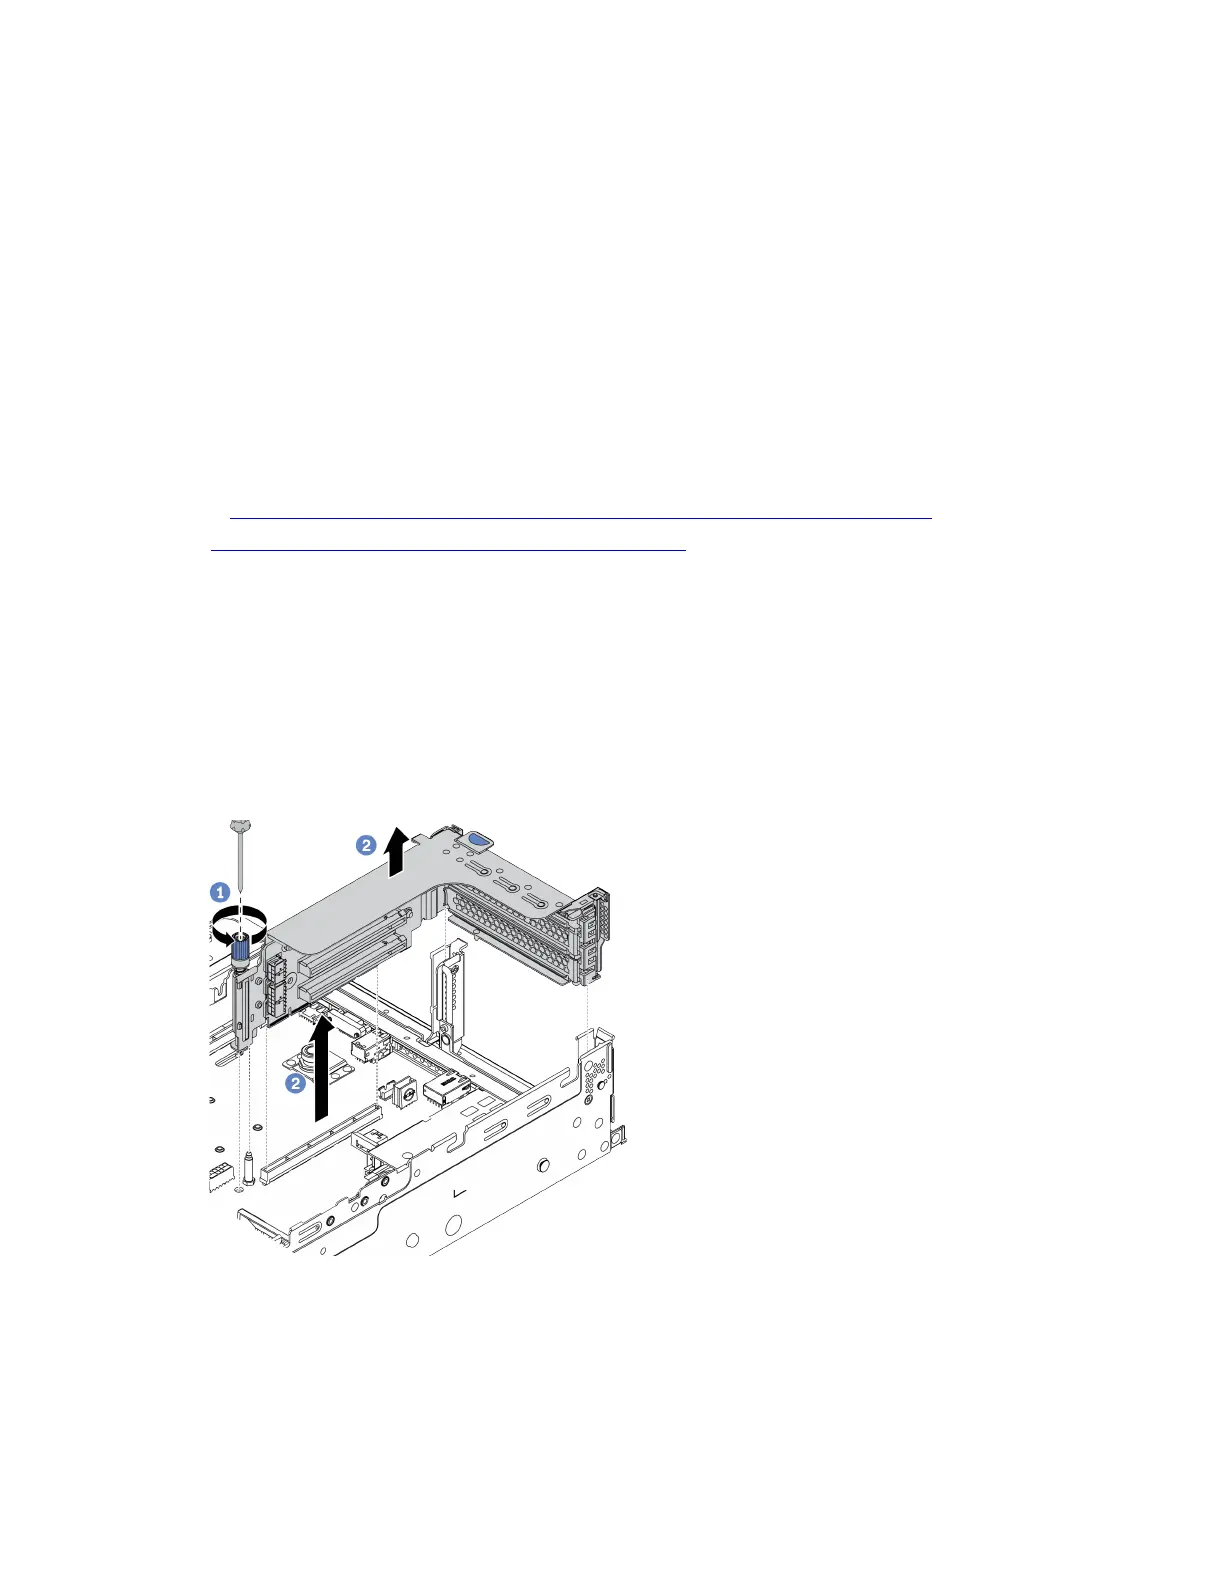
Figure 210. Riser assembly removal
a. Loosen the screw that secures the riser assembly.
b. Grasp the riser assembly by its edges and carefully lift it straight up and off the chassis.
284
ThinkSystem SR650 V2Maintenance Manual

 Loading...


