Install a power supply unit
Use this information to install a power supply.
About this task
The following describes the information that you must consider when installing a power supply:
• The server is shipped with only one power supply by default. In this case, the power supply is non-hot-
swap and before removing it, you must turn off the server first. To support redundancy mode or hot-swap,
install an additional hot-swap power supply.
• If you are replacing the existing power supply with a new power supply:
– Use Lenovo Capacity Planner to calculate the required power capacity for what is configured for your
server. More information about Lenovo Capacity Planner is available at:
https://datacentersupport.lenovo.com/solutions/lnvo-lcp
– Ensure that the devices that you are installing are supported. For a list of supported optional devices for
the server, go to:
https://static.lenovo.com/us/en/serverproven/index.shtml
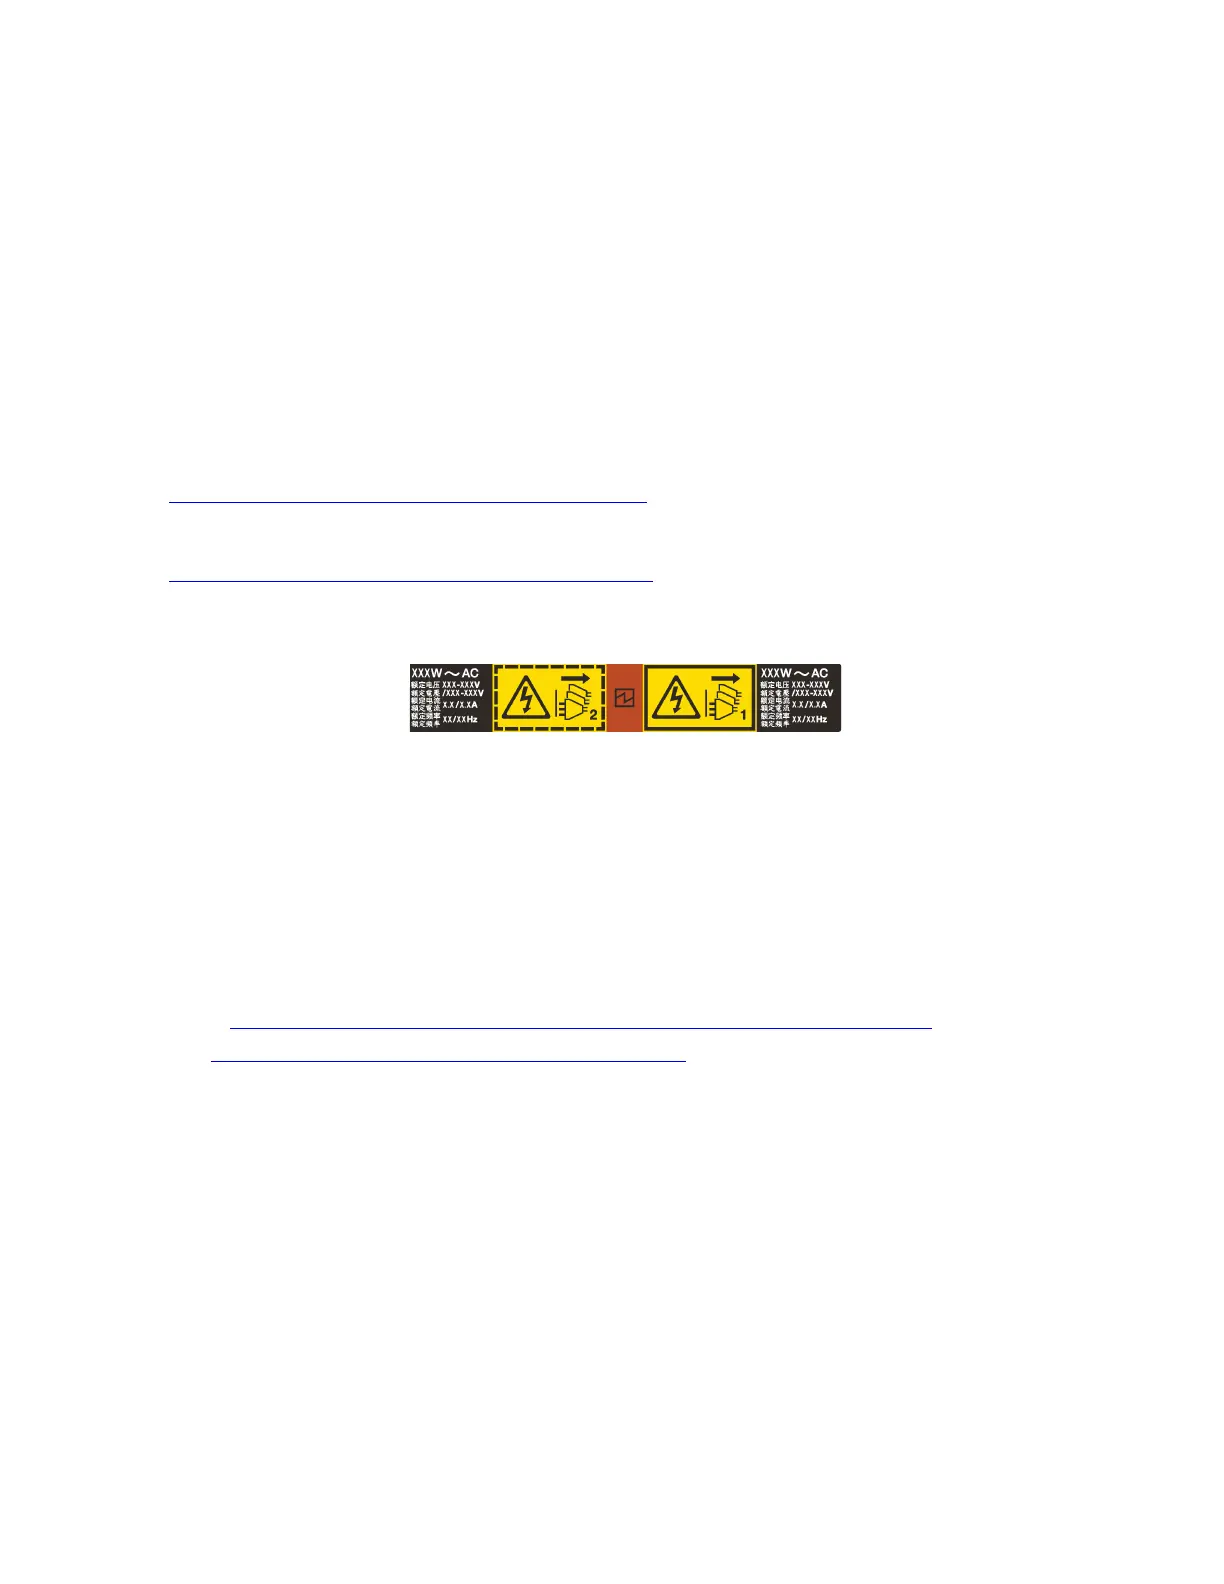
– Attach the power information label that comes with this option onto the existing label near the power
supply.
Figure 218. Example power supply unit label on the top cover
Attention:
• Read “Installation Guidelines” on page 185 to ensure that you work safely.
• Prevent exposure to static electricity, which might lead to system halt and loss of data, by keeping static-
sensitive components in their static-protective packages until installation, and handling these devices with
an electrostatic-discharge wrist strap or other grounding system.
A video for this task is available at:
• Youtube:
https://www.youtube.com/playlist?list=PLYV5R7hVcs-DqVplE36HIvdM_sq_Auw3U
• Youku: https://list.youku.com/albumlist/show/id_59643657.html
Procedure
Step 1. Touch the static-protective package that contains the hot-swap power supply to any unpainted
surface on the outside of the server. Then, take the hot-swap power supply out of the package and
place it on a static-protective surface.
Step 2. If there is a power-supply filler installed, remove it.
294
ThinkSystem SR650 V2Maintenance Manual

 Loading...


