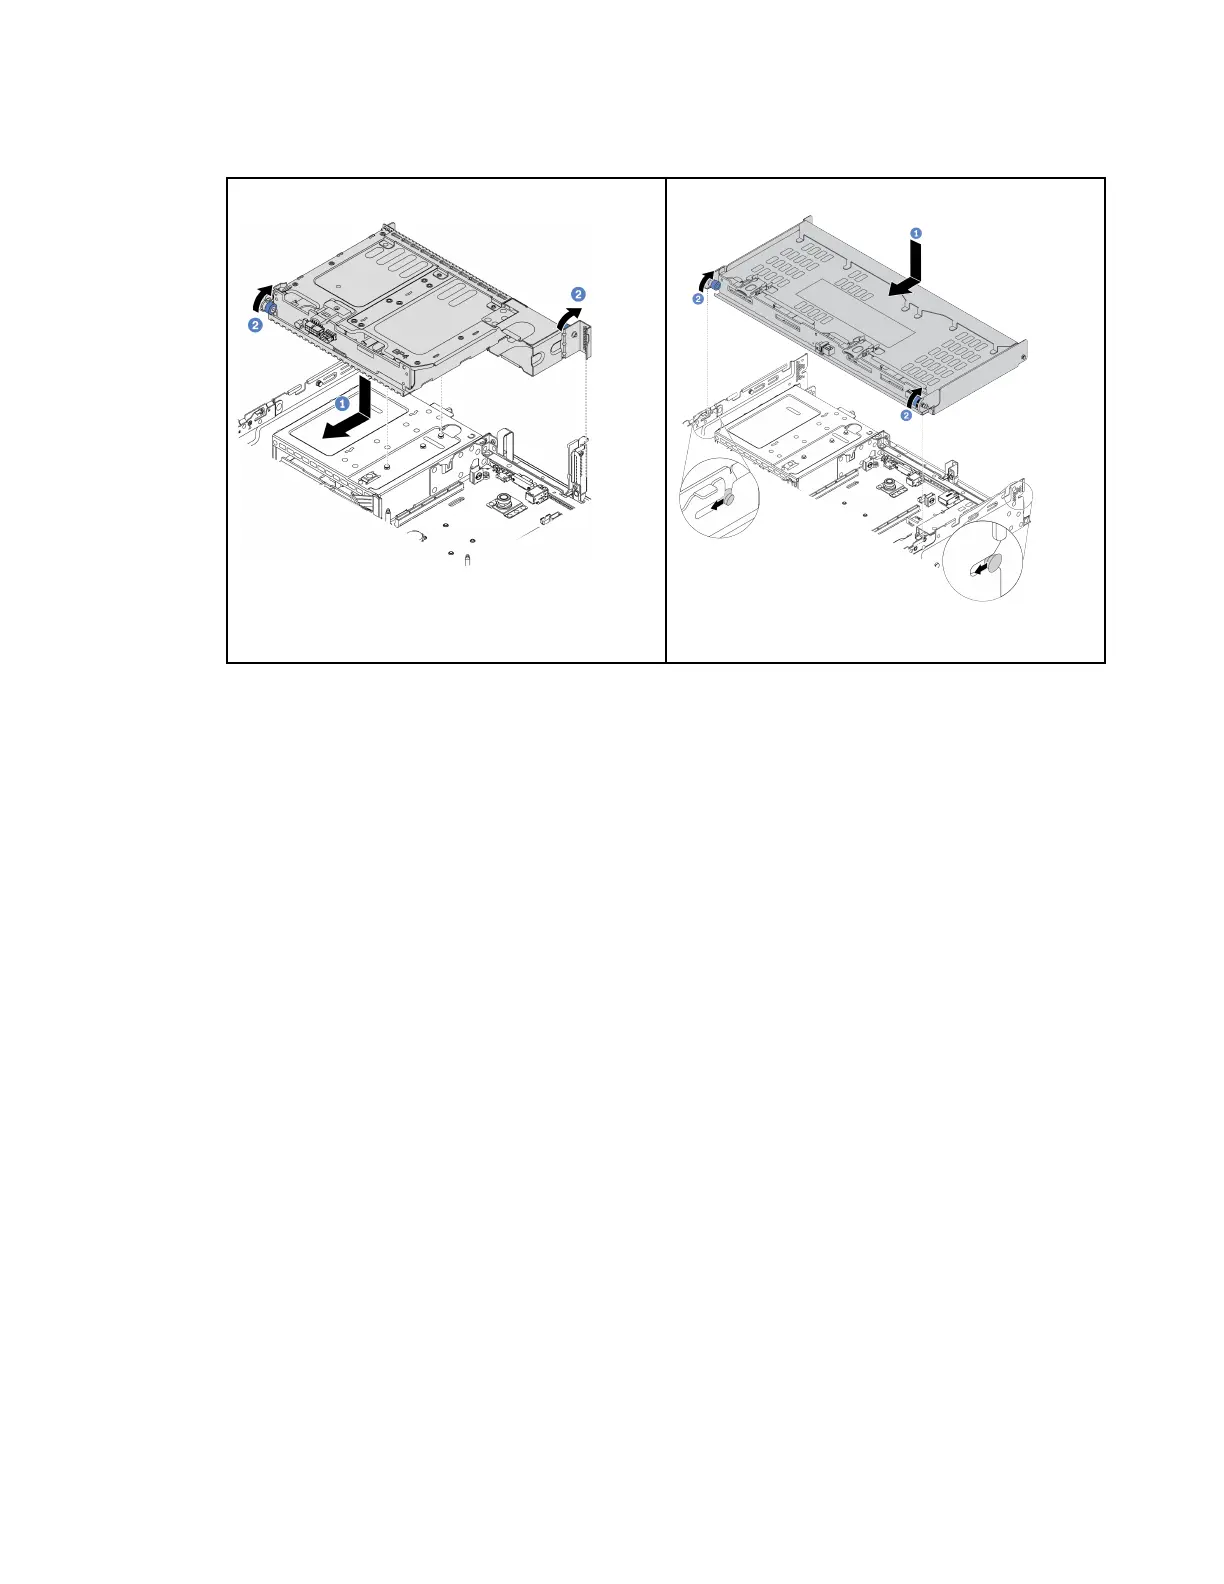
Step 3. Install the rear drive cage.
Figure 271. Installing the 2 x 3.5-inch rear drive cage
Figure 272. Installing the 4 x 3.5-inch reard rive cage
a. Align the rear drive cage with the chassis, and lower the drive cage into the chassis. Move the
rear drive cage forward until it clicks into position.
b. Twist and release the blue plunger to secure the drive cage in place.
Step 4. Connect cables from the rear backplane to the system board or RAID/HBA adapters. See Chapter
3 “Internal cable routing” on page 71.
After you finish
1. Reinstall the drives or drive fillers into the rear drive cage. See “Install a hot-swap drive” on page 227.
2. Complete the parts replacement. See “Complete the parts replacement” on page 381.
Chapter 4. Hardware replacement procedures 341

 Loading...


