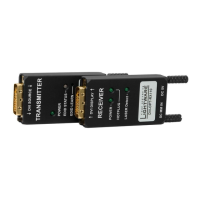
4. Operation UMX-TPS-TX100 series – User's Manual 39
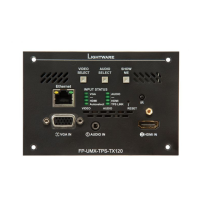
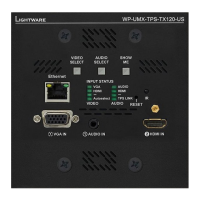
Front Panel Buttons
models have the same functionality. The operation of the front
panel buttons is also similar.
Video Select Button
Desired video input can be
selected by the Video Select
button from the front panel.
The selection order of the
inputs depends on the model
as follows:
UMX-TPS-TX120:
UMX-TPS-TX130:
VGA
HDMI
DVI-D
Autoselect
DVI-A
UMX-TPS-TX140:
VGA
HDMI
DP
DVI-D
Autoselect
DVI-A
WP-UMX-TPS-TX120-US:
WP-UMX-TPS-TX130-US:
VIDEO
SELECT
VIDEO
SELECT
Audio Select Button
Desired audio input can be
selected by the Audio Select
button from the front panel.
The selection order of the
inputs depends on the model
as follows:
UMX-TPS-TX120:
Analog audio Embedded digital audio
UMX-TPS-TX130:
Analog audio Embedded digital audio
UMX-TPS-TX140:
Audio1 Audio2 Embedded audio
WP-UMX-TPS-TX120-US:
Analog audio Embedded digital audio
WP-UMX-TPS-TX130-US:
Analog audio Embedded digital audio
Analog audio Embedded digital audio
INFO: Embedded digital audio is received on the digital video input
embedded audio, this source is skipped.
Port Legend
Video only
Audio only
Video with embedded
audio
AUDIO
SELECT
AUDIO
SELECT
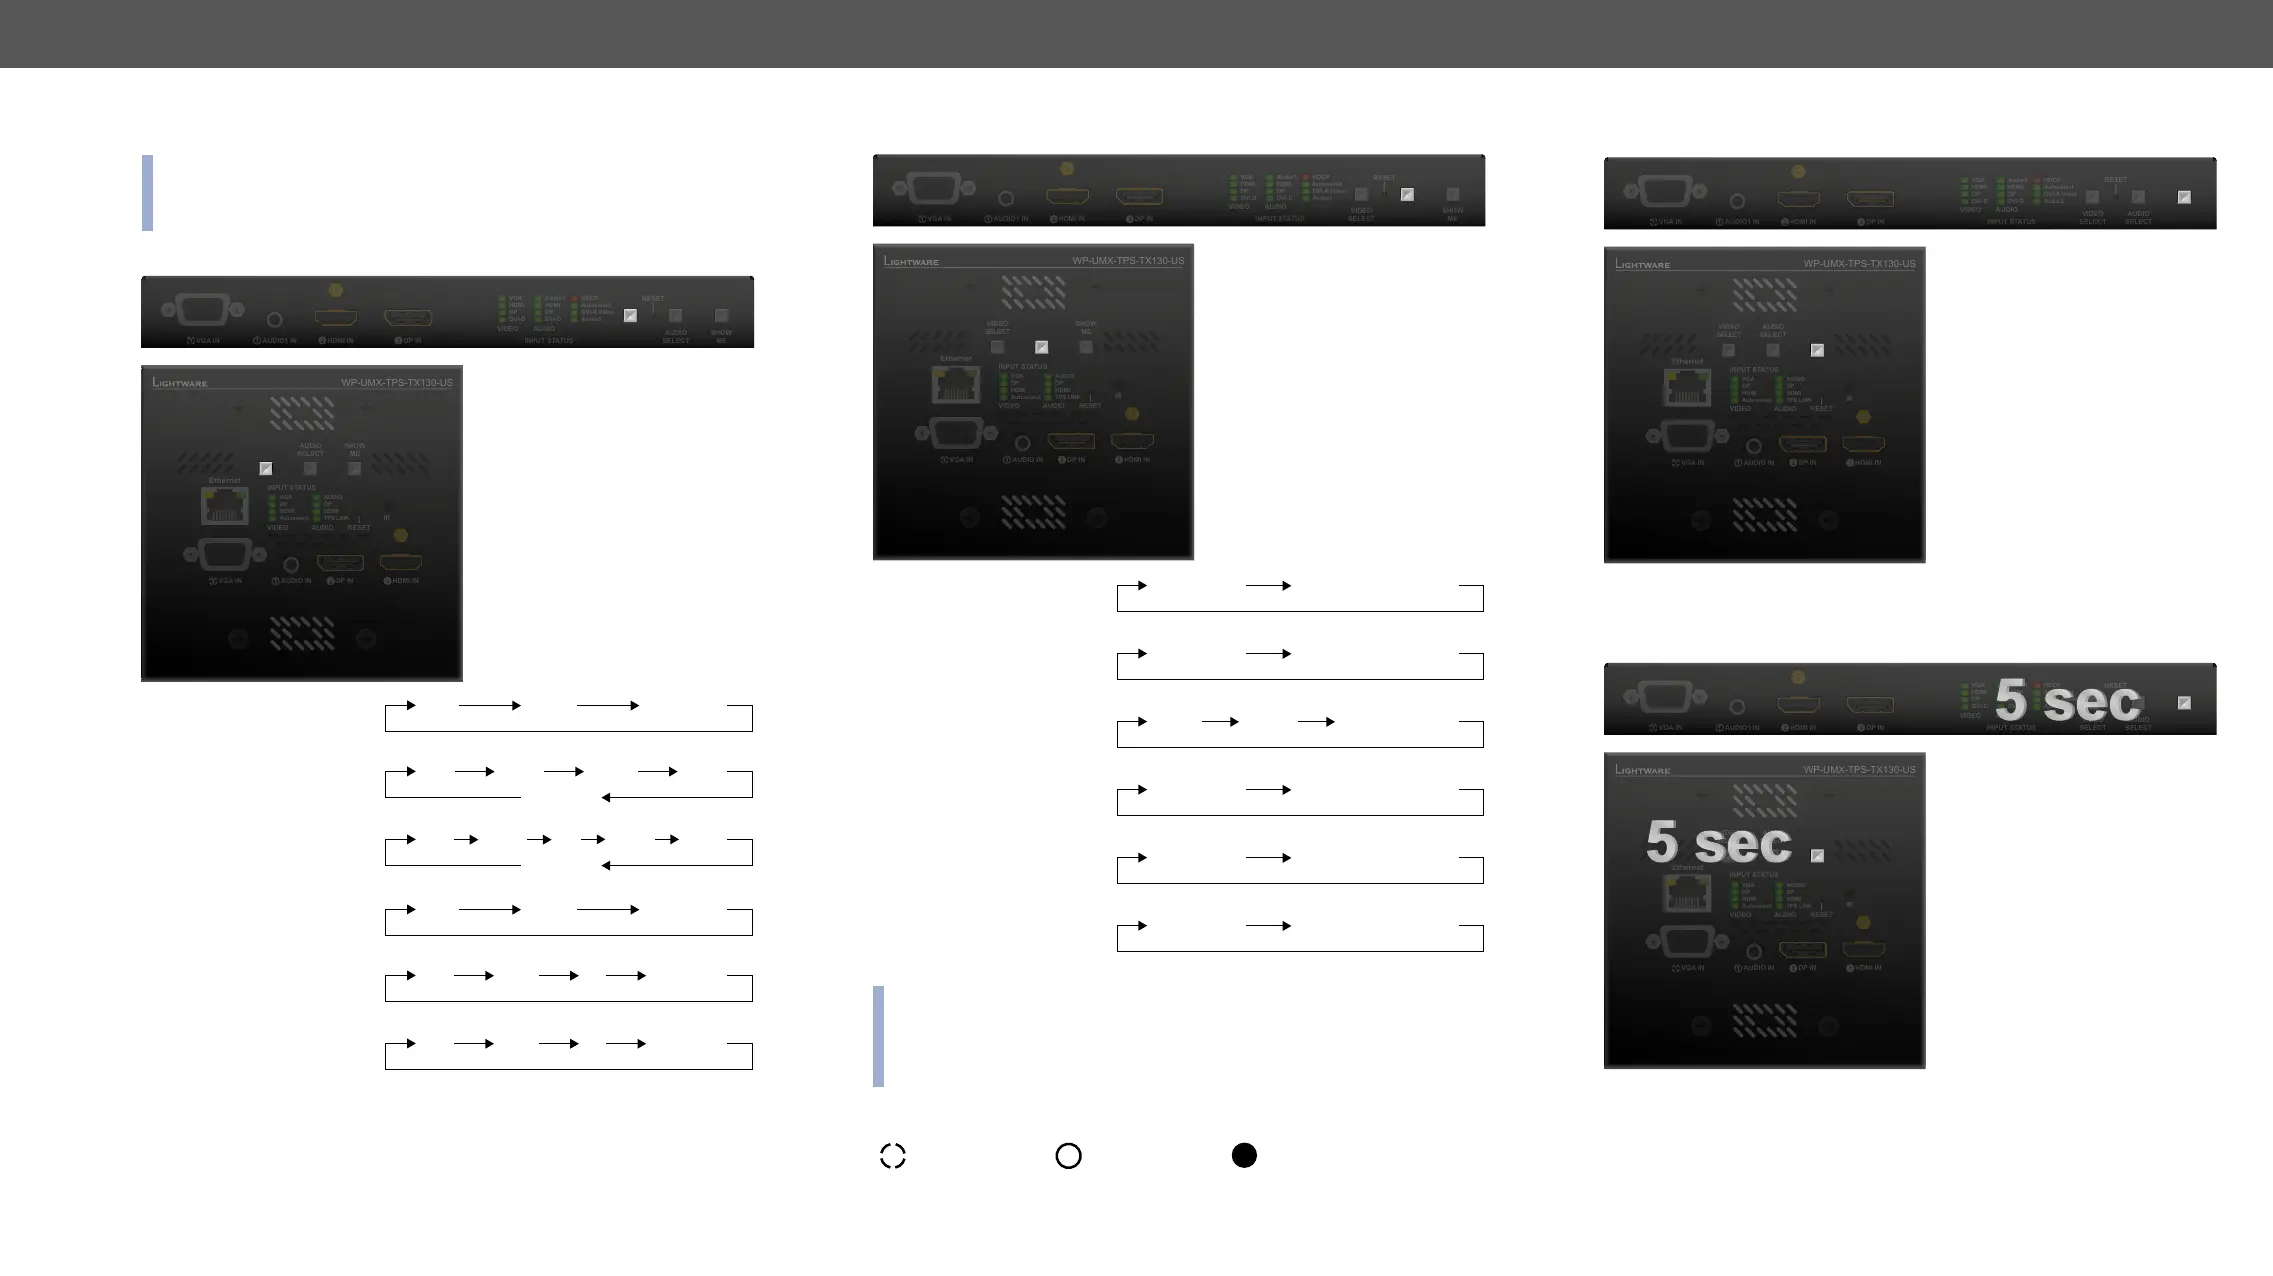
Programmable Show Me Button
Action or an operation can
be assigned to the Show
Me button. “Show Me button
pressed” is a condition that
can be selected in the Event
Manager. See more details in
the Event Manager section.
Special Functions
The device has a static IP
address as a factory default
setting. If this setting does
during install or usage, DHCP
can be enabled from the front
panel:
Step 1. Make sure the device is powered on and operational.
Step 2. Press and keep pressed the Show Me button for 5 seconds.
Step 3. After 5 seconds front panel LEDs start blinking; release the
button and press it 3 times again quickly (within 3 seconds).
Step 4. The LEDs get dark, DHCP gets enabled.
SHOW
ME
SHOW
ME
SHOW
ME
SHOW
ME
 Loading...