4. Operation UMX-TPS-TX100 series – User's Manual 40
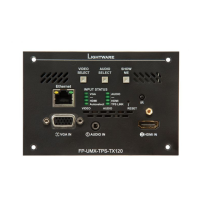
Reset to Factory Default Settings
To restore factory default
values, do the following steps:
Step 1. Make sure the device is powered on and operational.
Step 2. Press and keep pressed the Show Me button for 10 seconds.
After 5 seconds front panel LEDs start blinking but keep on
pressing the button.
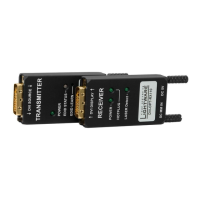
Step 3. After 10 seconds the LEDs start blinking faster; release the
button and press it 3 times again quickly (within 3 seconds).
Step 4. The LEDs get dark, the device restores the factory default
settings and reboots.
Factory default settings are listed in the Factory Default Settings
section.
SHOW
ME
SHOW
ME
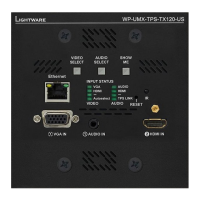
Reseting the Device
upgrade, etc) you may need
to reset the device. Pushing
the reset button results the
same as you disconnect and
reconnect the power adaptor
to the transmitter. To reseting
the device follow the steps:
Step 1. Push the button with a thin object for a second.
Step 2.
the LIVE LED is blinking slowly again.
ATTENTION! Reseting the device does not reset the settings to
factory defaults. To reset factory default settings see the previous
section.
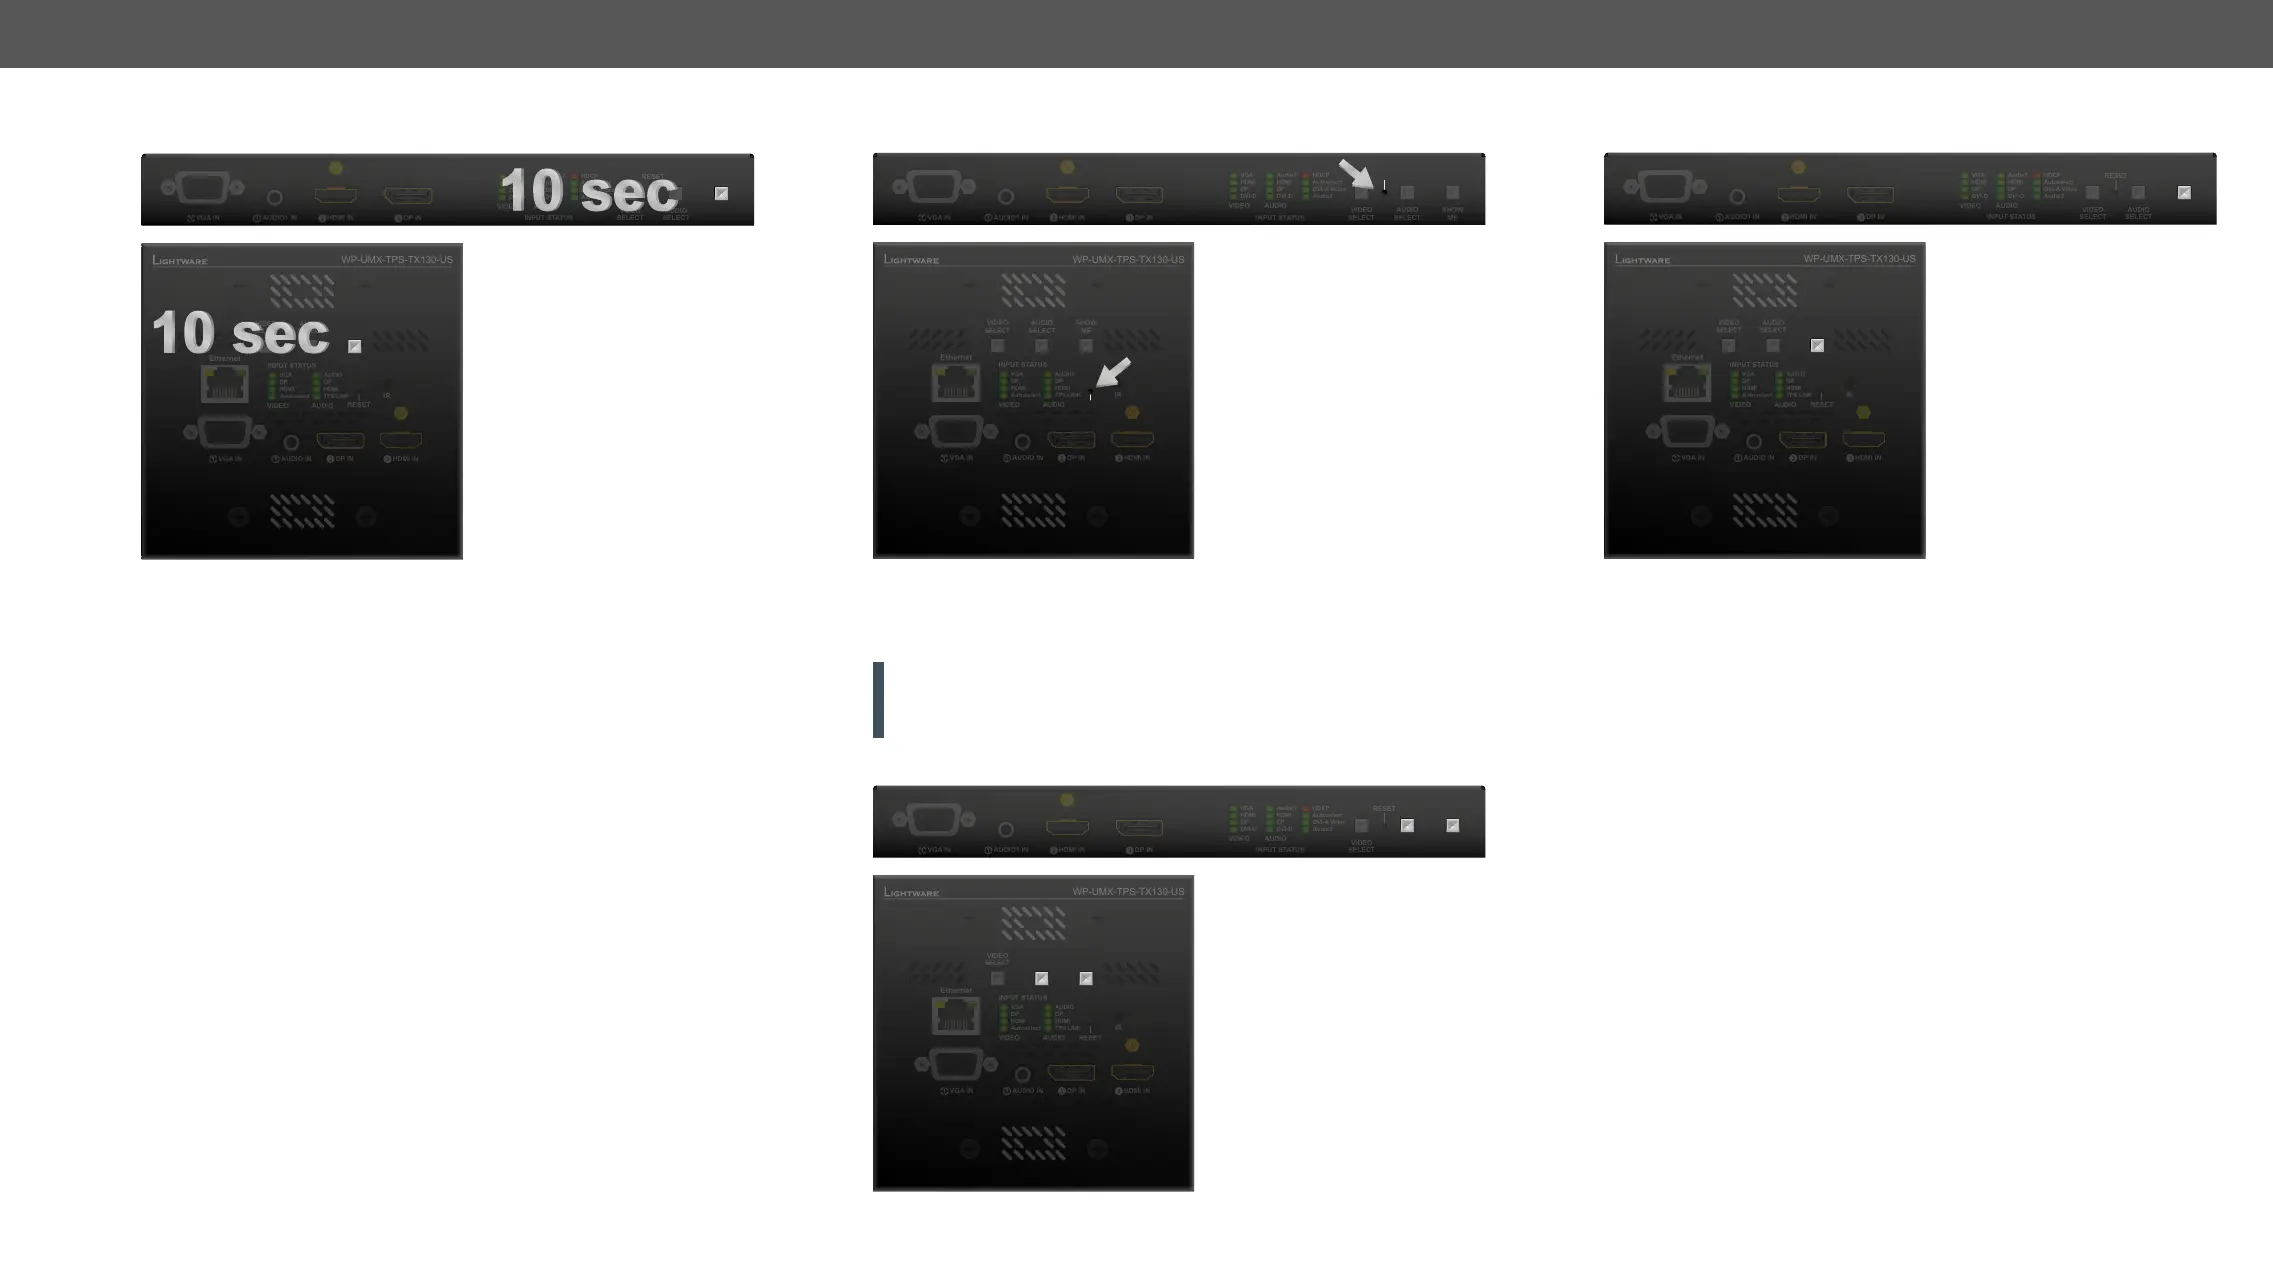
Control Lock
Press the Audio Select and
Show Me buttons together
enable front panel buttons;
front panel LEDs blink 4 times
the control lock is enabled
and a button is pressed, front
panel LEDs blink 3 times.
RESET
RESET
SHOW
ME
AUDIO
SELECT
SHOW
ME
AUDIO
SELECT
Entering Firmware Upgrade Mode
It may happen that the
is not successful and the
device cannot be switched to
bootload mode automatically.
In this case, the device can be
mode as follows:
Step 1. Make sure the transmitter is powered off.
Step 2. Press and keep pressed the Show Me button.
Step 3. Power on the transmitter while the Show Me button is being
the LIVE LED is blinking quickly (less than 500 ms duty cycle).
The other LEDs are off.
Firmware
Upgrade chapter.
Software Control Modes
User has more possibilities to control the device besides the front
panel buttons. The following list contains the software control modes:
▪ Lightware Device Controller (LDC) - you can connect to the device
via our control software using Ethernet or RS-232 interface and
the Software Control - Lightware Device Controller chapter.
▪ LW2 protocol commands
see the chapter.
▪ LW3 protocol commands
see the chapter.
SHOW
ME
SHOW
ME
 Loading...