Cleaning and Disinfection Maintenance
7 - 14 046-003777-00 A5/A3™ Operating Instructions
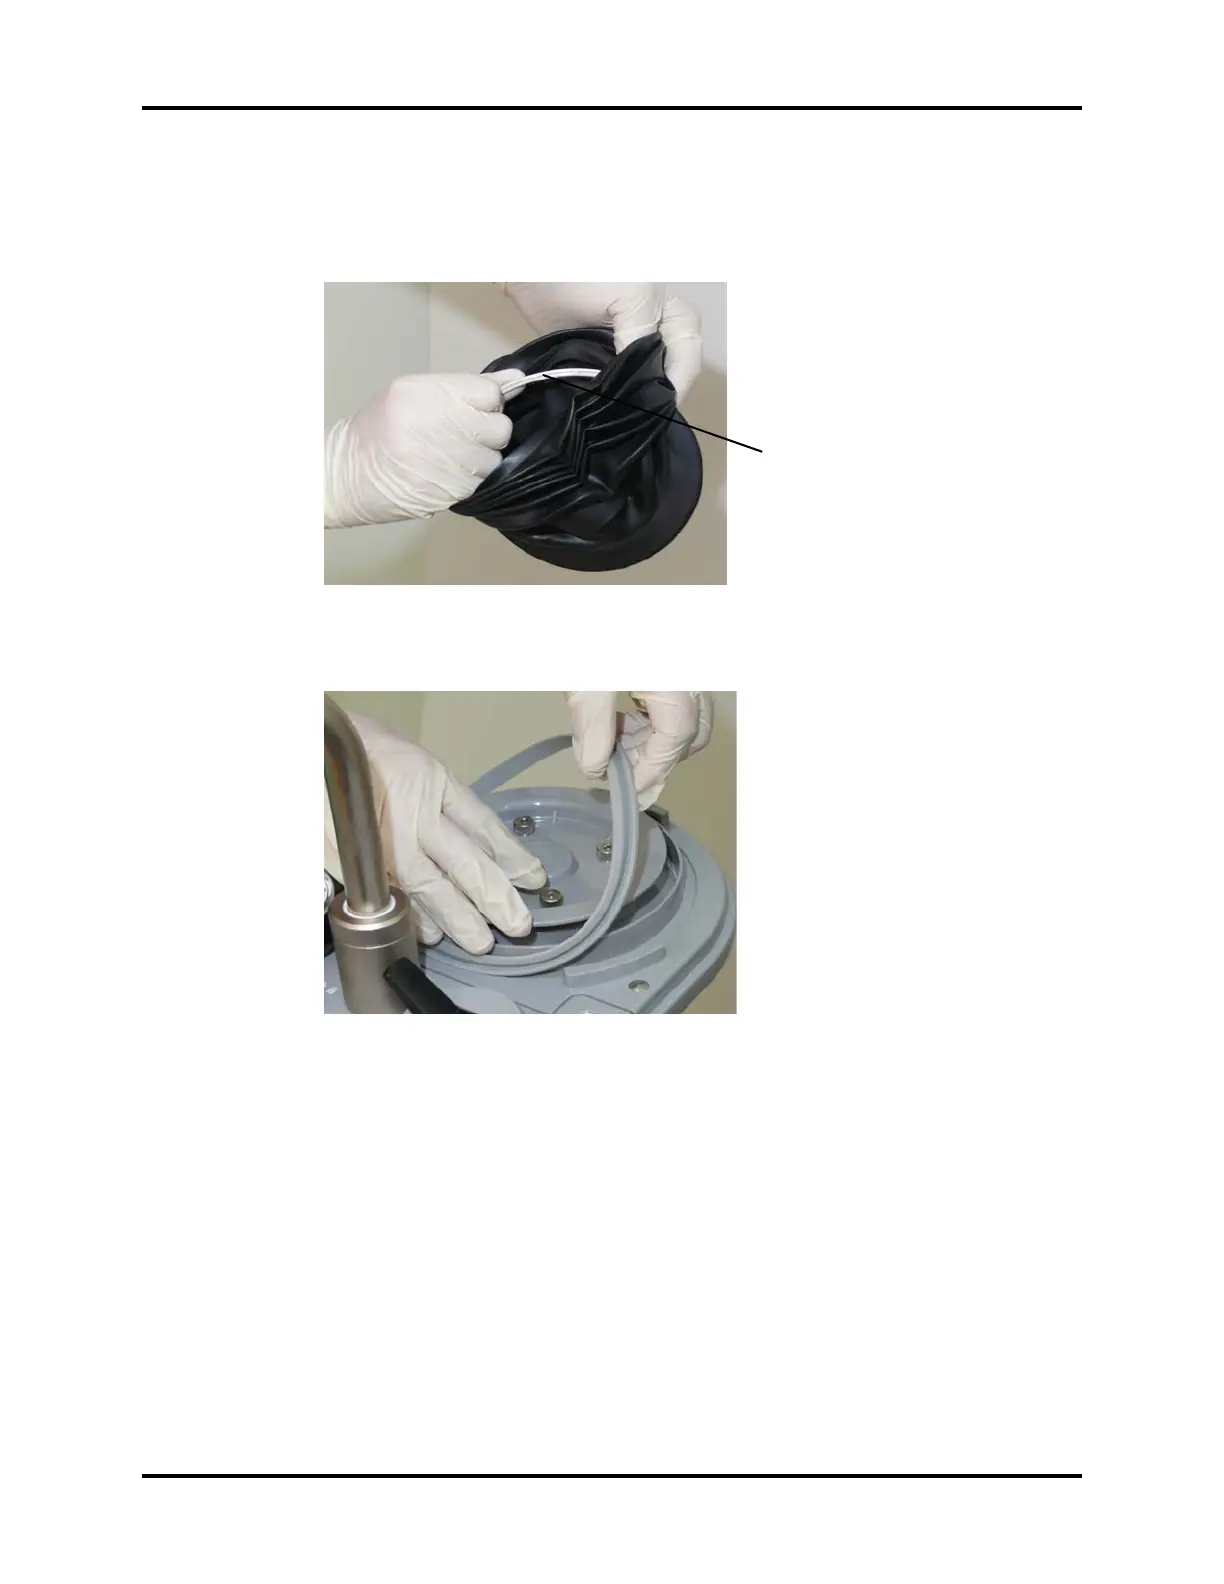
4. Remove the bellows adapter ring from inside the bellows (see FIGURE 7-8). Note the
orientation of the bellows adapter ring as it is being removed to ensure that it is properly
inserted during reassembly. (If the ring contains grooves, the ring should be oriented so that
the grooves are facing downward in the final reassembly.)
FIGURE 7-8 Removing the Bellows Adapter Ring
5. Remove the bellows dome O-ring as shown in FIGURE 7-9.
FIGURE 7-9 Removing the Bellows Dome O-ring
6. Cleaning
a. To prevent damage, wash each component gently using a recommended cleaning
agent (
see section7.10.2 (page 7-11) "Cleaning and Disinfecting Agents / Autoclaving").
Ensure that all bellows surfaces are cleaned. Do not autoclave the bellows.
b. Rinse with clean, hot water, and allow to dry.
NOTE: Dry the bellows by allowing it to hang so that it is fully expanded. This
will facilitate thorough drying and prevent it from sticking to itself.
CAUTION: Do not autoclave the following components: Paw gauge, oxygen
sensor, flow sensor, and bellows. These components cannot withstand
immersion or the heat and pressure of autoclaving.
Grooves on adapter ring face
downward.
 Loading...


