SECTION 5
DISASSEMBLY AND ASSEMBLY
114
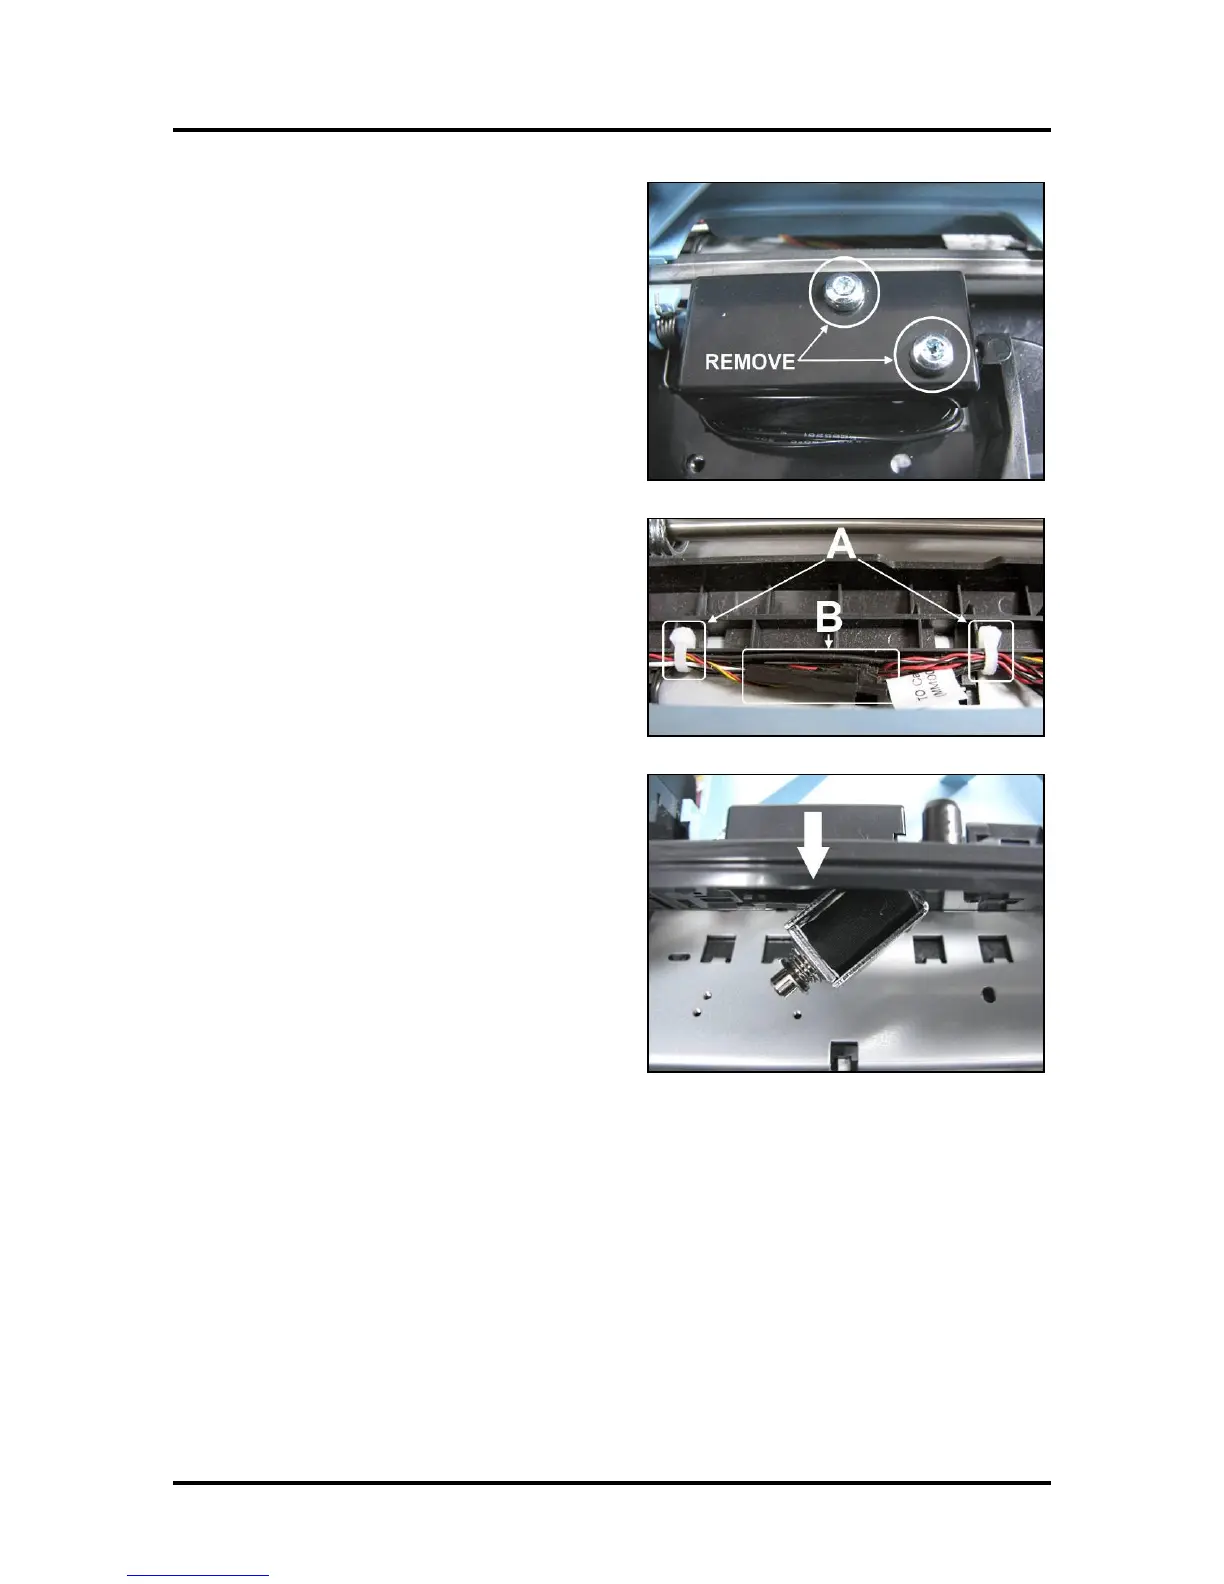
7. Remove the two (2) screws securing the
Solenoid to the Base Assembly.
8. Cut two cable ties [A]. Unplug the Solenoid
connector [B] from the wiring harness.
9. Carefully lift the Base Assembly just enough
to remove the Solenoid assembly from under
the Base Assembly.
10. Install the new Solenoid. Reassemble in
reverse order.

 Loading...

