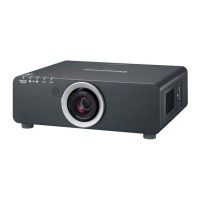
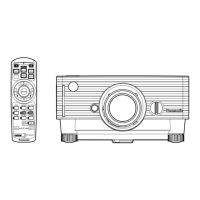
Chapter 5 Operations — Using the information monitor function
ENGLISH - 265
3) Press as to select [INFO MONITOR].
4) Press the <ENTER> button.
f The detailed setting item is displayed.
5) Press as to select [DIRECTION].
6) Press the <ENTER> button.
f Setting can be changed.
7) Press qw to switch the setting.
f The items will switch each time you press the button.
[AUTO]
Detects the orientation of the projector by the built-in angle sensor, and automatically sets the
direction of the text displayed in the information monitor. Set [AUTO] normally.
[NORMAL] Select this item when installing the projector on a desk, etc.
[FLIPPED]
Select this item when installing the projector with the top surface of the projector facing down such as
ceiling attachment.
Displays the text inverted upside down from when [NORMAL] is set.
Note
f This setting item is common with the following menu item in the on-screen menu.
g The [PROJECTOR SETUP] menu → [INFO MONITOR SETTING] → [DIRECTION]
r Setting the brightness of the information monitor
Set the brightness of the information monitor.
1) Press as to select [SETUP].
2) Press the <ENTER> button.
f The sub-menu item is displayed.
3) Press as to select [INFO MONITOR].
4) Press the <ENTER> button.
f The detailed setting item is displayed.
5) Press as to select [BRIGHTNESS].
6) Press the <ENTER> button.
f Setting can be changed.
7) Press qw to adjust the level.
Operation Adjustment Range of adjustment
Press w.
The information monitor becomes bright.
30 % - 100 %
(Factory default setting: 100 %)
Press q.
The information monitor becomes dark.
Note
f [BRIGHTNESS] is adjusted in increments of 10.
f This setting item is common with the following menu item in the on-screen menu.
g The [PROJECTOR SETUP] menu → [INFO MONITOR SETTING] → [BRIGHTNESS]
[NETWORK]
Congure the settings to use the network function.
r Setting the acquisition method of the wired LAN IP address
1) Press as to select [SETUP].
2) Press the <ENTER> button.
f The sub-menu item is displayed.
3) Press as to select [NETWORK].

 Loading...