2. In [Advanced Settings] for the custom paper in use, select [Fusing Temp] and decrease the
value by 5 °C.
3. Print the image on twenty sheets. Do glossy lines appear on the tenth sheet and later
sheets?
Yes Repeat Step 2 and 3. If the problem persists even though the setting has reached its
minimum value, contact your service representative. If the problem is resolved, go to the
next step.
No Go to the next step.
4. Check the toner fusion. Is it satisfactory?
Yes Finished!
No Restore the previous setting and contact your service representative.
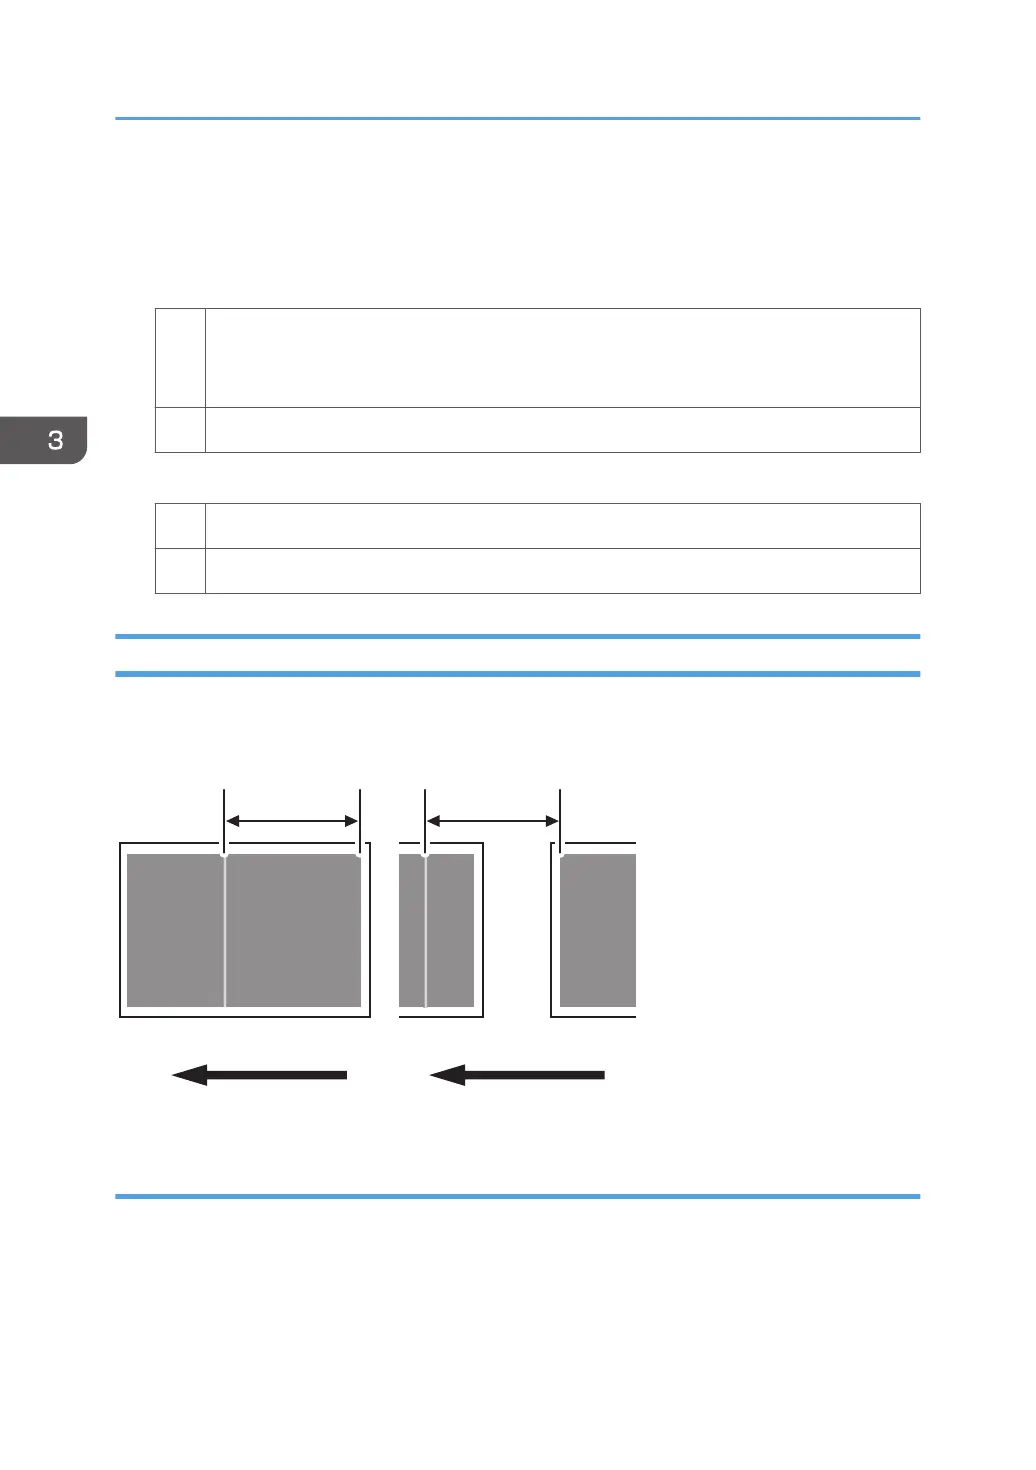
Vertical Glossy Lines
Glossy lines perpendicular to the paper feed direction appear.
CEZ603
251 mm
(10 inches)
251 mm
(10 inches)
Cause:
Glossy lines perpendicular to the paper feed direction may appear 251 mm (10 inches) from the
boundary of the margin and the solid image (in the direction opposite to the paper feed direction).
3. Troubleshooting Image Quality Problems
62
 Loading...


