42 Rockwell Automation Publication 2711R-UM001I-EN-E - February 2023
Chapter 2 Configure the Terminal
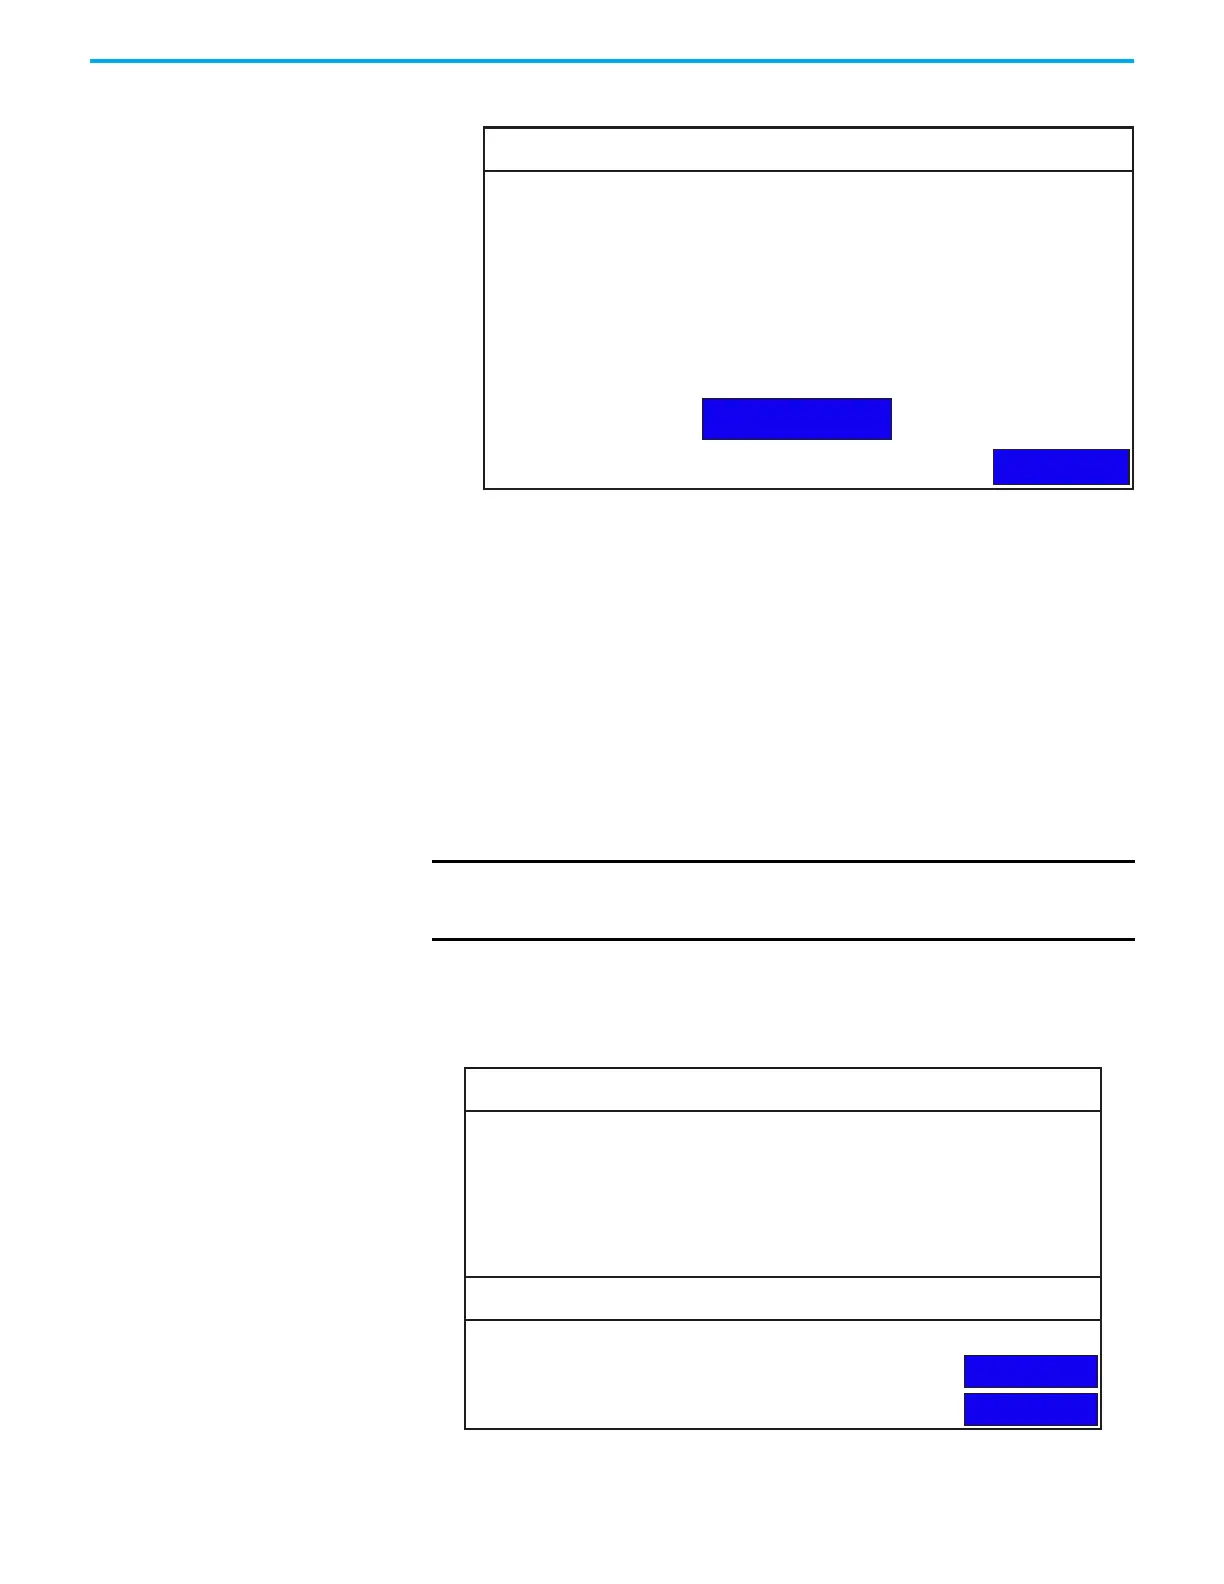
The following shows an example.
Add a print button to your application
After configuring the print settings on your terminal, you have to add a print
button to your application.
1. In Connected Components Workbench software, double-click a screen
for your application where you want to place the Print button.
2. Drag-and-drop a Print button from the Toolbox window to your
application screen.
3. Right-click the Print button and select Properties.
4. In the Properties window, configure the Print Type setting.
Print Type = Print Current Screen, Print Alarm History.
System Information
Settings
On the main configuration screen, press System Information to go to the
system information screen.
IMPORTANT The portrait and color options are not supported when printing the
alarm history. The print settings switches automatically to the
landscape and monochrome options.
Ethernet Print Settings
Back
Edit Credentials
Network Share Path: \\My_PC\Printer_1
Administrator
******
My_PCDomain:
Username:
Password:
System Information
Main
Advanced
Firmware Version:
Boot Code Version:
Logic Board Version:
Terminal On Time:
Display On Time:
Battery Status:
Memory Usage (bytes)
Internal Used:
Internal Free:
Application Used:
Application Free:
5.011
4.011
4
102,330
102,330
Good
1,392,640
164,741,120
31,600,640
193,994,752
 Loading...