7 Commissioning
7.1 Putting the MLG-2 into operation
Prerequisites
•
Sender and receiver have been mounted
•
Sender and receiver are electrically connected.
The following steps are required during commissioning:
1. Align sender and receiver (alignment).
2. Perform sensor teach-in.
3. Perform material teach-in.
7.2 Aligning sender and receiver
During alignment, align the sender and receiver to one another so that the best signal
quality is achieved. The signal quality is displayed either on the control panel of the
receiver or in SOPAS ET.
You can perform alignment as follows:
•
Once without SOPAS ET during initial commissioning: see "Aligning sender and
receiver", page 48
•
Via SOPAS ET: see "Setting up MLG-2 (installation assistant)", page 51
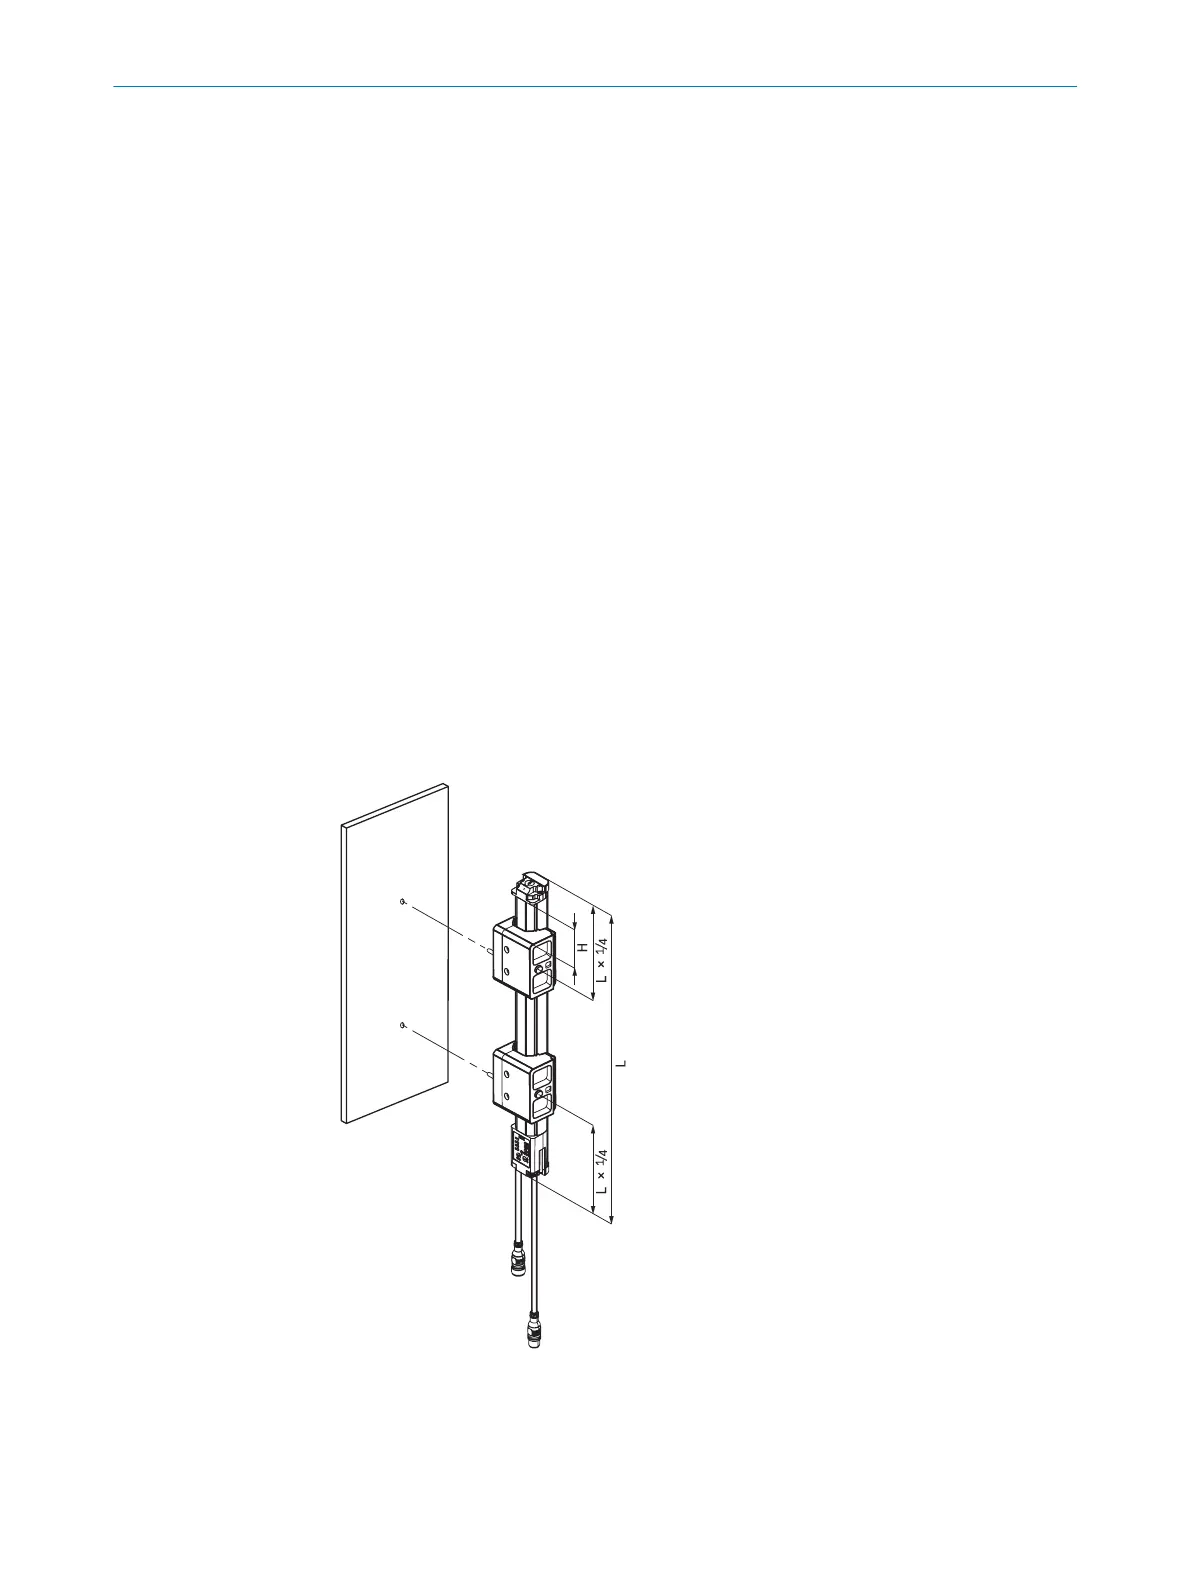
Alignment with the QuickFix bracket
You have the following adjustment options with the QuickFix bracket:
•
Vertical adjustment (H)
Figure 32: Alignment with the QuickFix bracket
7
COMMISSIONING
44
O P E R A T I N G I N S T R U C T I O N | MLG-2 WebChecker 8024643/2019-09-02 | SICK
Subject to change without notice