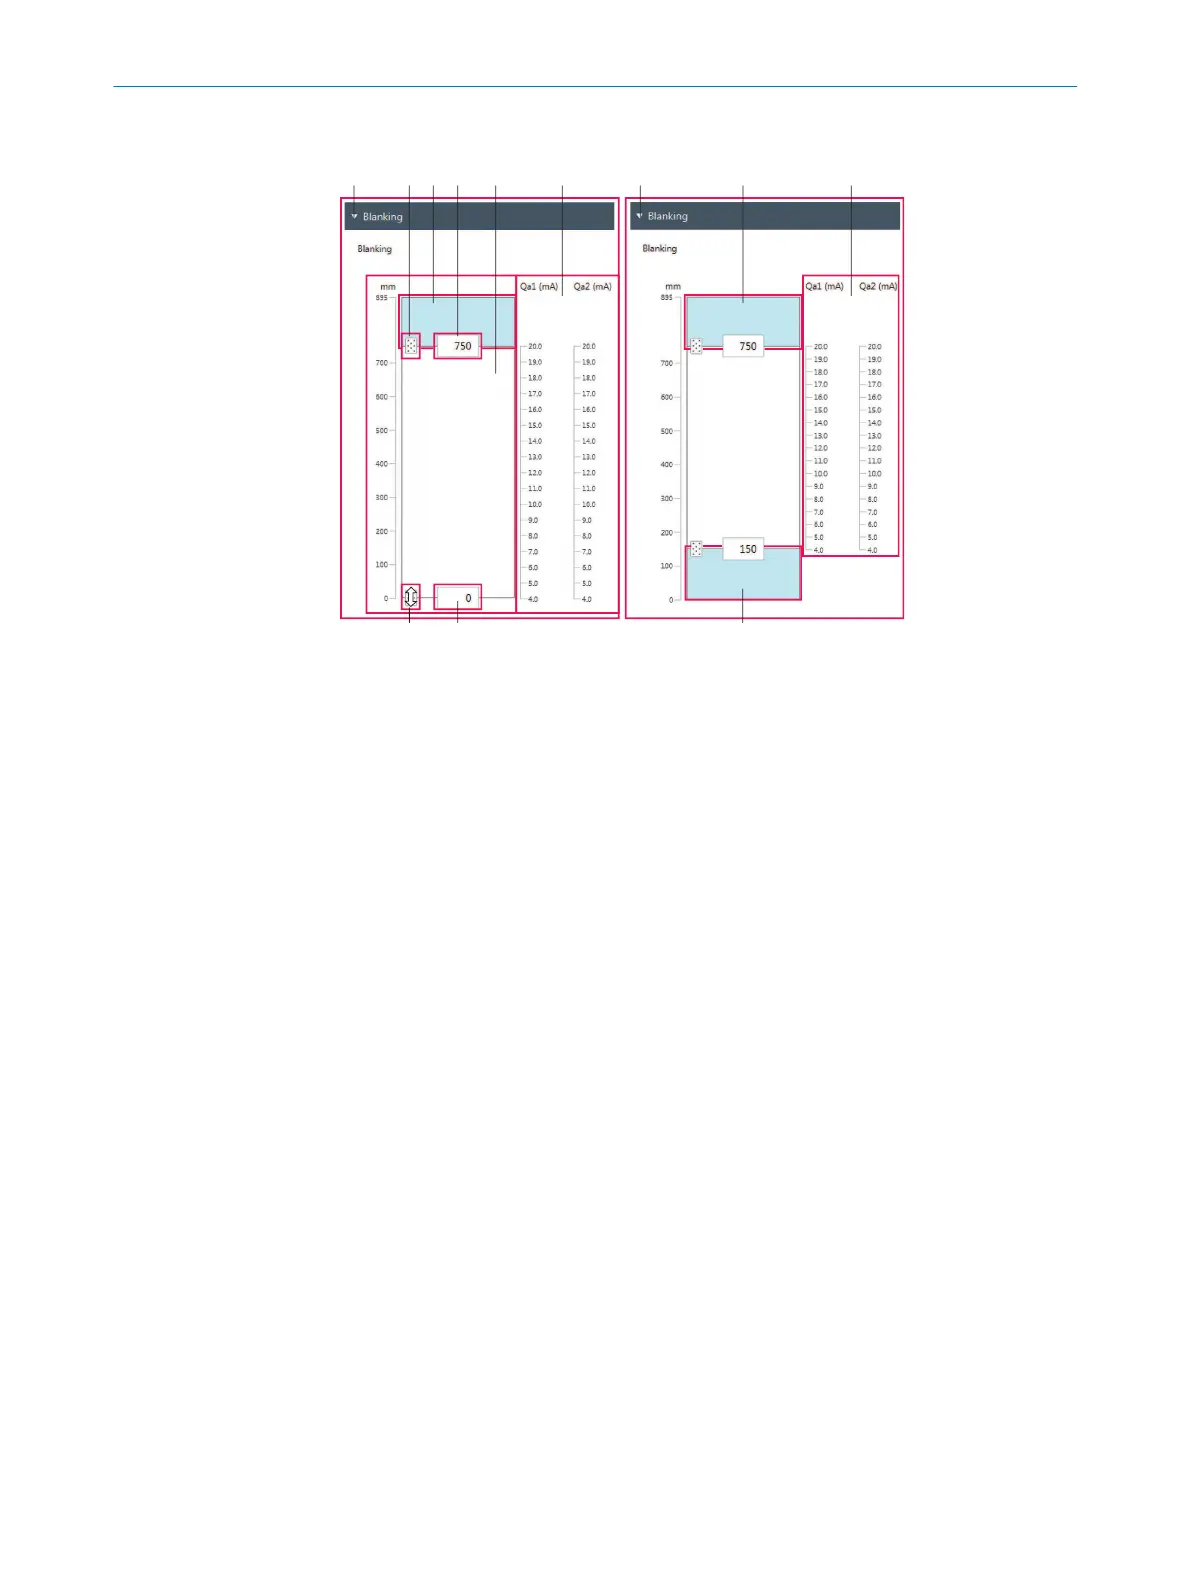
Example for blanking
Figure 52: “Enhanced Sensing” page, “Blanking” menu (2 examples)
1
Example with one-sided blanking (from the head side)
2
Example with blanking on both sides
3
Slider for upper measurement field limit
4
Input field for upper measurement field limit
5
Measurement field width with one-sided blanking
6
Analog outputs with blanking on both sides, only for MLG-2 variants with analog outputs
7
Analog outputs with blanking, only for MLG-2 variants with analog outputs
8
Blanked areas (shown in blue)
9
Input field for lower measurement field limit
ß
Slider for lower measurement field limit
10.4.3 “Sensor teach-in” menu
Start the "Installation assistant” wizard using this menu. You will be guided through part
of the wizard with the "Sensor teach-in" and "Material teach-in” steps.
More information:
•
see "Setting up MLG-2 (installation assistant)", page 51
•
see "Performing sensor teach-in", page 52
10.4.4 “Material teach-in” menu
You can parameterize this menu for material teach-in. If you change the settings in this
menu, you have to run material teach-in again.
More information:
•
see "Performing material teach-in", page 54
10 CONFIGURATION WITH SOPAS
68
O P E R A T I N G I N S T R U C T I O N | MLG-2 WebChecker 8024643/2019-09-02 | SICK
Subject to change without notice