1. Start “Installation assistant” wizard.
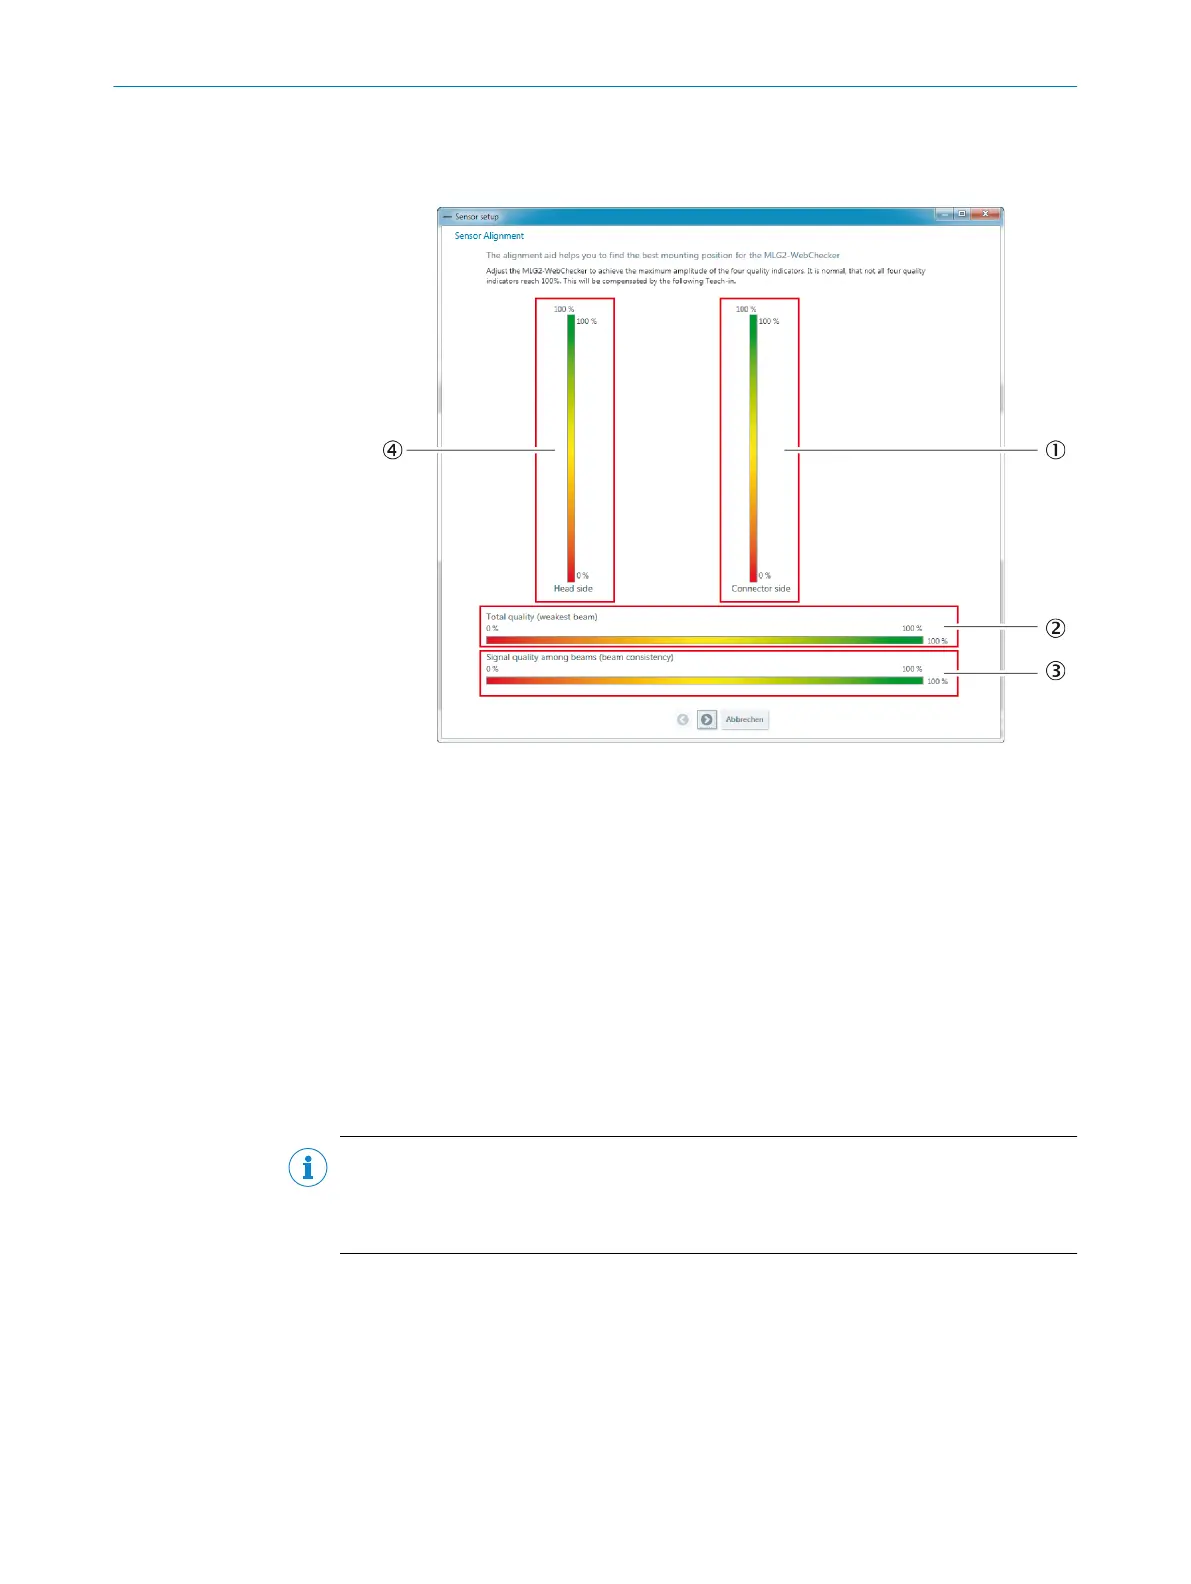
2. Align the sender and receiver to one another so that 4 signal indicators display the
best result. Typically, not all 4 signal indicators signal 100%.
Figure 36: “Installation assistant” wizard, sensor alignment
1
Signal indicator for the first light beam from the connection side
2
Signal indicator for weak light beam
3
Signal indicator for homogeneity of the light beams
4
Signal indicator for the first light beam from the head side
Improving result of the signal indicators
b
Signal indicator 1 and 4: Align sender/receiver in the longitudinal axis.
b
Signal indicator 2: Check for distance, tilt and contamination.
b
Signal indicator 3: Check parallelism.
Performing sensor teach-in
Prerequisite:
•
Sensor alignment was successfully completed.
NOTE
All MLG-2 light beams must be free one time for sensor teach-in. If you run sensor
teach-in during operation, you must move the object to the right one time, then to the
left one time.
✓
You will see the following screen:
9 COMMISSIONING VIA SOPAS
52
O P E R A T I N G I N S T R U C T I O N | MLG-2 WebChecker 8024643/2019-09-02 | SICK
Subject to change without notice