www.stryker.com 280C-009-002 REV B 1-39
Return To Table of Contents
English
FOWLER REPLACEMENT (CONTINUED)
11. Using two 1/2” combination wrenches, remove the locknut and bolt (M, Figure 17, page 1-59) holding the pneumatic
cylinder end fitting to the head section lever arms. Lay the CPR mechanism down on the frame.
12. Grasp the head section firmly. Remove the strap and lower the head section.
13. Using a 1/2” combination wrench, remove the two locknuts, two shoulder spacers and two bolts (F) holding the head
section to the seat section.
14. Remove the micro switch from the defective head section by pressing its two side clips.
15. Reverse the above steps to install the new head section.
16. Test the head section and CPR mechanism for proper operation before returning the bed to service.
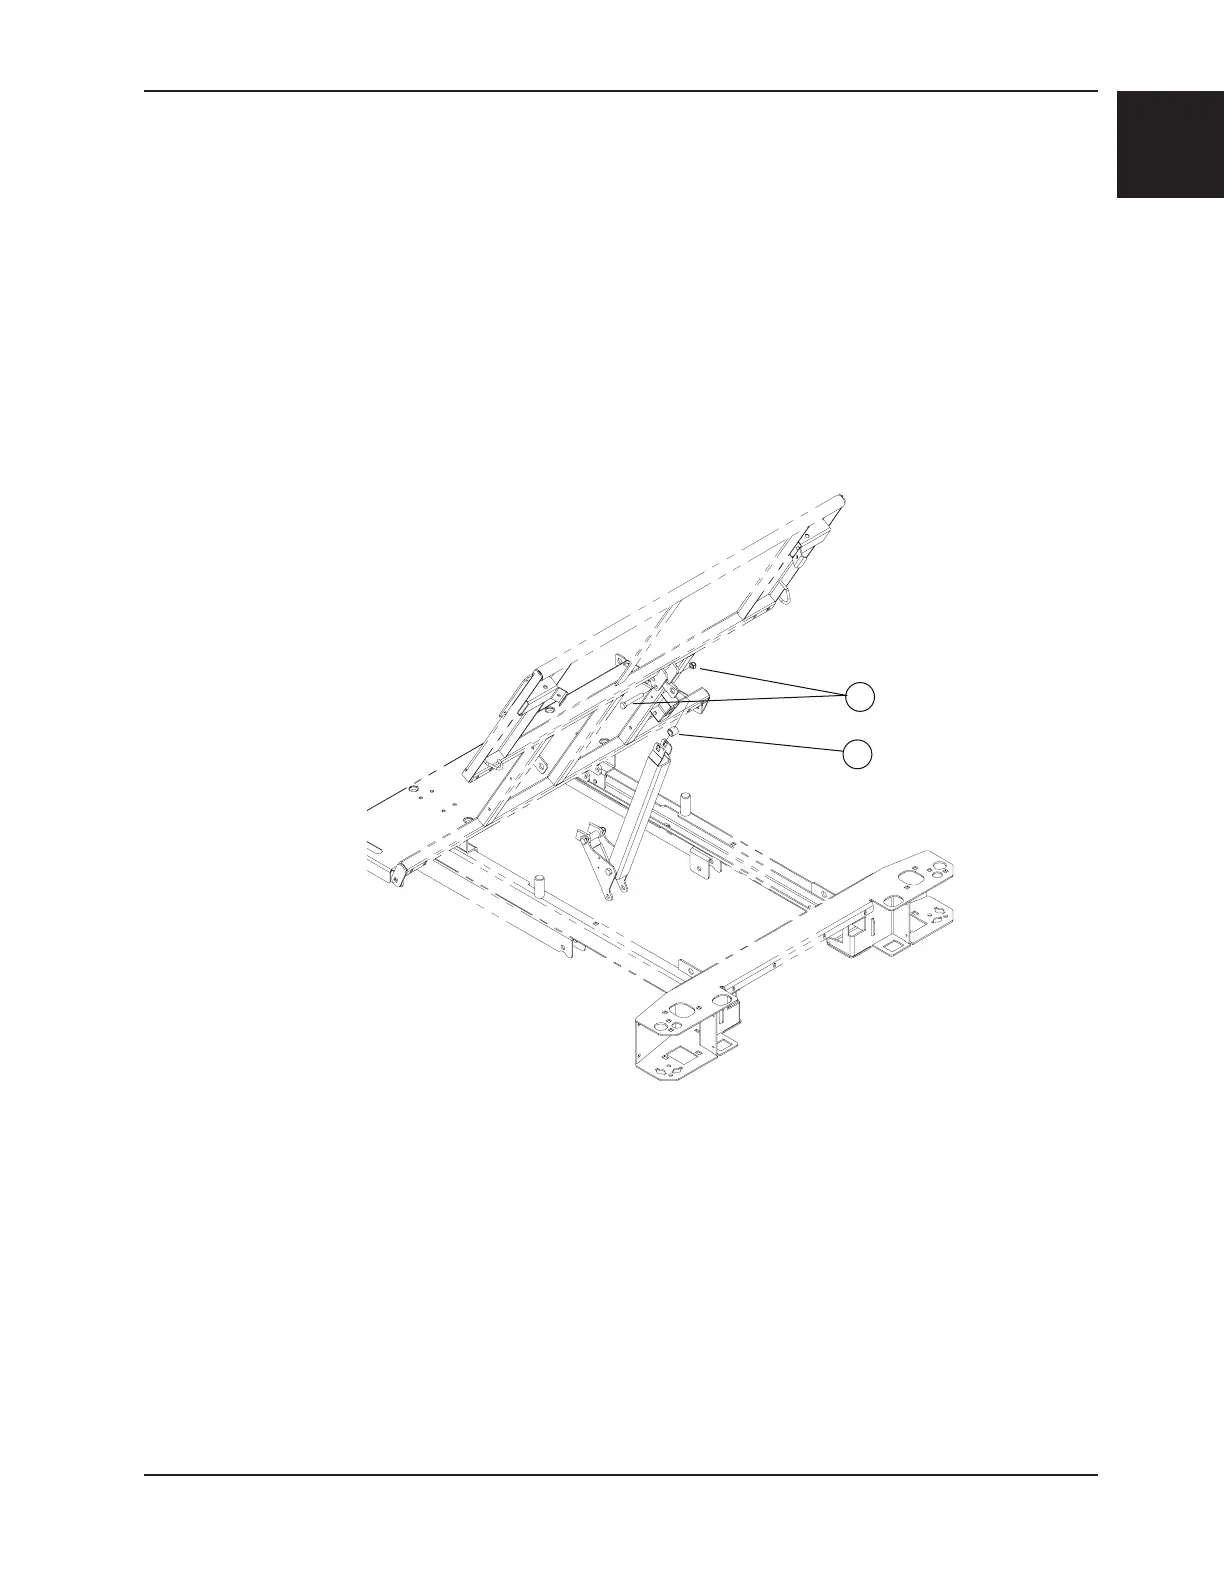
17. Using two 1/2” combination wrenches, remove the locknut and bolt (A, Figure 7) holding the lever to the head
section. Lay the lever down on the frame. Keep the spacer (B, Figure 7).
18. Grasp the head section firmly. Remove the strap and lower the head section.
19. Using a 1/2” combination wrench, remove the two locknuts, two shoulder spacers and two bolts (F) holding the head
section to the seat section.
20. Reverse the above steps to install the new head section.
21. Test the head section for proper operation before returning the bed to service.
B
Figure 7
Service Information
 Loading...


