www.stryker.com 280C-009-002 REV B 1-53
Return To Table of Contents
English
LOAD CELL REPLACEMENT (OPTIONAL)
Tools Required:
• Needle Nose Pliers
• Diagonal Pliers
• (2) Jack Stands (or equivalent)
• 1/4” Allen Wrench
• 1/2” Combination Wrench
Procedure:
1. Plug the power cord in to the wall receptacle.
2. Raise the bed to the highest position and apply the brakes.
3. Depending on the location of the load cell to replace, proceed with the following operation:
Head end of the bed: Remove the head board. Remove the plastic littler cover (if equipped) of the fowler or raise
the fowler to the highest position.
Foot end of the bed: Remove the foot board. Remove the plastic litter cover (if equipped) of the foot section or
raise the gatch to the highest position.
4. Place a jack stand under each side of the frame at the head or foot end of the bed, depending on the location of
the load cell to be replace (see following illustrations).
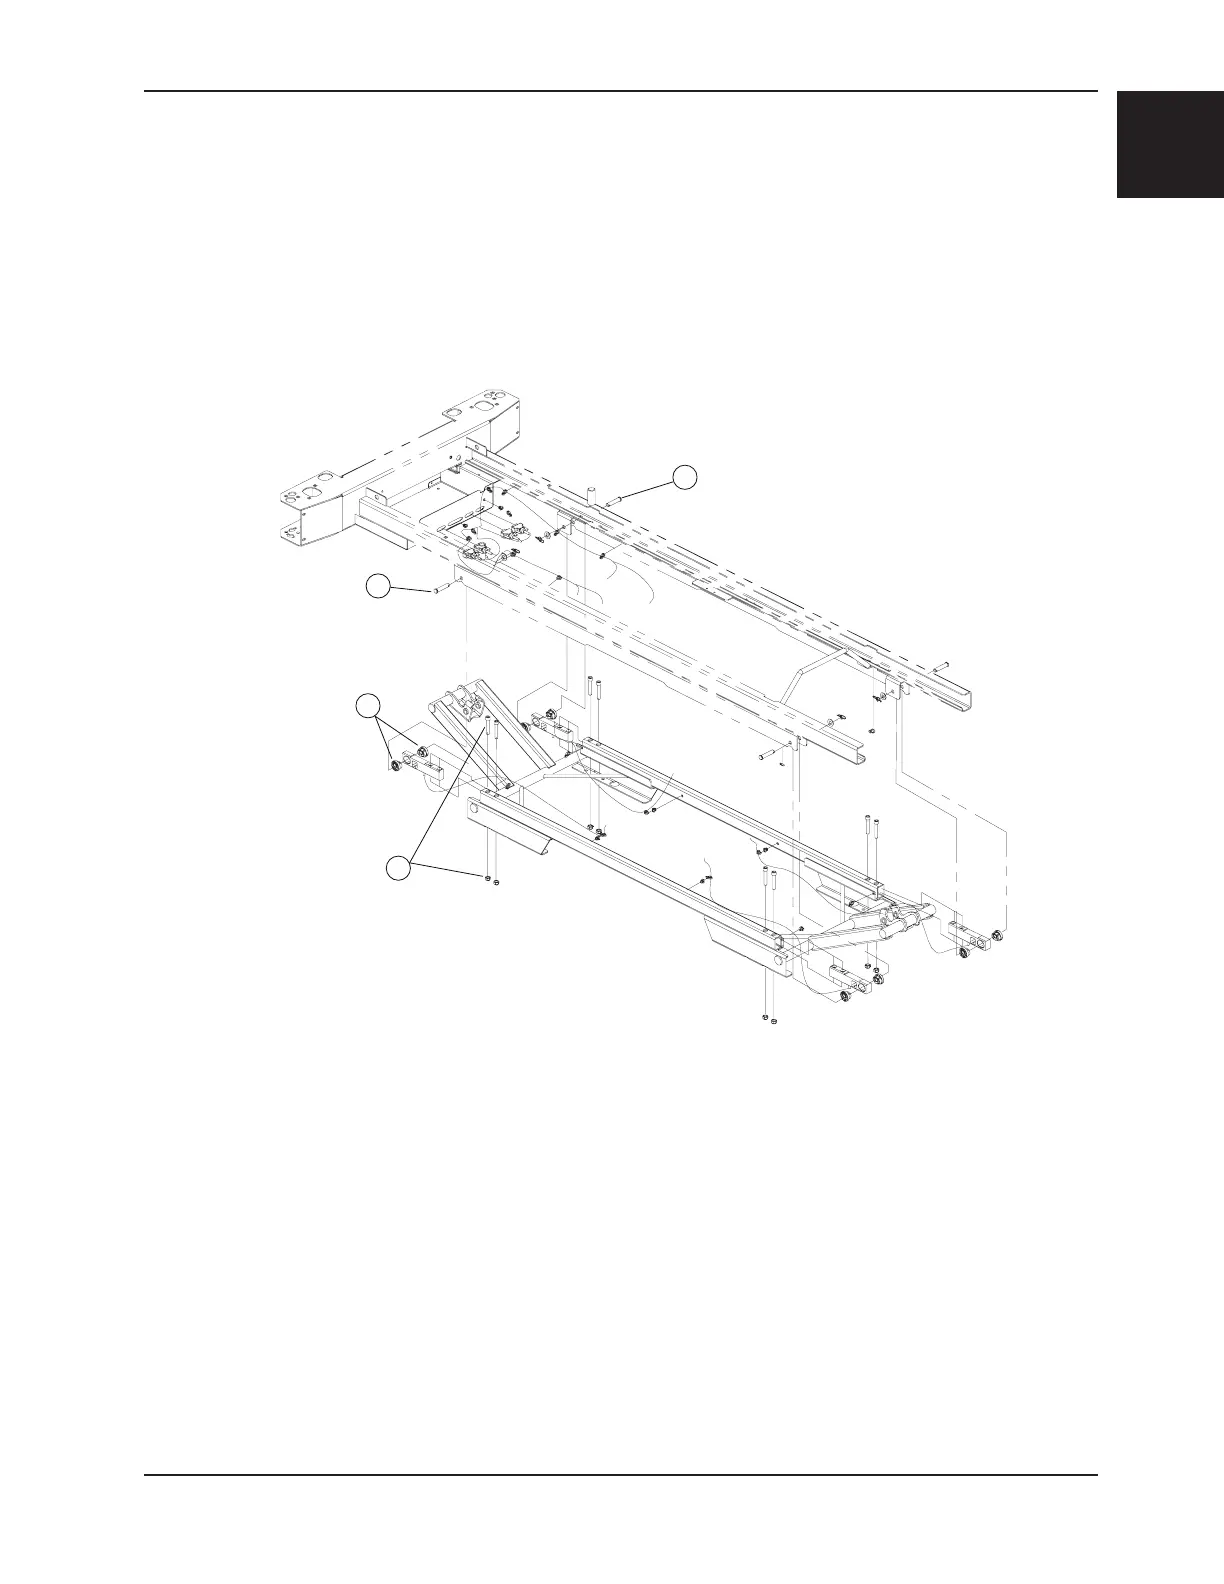
5. Using needle nose pliers, remove the two rue ring cotters, two washers and two clevis pins (A) holding the defective
load cell and the one adjacent to it. It is important that the end of both load cells be freed and their cables loosened.
A
B
D
C
A
B
C
D
B
C
Figure 15
Service Information
 Loading...


