5-44 Sun Ultra 20 M2 Workstation Service Manual • January 2007
5.14.2 Installing the I/O Board Assembly
Perform this procedure to install the I/O board assembly.
1. Follow the steps in Section 5.2.2, “Powering Off the System and Removing the Left
Side Access Panel” on page 5-3.
2. Place the system unit on a flat, stable surface.
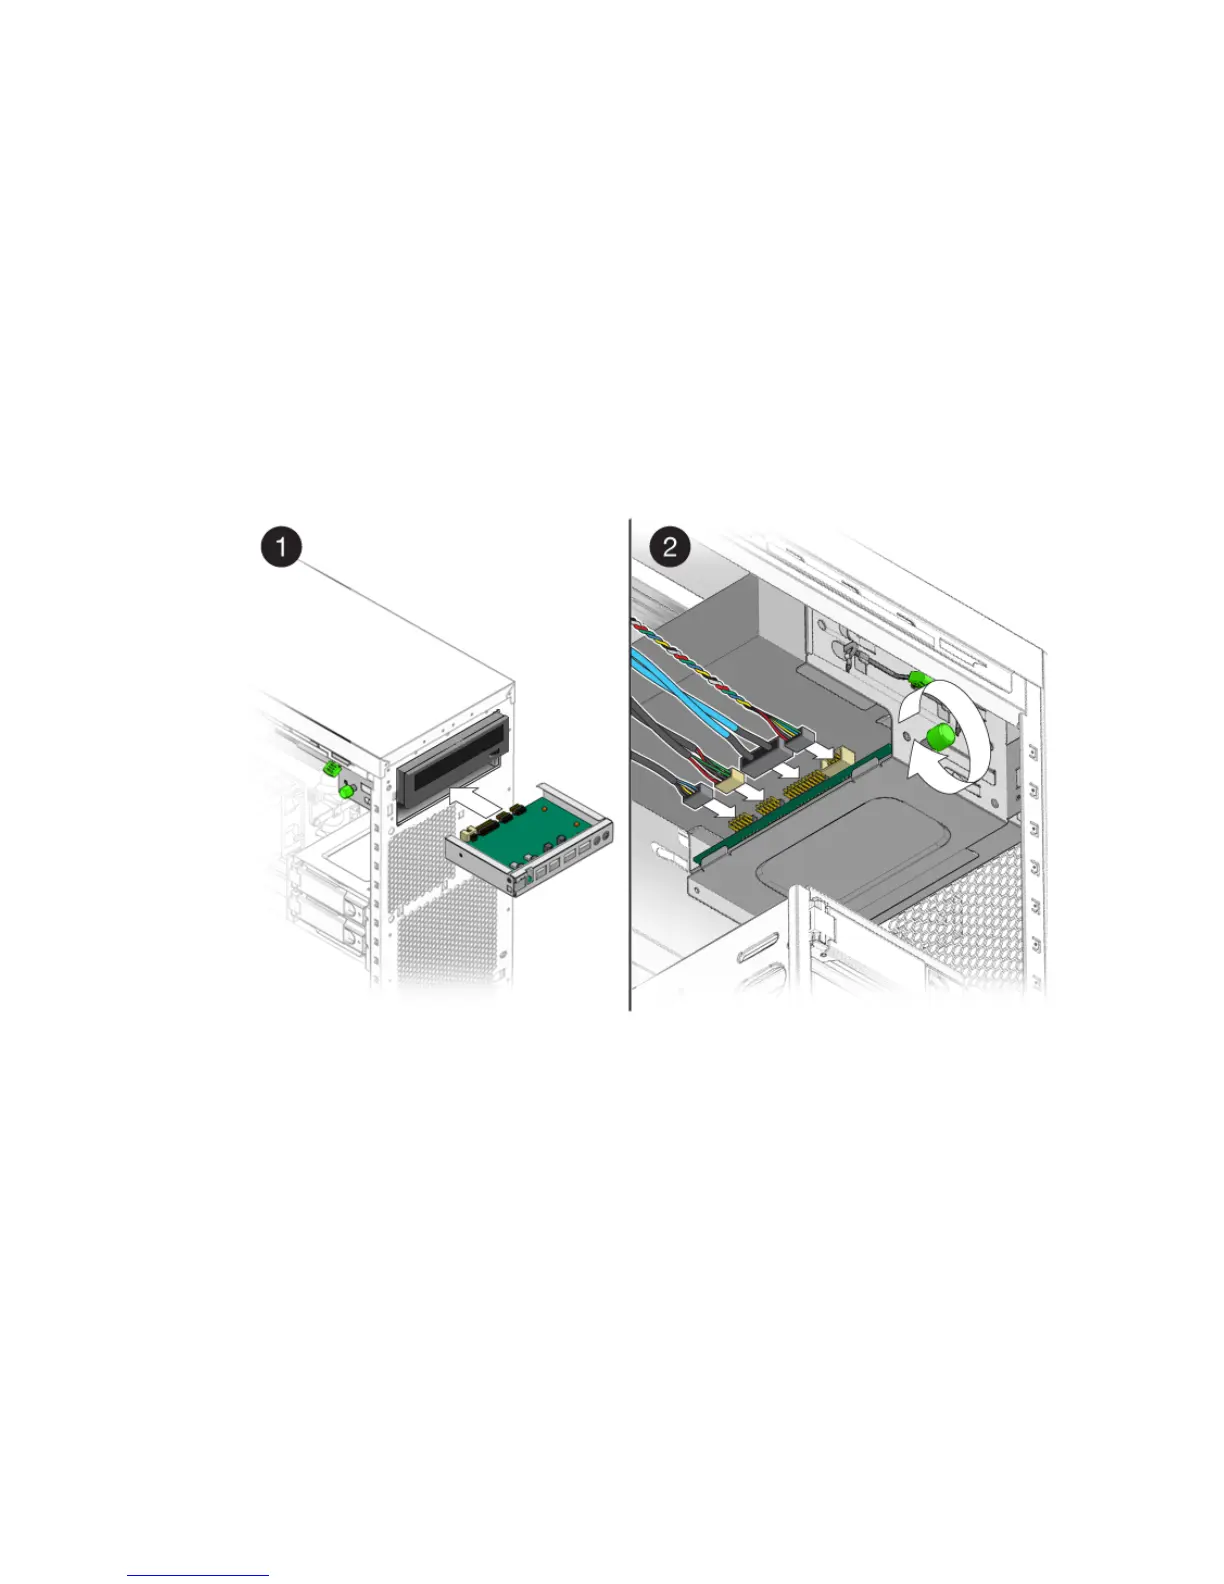
3. Push the I/O board through the back of the metal I/O board frame until the front
panel is flush with the bezel opening (see
FIGURE 5-30). Wiggle side to side if the
board binds as you install it.
FIGURE 5-30 Installing the I/O Board Assembly
4. Tighten the captive screw on the metal I/O board frame to secure the I/O board.
5. Connect the internal USB, Power/LED, 1394, and audio cables to the back of the
I/O board.
The cables are color coded and keyed to ensure correct installation. See
FIGURE 1-4
and the service label on the chassis cover for the locations of the I/O board
connections.
6. Replace the front bezel.
7. Close the system by performing the steps in Section 5.3.1, “Postinstallation
Instructions” on page 5-5.