Chapter 5 Maintaining the Workstation 5-49
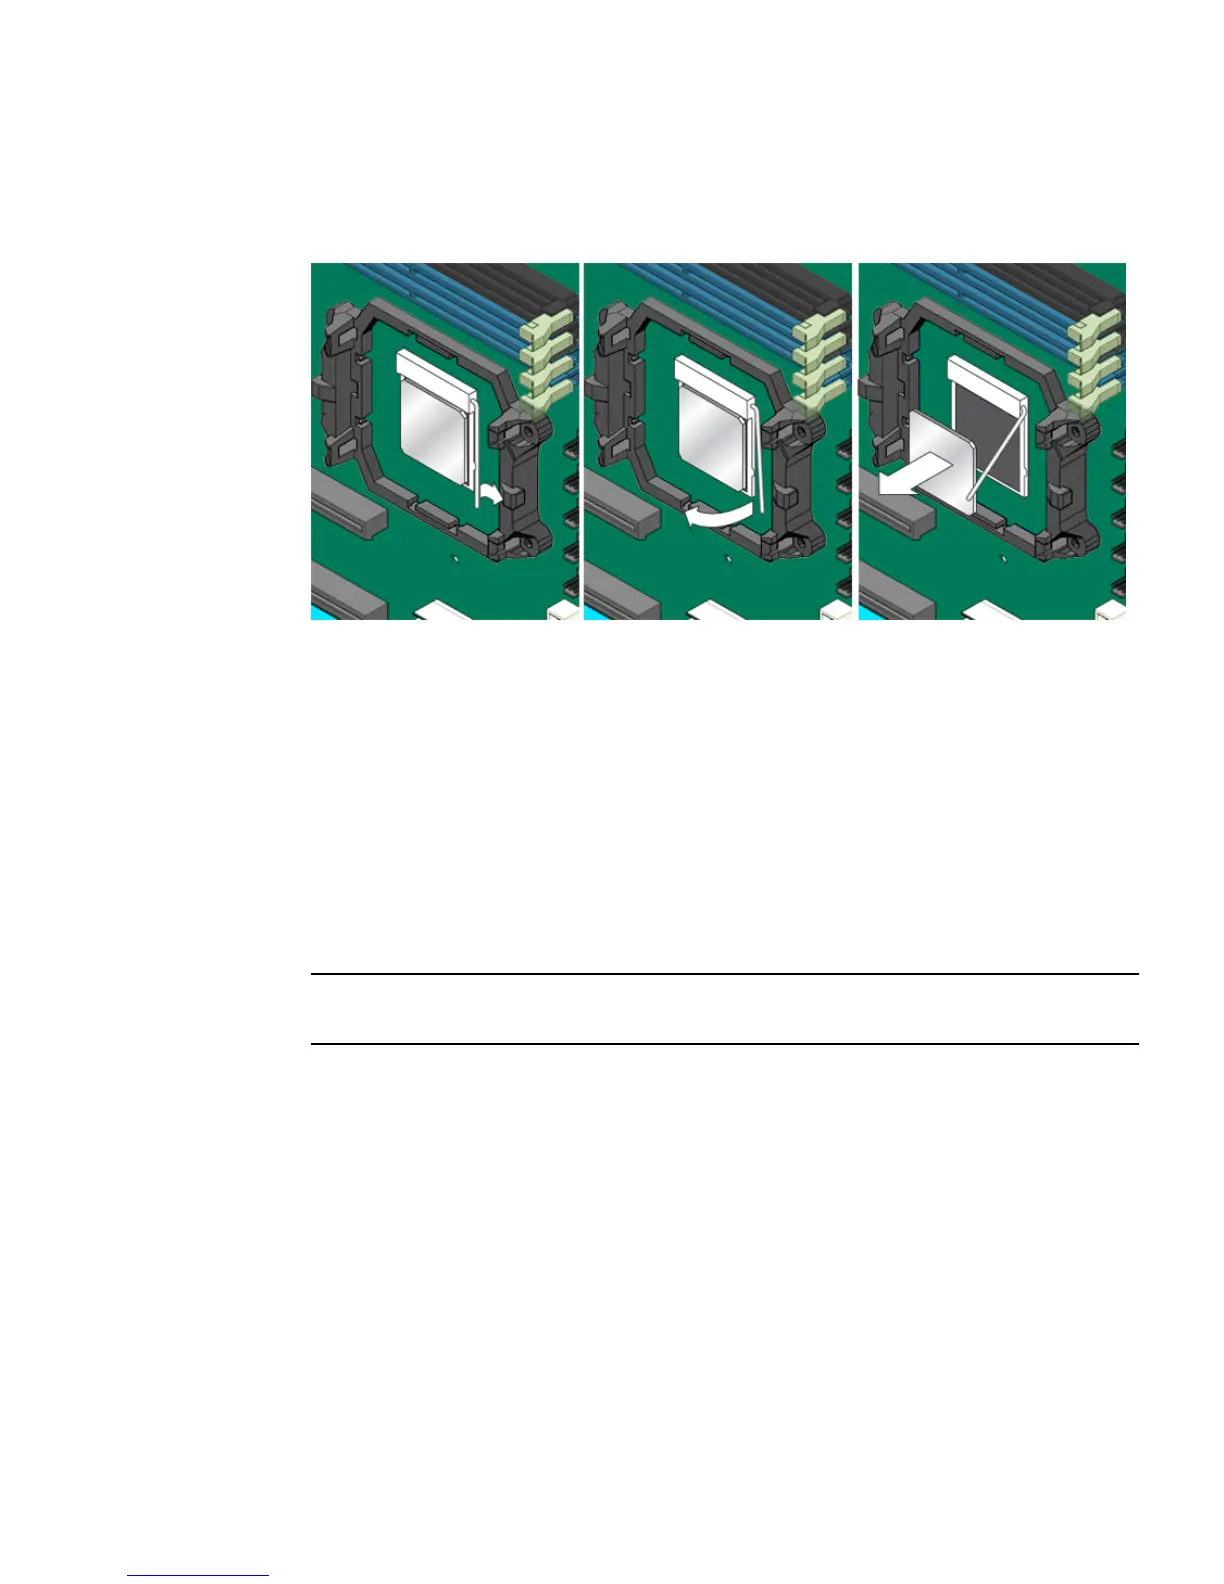
9. Depress, and then pull up the CPU socket retainer lever up to the fully open
position (see
FIGURE 5-33).
FIGURE 5-33 Removing the CPU From the Workstation
10. Lift the CPU out of the socket, leaving the retainer lever in the open position.
11. Install the heatsink and CPU as shown in Section 5.16.2, “Installing a Heatsink and
CPU” on page 5-49.
5.16.2 Installing a Heatsink and CPU
Perform this procedure to install the heatsink and CPU.
Note – Observe the ESD precautions and preinstallation procedures described in
Section 5.1, “Electrostatic Discharge (ESD) Precautions” on page 5-2.
1. Ensure that the CPU socket retainer lever is in the fully open position. See
FIGURE 5-34.
2. Align the CPU to its socket so that pin 1 of the CPU (indicated by the notched
corner) is aligned with hole 1 of the socket (indicated by the arrow in the corner of
the socket).