Chapter 5 Maintaining the Workstation 5-23
4. Place your forefingers on the top of the DIMM.
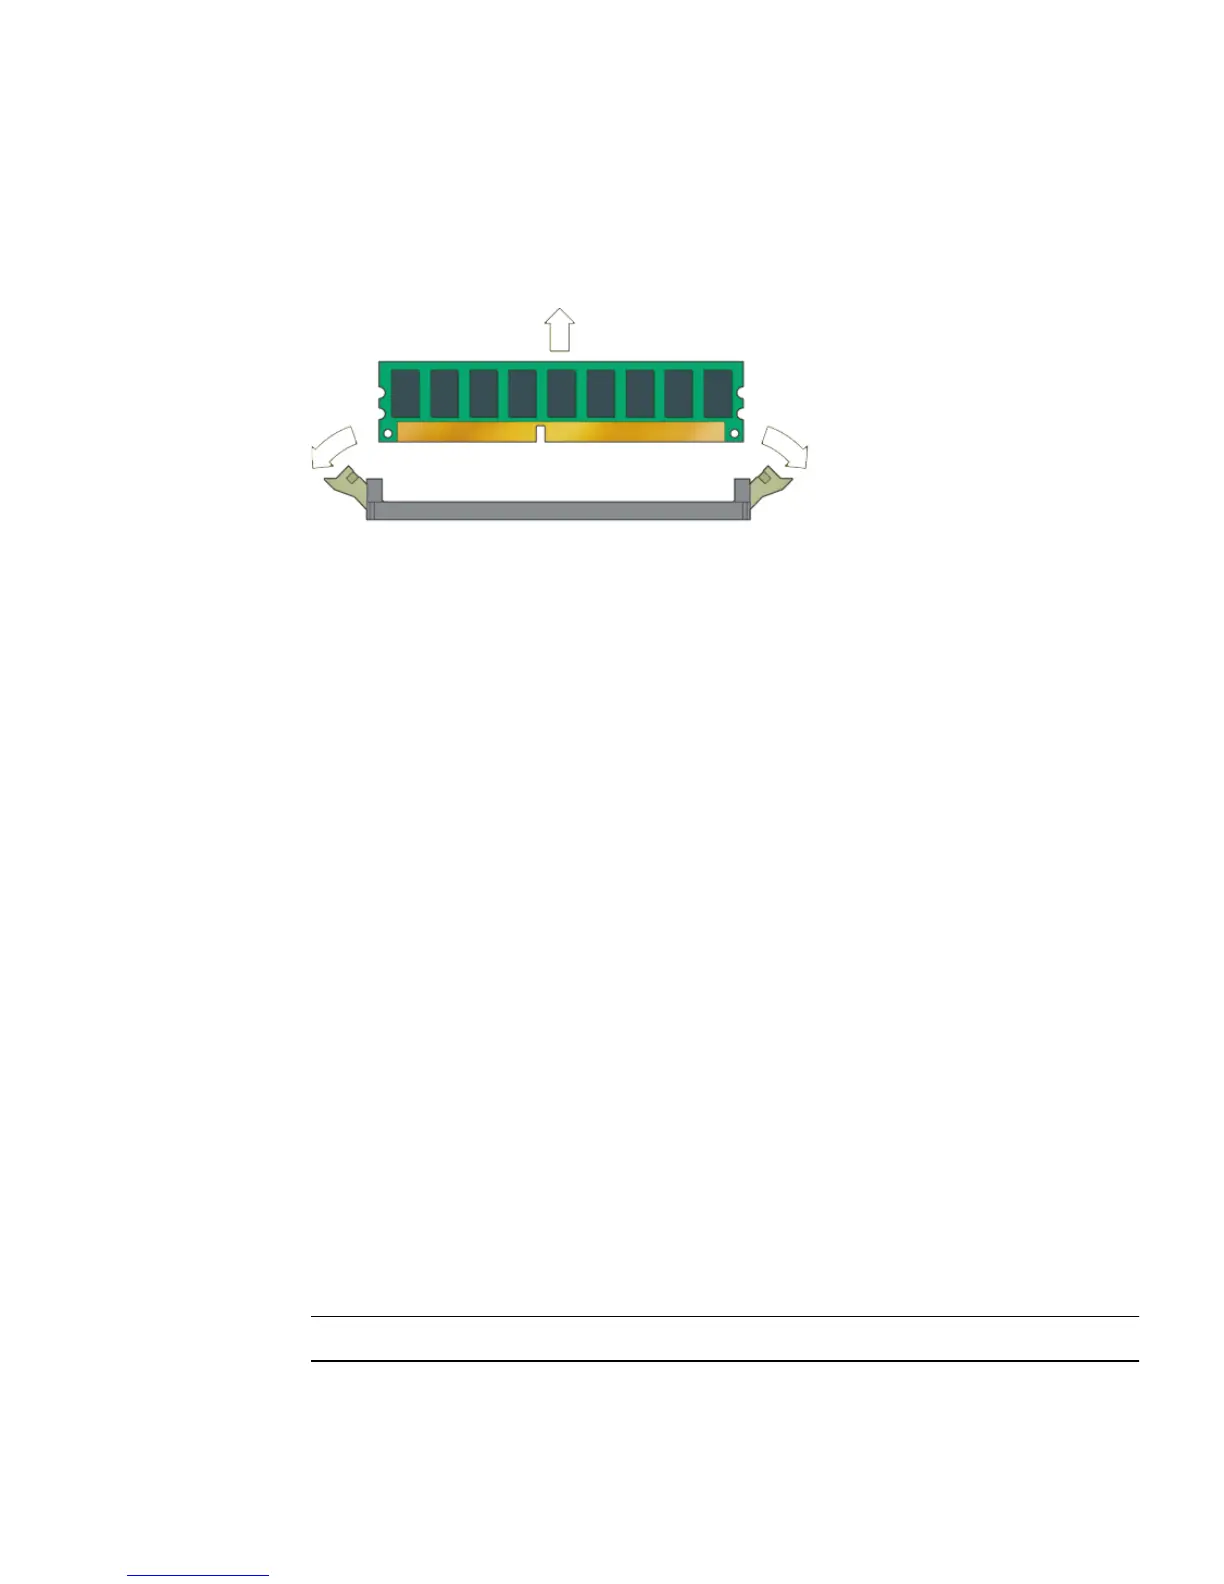
5. Remove the DIMM by pressing down on the ejector bars at both ends of the
DIMM socket (
FIGURE 5-15).
FIGURE 5-15 Removing a DIMM
6. Set the DIMM aside on an antistatic surface.
7. Choose the next step.
■ To install a new DIMM, see Section 5.8.2, “Installing DIMMs” on page 5-23.
■ If you are finished, replace the left side access panel.
5.8.2 Installing DIMMs
When you install a DIMM in the workstation, keep the following guidelines in mind:
■ Memory modules must be installed and removed in pairs, observing sequential
slot positions.
■ DIMM slots are numbered 0 to 3. Slot 0 is closest to the CPU.
■ Populate DIMM slots 2 and 3 first, followed by slots 0 and 1.
Perform this procedure to install DIMMs:
1. Follow the instructions in Section 5.2.2, “Powering Off the System and Removing
the Left Side Access Panel” on page 5-3
.
2. Gently lay the system on its right side on a stable, nonslip surface.
3. Identify the location into which you will install a DIMM (see
FIGURE 5-14).
4. Align the DIMM with the proper slot.
Note – Be sure to align the notch in the DIMM with the notch in the connector.